Earthbound is a long game. To see everything you need to see, you would dedicate about thirty hours of straight gameplay to finish it. Of course, when you are on the go, it is perfect to have it mobile now. Of course, you will need to have access to the Nintendo Switch Online service to play Earthbound. Let us dive into Earthbound Nintendo Switch Guide Walkthrough: Part Two.
Starting A New Earthbound Adventure

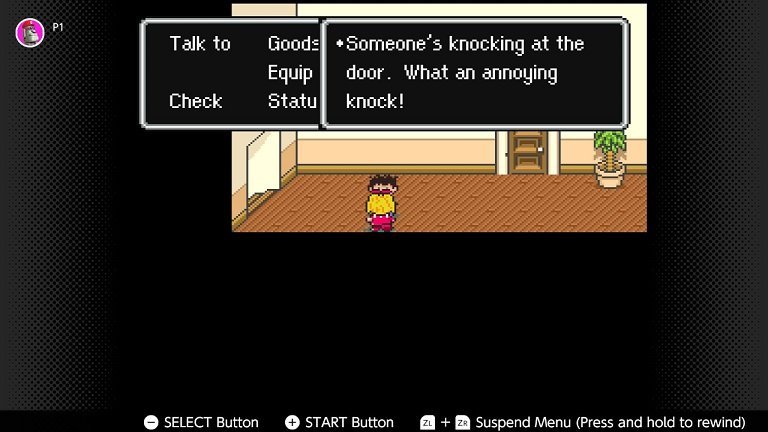
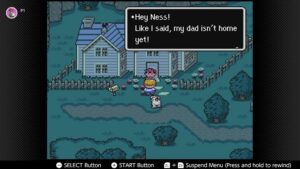
When you wake up after inspecting the meteor, you will hear an infernal knocking at the door. Fortunately, you are not alone in your annoyance. You will find your sister in the hallway. There’s no point in going into her room, as you’ll only find the present you opened earlier for the cracked bat.
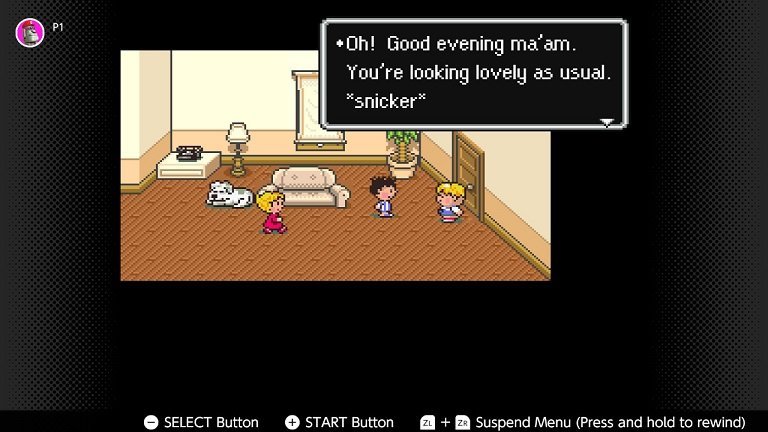
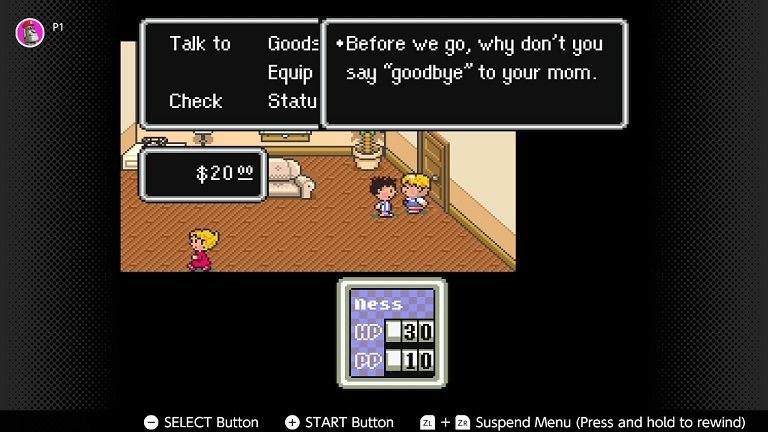
Head downstairs and talk to your mother and dog if you want for optional dialogue. Once you get near the door, you will find your lovingly useless friend Pokey. After he goes on about his failures, he will implore that you speak to your mom before leaving.

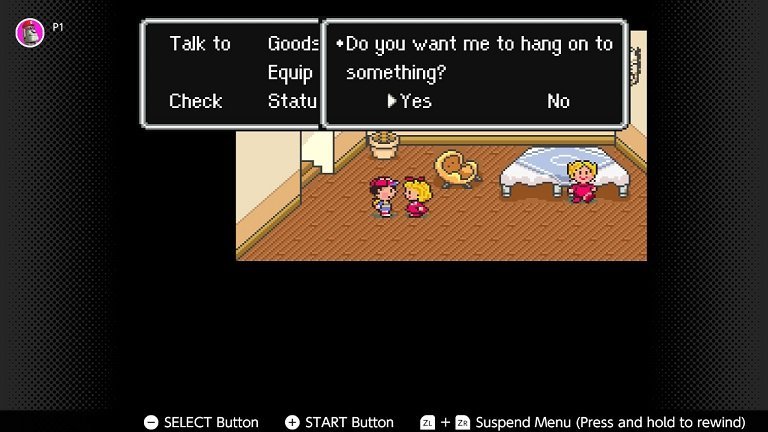
At this point, if you have not already, your mother will remind you to pick up the Cracked Bat from Tracy’s Room. The scene cuts to black and you are back in your room in full gear. Grab the bat from Tracy’s Room if you have not already. Tracy will be downstairs where she finally fulfills her role as storage for your items. Talking to your mother mentions weirdly hostile dialogue for someone who was just lovingly caring two minutes ago.

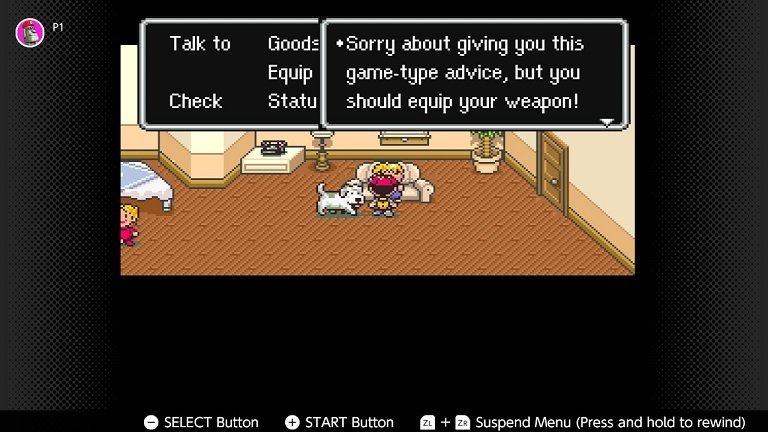
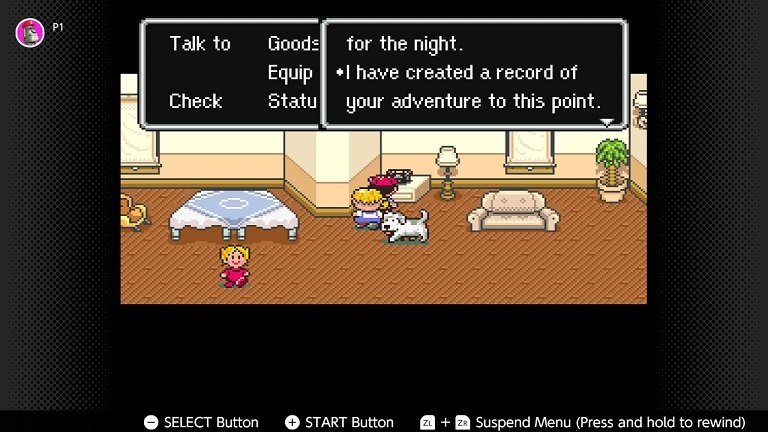
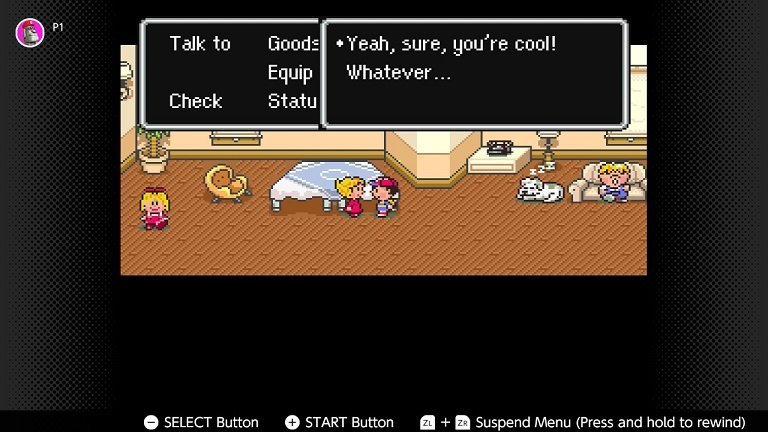
Talk to your dog, who will accompany you on your first foray into the wild. Speak with Pokey who will remind you to look through your equipment and equip your bat. You do that through the “Equip” menu. Look at your goods before you leave to familiarize yourself with what you have in your inventory. You should also familiarize yourself with the phone. Your father will save the game for you and deposit money into your ATM. Now, it is time to search for Picky.
Earthbound Nintendo Switch Walkthrough Guide: The First Battles

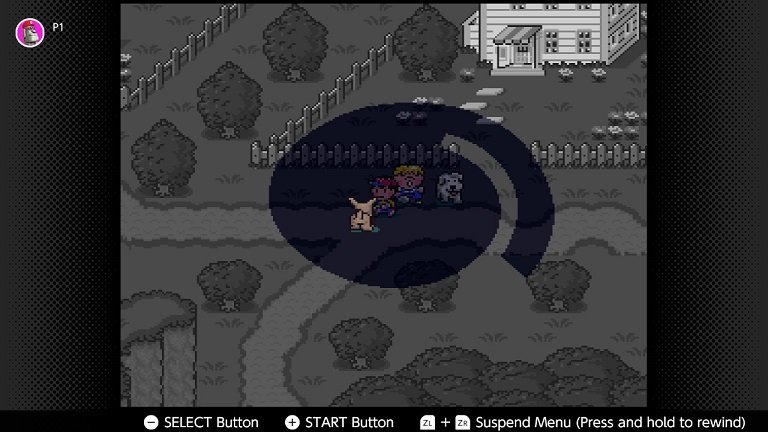
When you step out of your house, you are followed by your dog and Pokey. The first thing you will notice is a hostile creature that was not there when you went out to the meteorite before. There is almost no avoiding this fight, but it is great for those who want to take a look at the battle system.
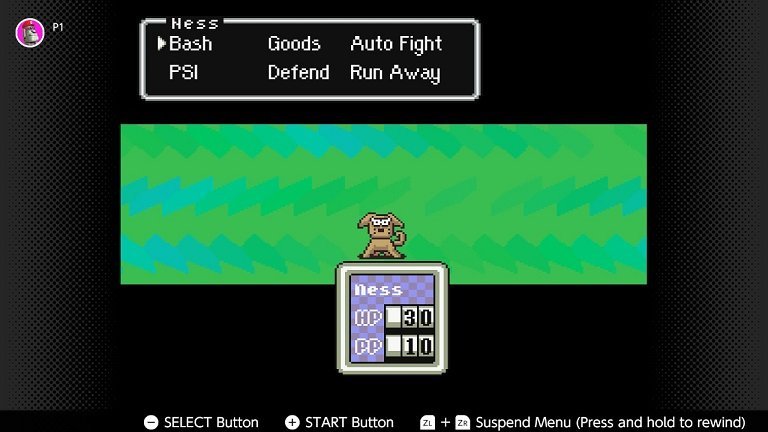
You only control Ness in the coming battles until you have regular party members. Ness has Bash, PSI, Goods, Auto Fight, Defend, and Run Away. Goods give you access to your inventory, PSI is your magic, Bash is a physical attack, and everything else is self-explanatory. If you do not want to monotonously spam your buttons during regular encounters in Earthbound for the Nintendo Switch, then you will most likely spend most of your time using “Auto Fight” while you watch Netflix.
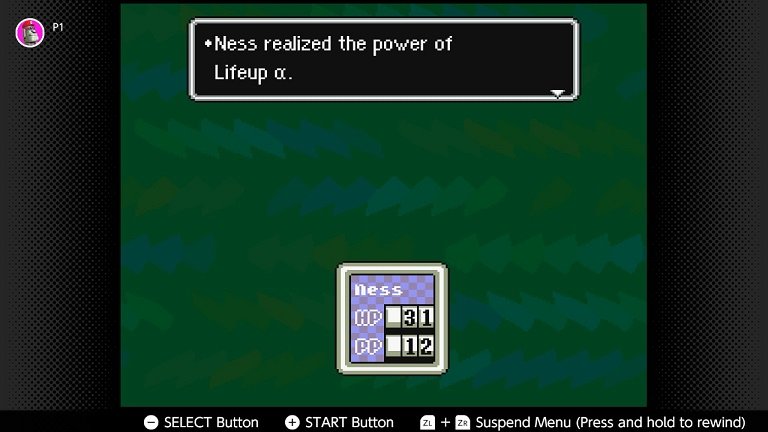
Defeating the first enemy levels Ness up, which gives him his first PSI: Lifeup α, an ability that heals nominal health.
Keep an eye out for more Earthbound Nintendo Switch Walkthrough Guides on GameDom.
The post Earthbound Nintendo Switch Guide Walkthrough: Part Two appeared first on GameDom.
- About
- access
- Adventure
- advice
- ATM
- auto
- BAT
- Battle
- before
- Black
- coming
- could
- created
- During
- equipment
- EU
- eye
- familiarize
- Finally
- First
- full
- game
- gameplay
- Gear
- Giving
- good
- goods
- grab
- great
- guide
- Guides
- Health
- help
- House
- HTTPS
- i
- inventory
- IT
- levels
- Long
- Members
- mentions
- Mobile
- mom
- more
- mother
- Near
- Netflix
- Nintendo
- Nintendo Switch
- online
- perfect
- physical
- play
- Point
- power
- record
- room
- Run
- s
- Search
- spam
- spend
- storage
- Switch
- system
- talking
- The
- Through
- time
- us
- Watch
- What
- WHO
- yourself