With Elden Ring, From Software fundamentally changed the weapon art system with Ashes of War. Not only can you customize any weapon (with the exception of Unique Weapons) with whatever special attack (i.e. Skill) you want, you can even change its Affinity to match your build. This has opened the door for greater depth of play style customization than ever.
There are tons of Ashes of War to find throughout the Lands Between, and almost all are viable options… if you know how to build around them, at least. With so many weapons and spells at your disposal, you can usually find some powerful synergy to combo with even the most mundane Skill.
On the other hand, some Ashes of War don’t need synergy so much as they require practice and skill. Parry, for example, is about as basic as it gets; it is the default Skill for multiple different starting classes’ Shields. But if you know how to time it right, it will remain a powerful battle tactic all the way through the end of the game.
That said, certainly not all Ashes of War are created equal. There are some that don’t require much–if any–synergy or skill, and stand alone in terms of sheer power level. These are the ten best Ashes of War in Elden Ring.
Lion’s Claw

If you’re running a pure Strength build, this is the Ash of War for you. The move sends you summersaulting forward through the air, before crashing down with a two-handed smash. Timed correctly, Lion’s Claw can make short work of some of the burliest bosses in the game. It’s particularly effective when paired with a long blade–such as the Greatsword–to give it maximum range.
Get Lion’s Claw by defeating the Lion Guardian in Fort Gael.
Bloody Slash
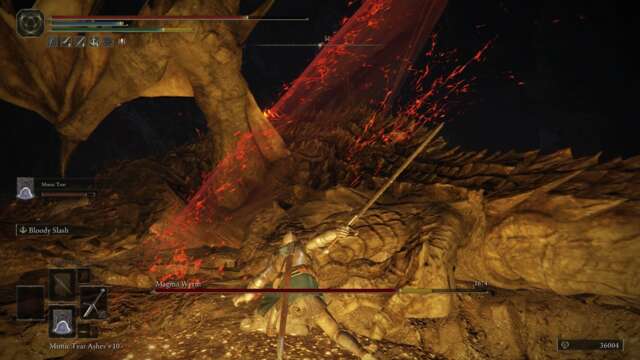
Bleed is an exceedingly powerful status effect in Elden Ring. Luckily, you don’t even need any late game Bleed weapons to take advantage of it. Bloody Slash can be picked up early, and remains a powerful option through the late game. It coats your weapon in blood before performing an upward slash, inflicting Bleed. It’s capable of hitting enemies from a surprising distance away. Later in the game, you can put the Seppuku Ash of War on a left-handed armament and duel-wield to increase your ability to inflict Bleed.
You can get Bloody Slash by taking down the Godrick Knight in Fort Haight.
Flame of the Redmanes
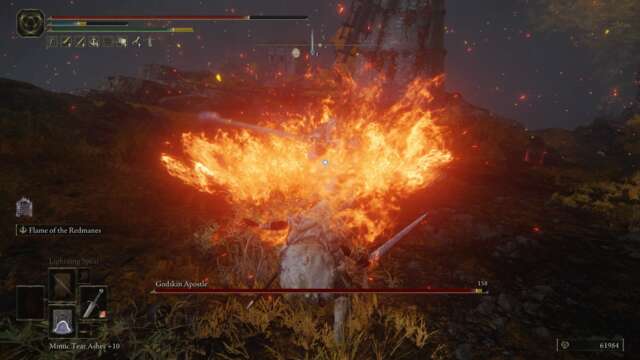
This Ash of War has filled the shoes of the once-broken Hoarfrost Stomp, which has since been nerfed to near-unplayability. Flame of the Redmanes shoots a burst of flames in a forward arc toward the enemy, inflicting Burn. However, the true power of the Skill is its ability to deal massive posture damage. Just a few hits can bring even the strongest bosses to their knees for a Critical Attack.
Flame of the Redmane is dropped by an Invisible Scarab northwest of the Fort Gael North Site of Grace.
Rain of Arrows
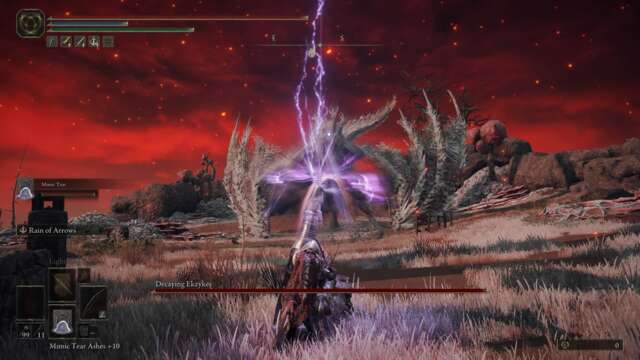
If you’re an archer, Rain of Arrows is the most important Ash of War to add to your collection. With a single L2, you will shoot 12 arrows into the air that come raining down on your target. What makes Rain of Arrows so powerful is that it only requires one arrow from your inventory to use! Pair the Skill with Poisonbone or Bloodbone arrows, and you’ll proc the status effect with just a shot or two.
Finding Rain of Arrows is a bit tricky. First, interact with the “Redmane” Painting in Sellia, Town of Sorcery. Then head to the Eastern Minor Erdtree in Caelid. Go to the large pot at the cliff ledge behind the tree, and carefully make your way down, dropping onto the tree branches and pillars, until you reach the bottom. (Torrent can be quite helpful here). Walk over to the spirit in the chair, and it will turn into the Rain of Arrows Ash of War.
Bloodhound’s Step
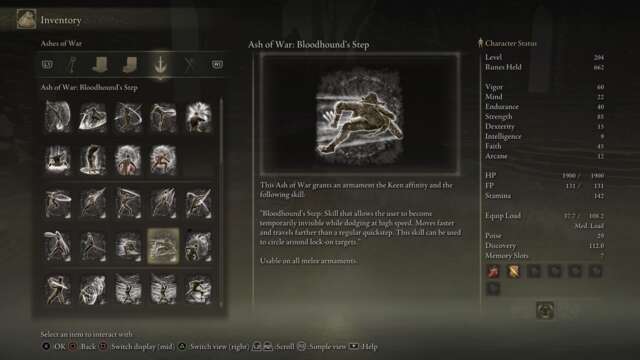
Bloodhound’s Step is one of the most unique purely defensive Skills in Elden Ring. All it is is a quicker, longer-distance dodge that makes you temporarily invisible. However, the Skill is incredibly useful in fights with the game’s smaller, faster bosses, such as Malenia. It lets you dodge through the most dangerous attacks, and reappear behind the enemy to get in some hits. Every player should have this Ash of War in their arsenal.
To get Bloodhound’s Step, you’ll need to beat the Night’s Cavalry on the bridge by Lenne’s Rise. (Luckily, he can be cheesed).
Hoarah Loux’s Earthshaker
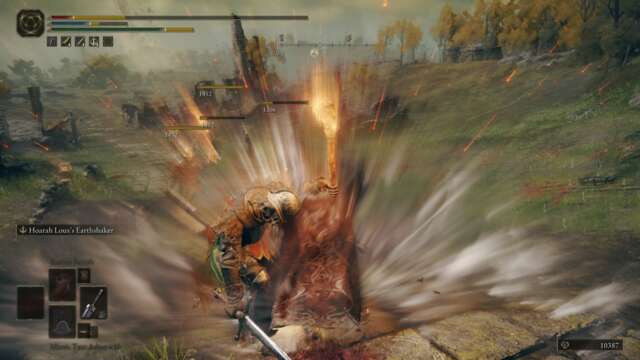
You won’t be able to get your hands on this Ash of War until near the end of the game, but once you do, it’s a game changer. Use the Skill, and you’ll let out a roar, followed by a stomp that creates a large AOE shockwave. The windup time is substantial, but part of what makes this Ash of War so powerful is the Super Armor is grants you. Only the strongest of enemies will be able to break your poise as you charge up, making it a great choice for dealing with hordes. You can even follow up with an additional input for an extra ground slam!
You’ll need to defeat Godfrey, First Elden Lord and turn in his Remembrance to gain access to Hoarah Loux’s Earthshaker.
Raptor of the Mists
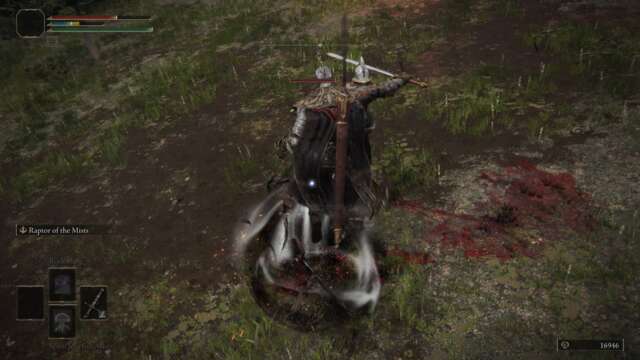
This is a tricky one, but is so powerful when mastered it deserves mentioning here. Raptor of the Mists is essentially a “duck” maneuver to avoid attacks. However, if you activate it the second the enemy connects, you will not take damage and will instead fly up into the air, opening up the possibility of a jump attack. The timing is tough to get down, but when you do, the Skill opens the door for an entire unique play style in itself. Pair it Raptor’s Black Feathers or the Claw Talisman for extra jump attack damage.
Help Bloody Finger Hunter Yura defeat his enemy north of the Main Raya Lucaria Gate Site of Grace to get Raptor of the Mists.
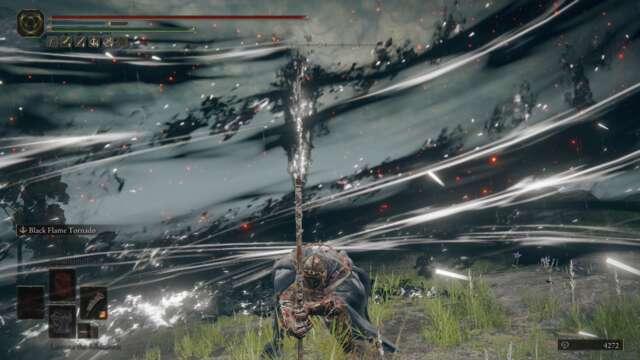
Black Flame Tornado

This Ash of War creates a large vortex of Black Flame all around you, before plunging the weapon into the ground for an even larger AOE blast. Enemies damaged by the effect will continue taking damage from the Black Flame for some time after. This Skill almost acts as a shield; since the vortex circles around you, any low-level enemies that try to attack will just be knocked backward by the effect. It’s an incredibly powerful way to deal with large hordes of enemies.
Get the Black Flame Tornado by defeating the Godskin Duo in Crumbling Farum Azula.
Gravitas
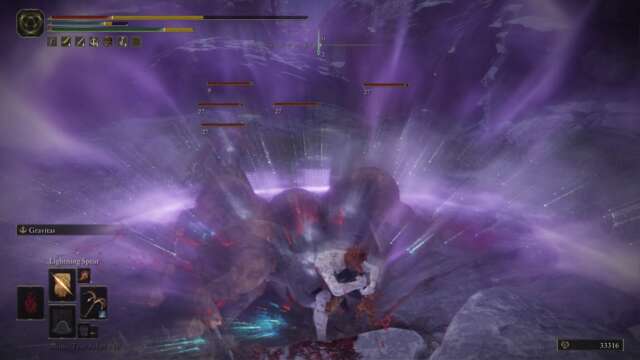
Gravitas creates a large, purple Gravity AOE that pulls all enemies within its range in toward the center of the blast. It doesn’t deal much damage on its own, but the real power is in its unique ability to force all enemies together in a small area. Follow it up with another large AOE attack, and you can take out entire groups in seconds. It’s a risky maneuver on its own, but if you have a plan for how to follow it up, it can be one of the more powerful Ashes of War in the game.
To find Gravitas, make your way down to the west beach of the Weeping Peninsula from the Seaside Ruins site of grace. The Ash of War is dropped by the Slender Wayfarer roaming around the bonfire.
Prelate’s Charge
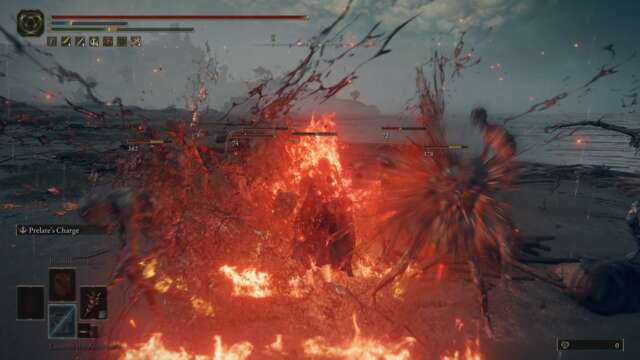
Prelate’s Charge has the unique distinction of being great against both groups and individual enemies. When you use Prelate’s Charge, you will slam your armament into the ground, creating a plume of flames, and then charge forward for as long as your FP or stamina will allow. It lets you plow through hordes with ease, and can also back a boss into a corner to devastating effect. It also combos well with the Bloodflame Blade Incantation, which coats your weapon in Bloodflame. Casting this before charging in can bleed an enemy out in seconds.
Prelate’s Charge is dropped by a Teardrop Scarab, found hanging from a tree in the Fire Monks campsite, south of the Whiteridge Road Site of Grace.
- About
- access
- Additional
- ADvantage
- All
- Another
- AREA
- around
- Arsenal
- Art
- Battle
- before
- BEST
- Bit
- Black
- Blade
- blood
- branches
- BRIDGE
- build
- change
- charge
- charging
- choice
- collection
- continue
- created
- Creating
- critical
- damage
- deal
- dealing
- different
- distance
- Dodge
- down
- dropped
- e
- Early
- eastern
- Effective
- fights
- Fire
- First
- follow
- Fort
- Forward
- game
- grants
- gravity
- great
- guardian
- hands
- head
- here
- How
- How To
- HTTPS
- i
- important
- Increase
- incredibly
- inventory
- IT
- jump
- large
- Level
- Lion
- Long
- MAKES
- Making
- Match
- maximum
- more
- move
- Near
- North
- opening
- opens
- Option
- Options
- Other
- own
- painting
- Picked
- play
- player
- pot
- power
- powerful
- range
- RE
- reach
- requires
- right
- Ring
- rise
- road
- running
- s
- Said
- Short
- skills
- small
- smaller
- So
- Software
- South
- stamina
- Status
- style
- system
- taking
- Target
- The
- The Lion
- Through
- Throughout
- time
- together
- tons
- Torrent
- unique
- war
- West
- What
- within
- Work