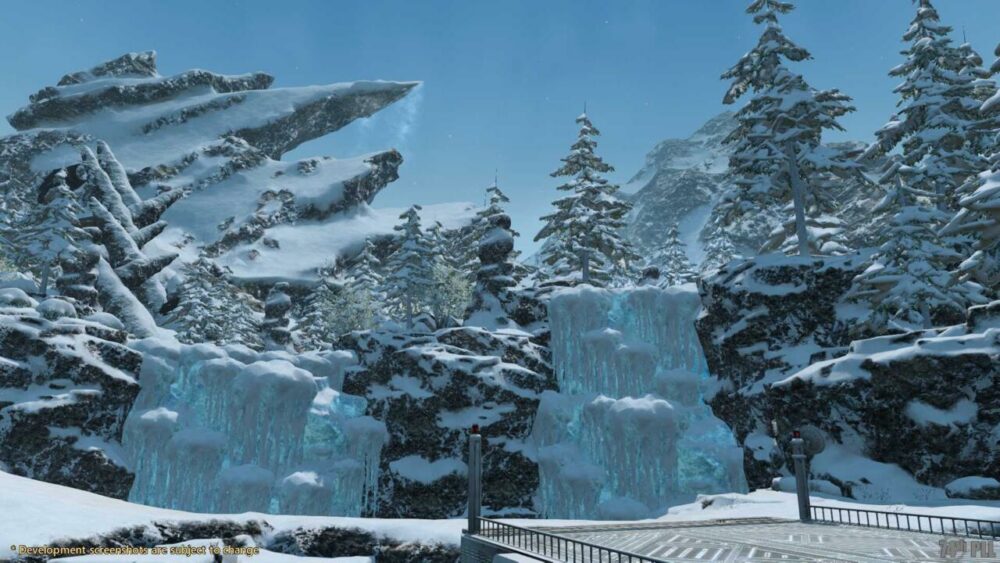
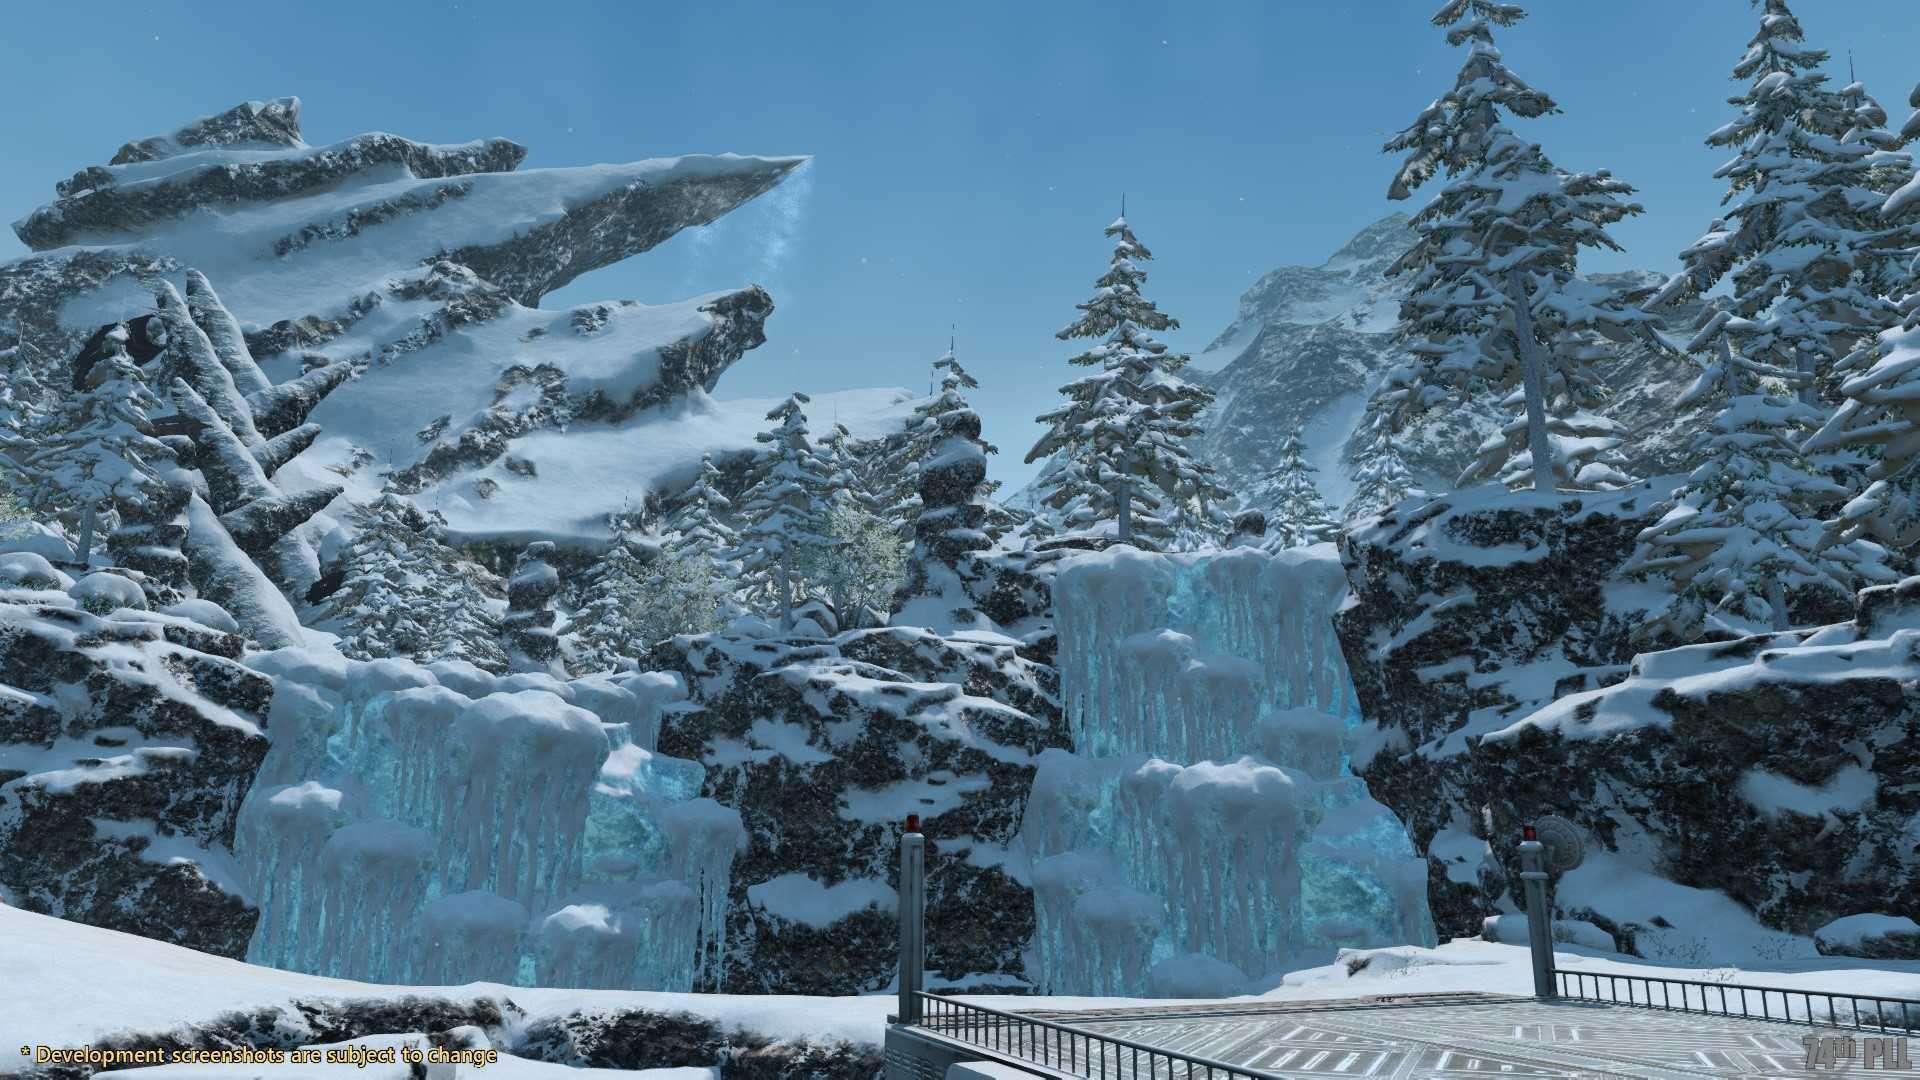
Final Fantasy XIV 6.3 update added a new level 90 dungeon called Lapis Manalis. It’s located in the snowy hinterlands of Garlemald and like most FFXIV dungeons, follows the format of three bosses and adds in-between. We’ll cover how to unlock the dungeon and what to expect from the bosses.
How to unlock the 6.3 dungeon, Lapis Manalis
Lapis Manalis is a level 90 dungeon. The only prerequisites are:
- Minimum iLVL 590.
- Initiation of the Main Scenario Quest, King of the Mountain
Lapis Manalis Guide
We’ll only focus on the three bosses below. For the Adds, it’s just the usual advice: Group ’em up and avoid the AoEs.
Albion
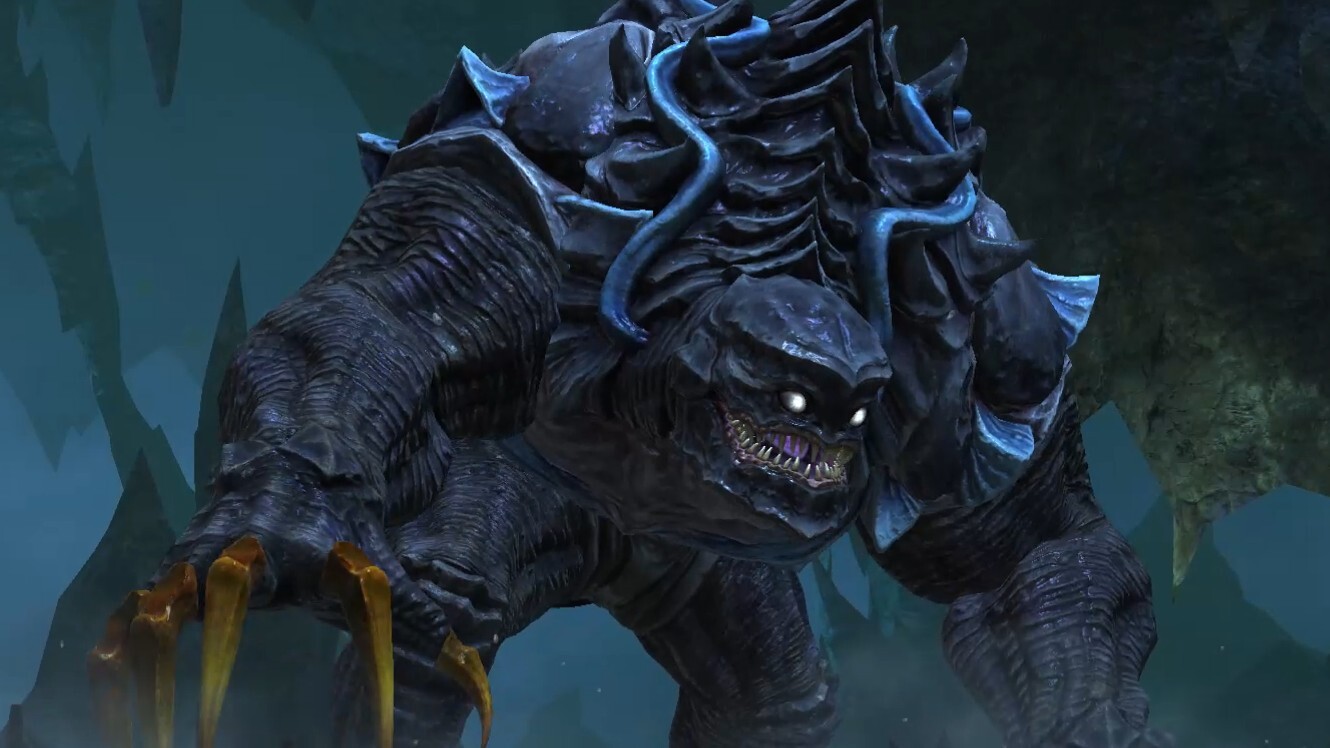
The first boss is a frost-like ape monster named Albion.

- Call of the Mountain: When Albion finishes casting this attack, the player will hear rumbling and a notice will appear on screen: “A rumbling in the distance draws closer.” Along the left and right side of the arena, avalanche-looking snow will indicate where a group of monsters will run horizontally across the platform, trampling any character caught in the rampage. It’s like an AoE band, but dressed up. There will be two such “bands,” so keep observing both sides of the platform after the first monster parade.
- Left Slam (and later Right Slam): Albion will cast an AoE that takes up the left side of the platform. (This is Albion’s left side and if your character is facing him in the front, not yours.) He will sometimes do a Right Slam variation of this attack.
- Knock on Ice: Three orange circle markers drop down on the platform, and piles of rocks will drop down shortly. Avoid the orange AoEs.
- Icebreaker: Albion will tether to one rock. Move away from this rock, because an AoE will explode around the tethered rock.
- Roar of Albion: This attack has a fairly long cast time and is indicated by the entire platform getting covered by a light orange AoE. Players need to hide behind one of the two remaining rocks before the cast is finished.
From here on out, Albion doesn’t have any major new mechanics. It’ll be a repeat of what you’ve seen, but with some overlap.
- Left Slam (or Right Slam) + Call of the Wild: While also avoiding the animal crossings, players also need to notice which side of the platform Albion is going to slam his fist down on.
- Albion’s Embrace: He’ll also have a Tankbuster move in the second phase.
Galatea Magna
Galatea Magna is the second boss, and she has Reaper-like mechanisms.
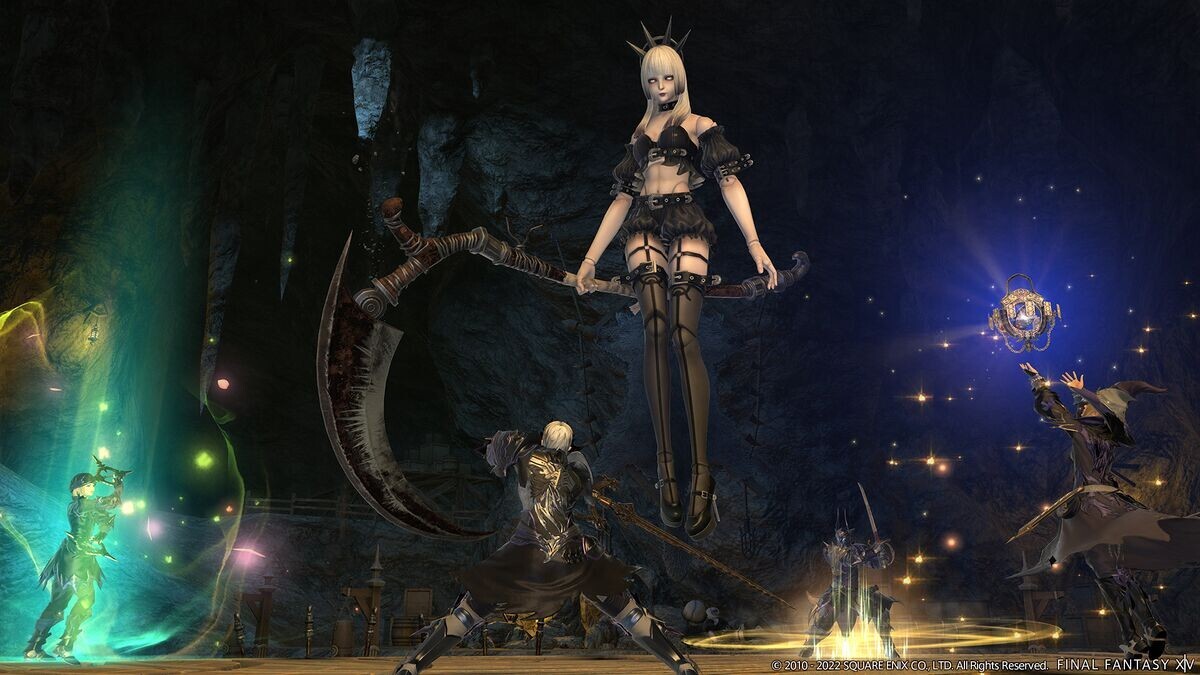
- Waxing Cycle: The beginning of this attack is indicated by a big AoE around Galatea. She’ll set off that melee-range AoE, and then almost immediately cast a ranged AoE that covers the rest of the platform–except for melee-range. So players need to stay close to the edge of that first central AoE in order to move closer to her quickly when she launches her second AoE.
- Soul Scythe: Galatea will face the entrance players come from. She’ll then launch a huge semi-circle AoE focused on the entrance that takes up a sizable amount of the platform. Players need to get behind her or stay somewhere close to her. If you’re near the entrance, you’ll likely get hit.
- Soul Nebula: This attack first lauches a party-wide AoE. Then, two Reaper’s teleportation portals will open on either side of the platform. Purple-pink arrows in a cross-shape will start flickering underneath Galatea. This indicates the shape of the AoE she will launch at each Reaper portal, one after the other. Players need to avoid the cross-shape AoE bars. If you get hit by Galatea’s cross-shaped AoE here, you’ll get a Doom debuff–something healers have to watch out for and remove with Esuna.
- Tenebrism: When Galatea casts Tenebrism, four purple circles will show up on the floor. People fresh off the Main Scenario Quests should recall these from the quest chain where Zero fights alongside the twins and the Warrior of Light against Voidsents. Each player should choose a circle to stand in so they can absorb the descending purple orb. Players will also get inflicted with Glassy Eye (you can see this effect next to your name in the Party List). When a glowing red eye appears above your heads, turn away from the boss to avoid being petrified.
From here on out, Galatea will repeat the mechanics we’ve already seen–but with a twist on Soul Nebula.
- Soul Nebula in the latter half of the fight: This time there are four Reaper portals. They will each have one to four orbs, and the number indicates the order in which Galatea will transport to the portal and set off her cross-shaped AoEs. So for example, she’ll just to the portal with one orb first, the portal with two orbs second, and so on.
Cagnazzo
Cagnazzo is the final big boss, and he has a water-themed set of attacks.
- Stygian Deluge: Party-wide AoE
- Antediluvian: Big water orbs start forming in pairs and floating over the platform. Six will form in total. In the order of when they first appear, the orbs will trigger huge circular AoEs in pairs. So the east and west orbs’ AoE will explode first together, north and south will go off next, and then the remaining pair of orbs will also explode in two huge overlapping circular AoEs. It’s safe to position yourself roughly in between the two orbs you know are about to explode, and then move quickly to the next safe area. During this phase, Cagnazzo will also do a body slam–flinging players into the goo around the platform if they’re too near the edge. If you end up in the goo, you’ll be inflicted with Dropsy (sustained water damage over time).
- Hydraulic Ram: Cagnazzo will jump to the edge of the platform. Red AoE circles and bars will start flashing and showing up on the platform. When Hydraulic Ram’s cast bar is up, Cagnazzo will zoom across the platform in the pattern players got a preview of. To avoid getting hit by any of his movements, staying near Cagnazzo’s launch position works–but really, you can choose any location that’s not lit up in red. If you get hit once or twice, you could possibly survive (if at full health). More than three hits means certain death.
- Hydrofall: Stack marker is placed on a random player. Stack to absorb damage.
- Cursed Tide: Cagnazzo jumps to the edge of the platform, and four Fearsome Flotsam spear-looking things show up in the arena. Players need to DPS the Fearsome Flotsams down before Cagnazzo’s enrage meter fills. For healers, different markers with a countdown timer will appear next to each party member’s name. Three of them will get slight damage, and one party member will get more damage.
- Voidcleaver: All party members get a purple orb tethered to them. Players should arrange themselves so that the periodic cone-shaped AoEs emitted by the purple orbs do not hit other players. Easiest way to do this is for each player to choose a different corner of the room. At the same time that the orbs are emitting AoEs, Cagnazzo will also set AoE bands off throughout the platform. Avoid both.
- Void Torrent: During Voidcleaver, Cagnazzo will also unleash a Tankbuster. Tanks should aim this away from the rest of the party.
The rest of the fight is just a repeat of the mechanics players have already seen.
After Cagnazzo falls, players will have successfully cleared Lapis Manalis. Congrats! If you haven’t tackled 6.3’s new Alliance Raid, check out our FFXIV Euphrosyne guide.
The products discussed here were independently chosen by our editors. GameSpot may get a share of the revenue if you buy anything featured on our site.
- SEO Powered Content & PR Distribution. Get Amplified Today.
- Platoblockchain. Web3 Metaverse Intelligence. Knowledge Amplified. Access Here.
- Source: https://www.gamespot.com/articles/final-fantasy-xiv-6-3-lapis-manalis-dungeon-guide/1100-6510581/?ftag=CAD-01-10abi2f
- About
- across
- added
- adds
- advice
- Against
- All
- Alliance
- alongside
- amount
- Anything
- AREA
- Arena
- around
- band
- bars
- because
- before
- beginning
- behind
- between
- BIG
- body
- buy
- call
- Call of
- caught
- Center
- central
- certain
- chain
- Circle
- closer
- collapse
- corner
- could
- covered
- covers
- damage
- death
- deluge
- different
- discussed
- distance
- down
- Drop
- During
- East
- Edge
- Effect
- embrace
- Entrance
- Example
- expect
- eye
- Face
- facing
- FANTASY
- featured
- FFXIV
- fight
- fights
- Final
- Final Fantasy
- Final Fantasy XIV
- First
- flashing
- Focus
- focused
- follows
- form
- format
- fresh
- front
- full
- Gamespot
- Gaming
- getting
- going
- Group
- guide
- Health
- here
- Hide
- How
- How To
- How to Unlock
- HTTPS
- huge
- ICE
- image
- immediately
- independently
- IT
- jump
- King
- large
- launch
- launches
- Level
- light
- List
- located
- location
- Long
- major
- May
- Mechanics
- member
- Members
- monsters
- more
- move
- movements
- Near
- need
- New
- North
- number
- One
- open
- Orbs
- order
- Other
- P
- Party
- Pattern
- People
- phase
- platform
- plato
- plato data intelligence
- platodata
- platogaming
- player
- players
- Portal
- position
- Preview
- Products
- quest
- quests
- quickly
- raid
- RAM
- RE
- red
- remove
- Repeat
- REST
- revenue
- right
- Rock
- room
- roughly
- Run
- s
- safe
- Screen
- set
- Share
- SIX
- snow
- So
- Soul
- South
- start
- stay
- successfully
- such
- survive
- Tether
- The
- themselves
- things
- Throughout
- Tide
- time
- together
- Torrent
- transport
- Twins
- twist
- unleash
- unlock
- up
- Update
- Warrior
- Watch
- Water
- West
- What
- yourself
- zephyrnet
- zero
- zoom