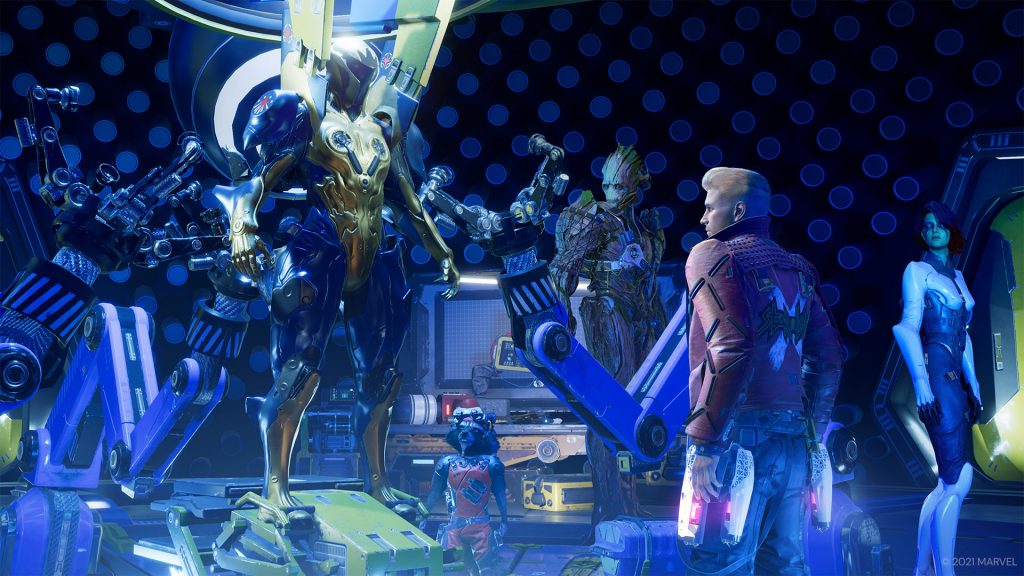
Learn more about the galaxy and your fellow guardians with the Guardian Collectibles (or Items) in Guardians of the Galaxy. Unlike the many, many text notes scattered across each chapter, the Guardian Items can be pretty tricky to find. They’re often hidden away in alcoves you won’t normally look, and finding them increases your partnership with your crew — seriously, finding items unlocks bonus conversations when you’re on your ship between big missions. You can talk to them all about the stuff you find. Even if you’re not hunting achievements / trophies, this is a fun way to squeeze even more amusing interactions out of these characters.
Guardians of the Galaxy is the new MCU-adjacent game made by the master developers at Eidos Interactive, creators of Rise of the Tomb Raider and Deus Ex: Mankind Divided. A Guardians of the Galaxy third-person shooter might seem like an odd fit, but after playing through the game ourselves, we’re pretty dang impressed. This is an old-school single-player game with some new-school twists, making it an odd delight in the age of live-service games and other completely overly complicated franchise junk. This is a video game that anyone can easily enjoy, and sometimes that’s all we want.
How To Find All Guardian Items |Collectible Locations
Guardian Items are special collectibles that are stored on your ship. You can have unique conversations with characters once these items are found and returned to the ship. To unlock all the Galactic Entries, make sure to revisit all the items you find in your ship.
For finding Guardian Items / Compendium Entries, you’ll earn the following achievements / trophies.
- Thoughtful Captain: Find half of the Guardian Collectibles.
- Managerial Skills: Find all of the Guardian Collectibles for One Guardian.
- Lore Hoarder: Collect 65% of all Galactic Compendium entries for each category.
As long as you find MOST (not all) items and outfits, and collect all the archives you can find as you explore, you’ll earn all the achievements / trophies.
Chapter 1
- Ravager Comm Bracelet: After Star-Lord falls through the floor of the ship, you’ll have to find another way up and around. Crawl through the nearby vent after getting up and break the eggs in the corner to find this item.
- Spinal Control Unit: In the old mining equipment area where Star-Lord describes his surroundings to Drax, go through the path to your right, then turn right again to find old metal stacks you can boost-jump onto, leading to a high platform. Blast the eggs in the corner to find this item.
Chapter 2
- Broken Translation Device: Entering Nikki’s secret hideout, look behind the crates up the 2-3 steps on the right wall, under the computer monitors.
- Nikki’s Personal Device: Collect this by siding with Nikki in the elevator ride conversation. Side with her, and she’ll give you this device at the end.
- This collectible is required to unlock more collectibles in Chapter 7.
Chapter 3
- Chitauri Sea-Cuffs: In the large open area where the Guardians discuss the refugees and the war, stop at the vent and look left. There’s a scratched wall Gamora can cling to. Shoot down the large box after climbing up.
- Order Drax to pick it up and move it to a high rock ledge a little earlier down the path on the right. From up high, go towards the pit and look down and right for another ledge you can boost-jump down onto.
Chapter 4
- Assassin’s Ring: ONLY AVAILABLE ON THE “SELL GROOT” PATH. When you enter the circular room where Star-Lord talks about the Death Star architect (due to no safety railings) enter the first door on your left. As you enter, look behind the crates to your right.
- OPTIONALLY – ONLY AVAILABLE ON THE “SELL ROCKET” PATH. In the room with the giant skull in the center. This area has a text note and the ring at about 2 O’Clock when facing the skull.
Chapter 5
- Cold Case File: Entering the large (and empty) Nova Corps control room, go down the steps at the entrance and then look left of the control console, on the ground next to a water cooler.
Chapter 6
- Knowhere Lottery Ticket: Reach the upper levels of the large explorable city section. On the upper levels, look for an egg-shaped vendor with a holographic blue face. This thing sells tickets. Purchase one for 1,000 units.
- Nova Force Lock Disabler: In the city, down the path from the ticket dealer, you can also find a rat-like vendor behind a kiosk. From here, you can buy the Nova Force Lock Disabler for 1,500 units.
- Collector’s Emporium Ticket: You can’t miss the Collector’s Emporium. At the entrance, there’s a strange machine with an alien smooshed inside. It sells tickets for 5,000 units each.
- After purchasing a ticket, you’ll get 1 of 3 different dolls. You’ll get 1 per chapter playthrough. Use the ticket at the doll vending machine on the far side of the city to get your random doll. To get them all, you’ll need to replay this level three times.
- Collector’s Emporium Doll: Go inside and you can purchase the green doll for 2,000 units at the right terminal.
Chapter 7
- Drax’s Rap Sheet: Inside the red-lit hallways, use the Nova Lock Disabler on the door to reach a Workbench area. Shoot the gunk out of the right wall, then squeeze in. Continue down the path until you reach a dead end with a text file.
- Turn around and look up. Shoot the gunk to drop a crate and climb up. At the upper level, you’ll see yellow crates to your right. Look in the dark corner behind them to find this item.
- Chewbacca Toy: Returning to Nikki’s secret hideout. Unlock the vent and send Rocket inside. When you enter the smaller room, Star-Lord will automatically find this toy.
- Galactic War Commendation: In the office that’s covered in insane scribbling, look behind the flag pole on the back-left behind the desk.
Chapter 8
- Deep Mine Device: After leaving the large control room where Rocket messes with the terminal, go down the passage through the door that opens until your team veers left. At this corner, jump on the large chrome ring device on the right to reach a higher level. At the top, you’ll find this device on the floor.
Chapter 10
- Mourning Candle: Early in the chapter, after passing the waterfall and reaching the red rock cavern, you’ll drop down a step with the team and continue forward. Look left for a narrow path Star-Lord can squeeze into before proceeding.
- Jump and crawl through the crystals. The candle is at the top of the ledges.
- Meditation Stone: In the underground room with light streaming in from a hole in the ceiling, use your ability on the stone face on the right to move it. Clear the gunk blocking the path inside the stone face. Get through the poison gas emitters and reach a ledge overlooking the room you were just in. The item is on the edge.
Chapter 12
- Glarnot Mask: Back in Knowhere, return to the Collector’s Emporium and slide down the wrecked ramp. At the bottom, turn left and clear the poison emitters. Hop onto the platform that was previously covered in poison fog to collect this item.
Chapter 13
- Xatar’s Blade: In the ice spire canyon, clear out the bugs and follow Gamora across the Groot bridge on the left. Just after crossing, order Gamora to use the scratched rock wall on the right — climb up to find a broken sword at the top of the cliff.
- Deeproot Plant: Entering the forest where the Guardians talk about Warlock torturing Raker, go to the right and look on the snow-covered rocks on the edge for this collectible.
