The Minecraft 21W19A version update has prohibited players from opening the game with a JNI error. Older installations or corrupted files in broken path variables can cause this issue to transpire on your computer. Here is how to fix a ‘JNI error has occurred’ in Minecraft.
How to Fix a JNI Error Has Occurred in Minecraft
An old version of Java may be why the JNI error has occurred in Minecraft. To fix this issue, you’ll need to install the latest JDK (Java Development Kit). However, if the problem still occurs, there is a possible solution to address this problem as well. Here is a step-by-step guide to resolve the JNI error:
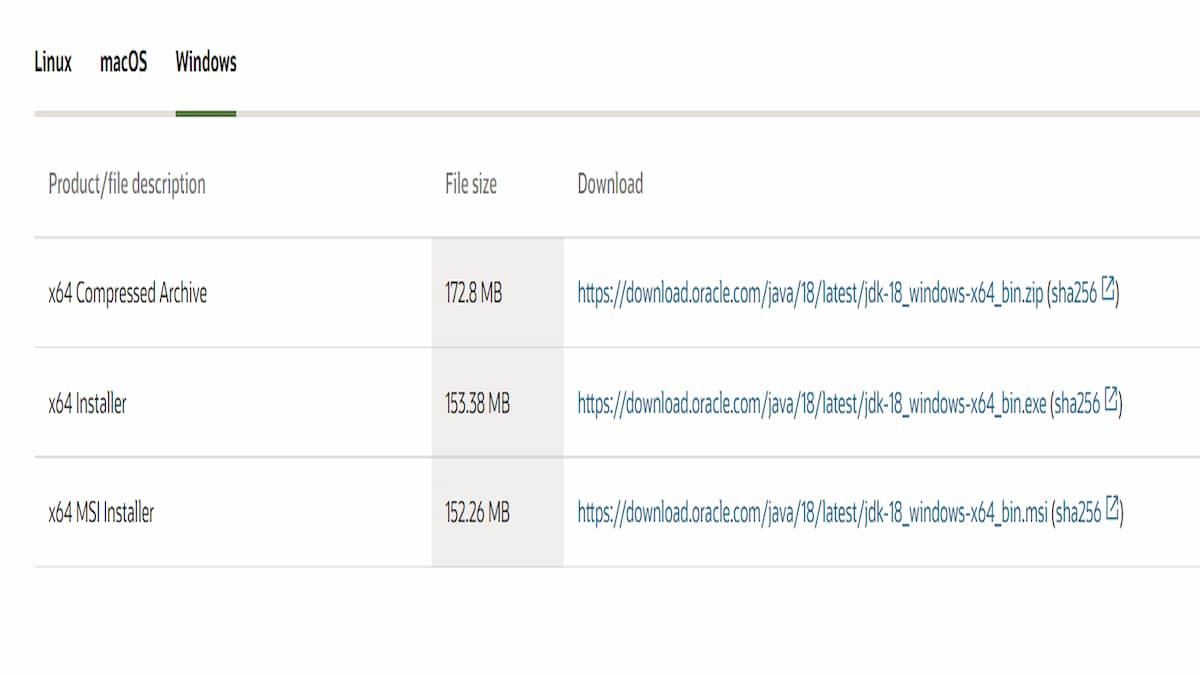
- Go to the official website for Java and find the latest version.
Visit the Oracle website and download the latest Java installer to your computer. Be sure to install the correct version for your system (Linux, Mac, or Windows).
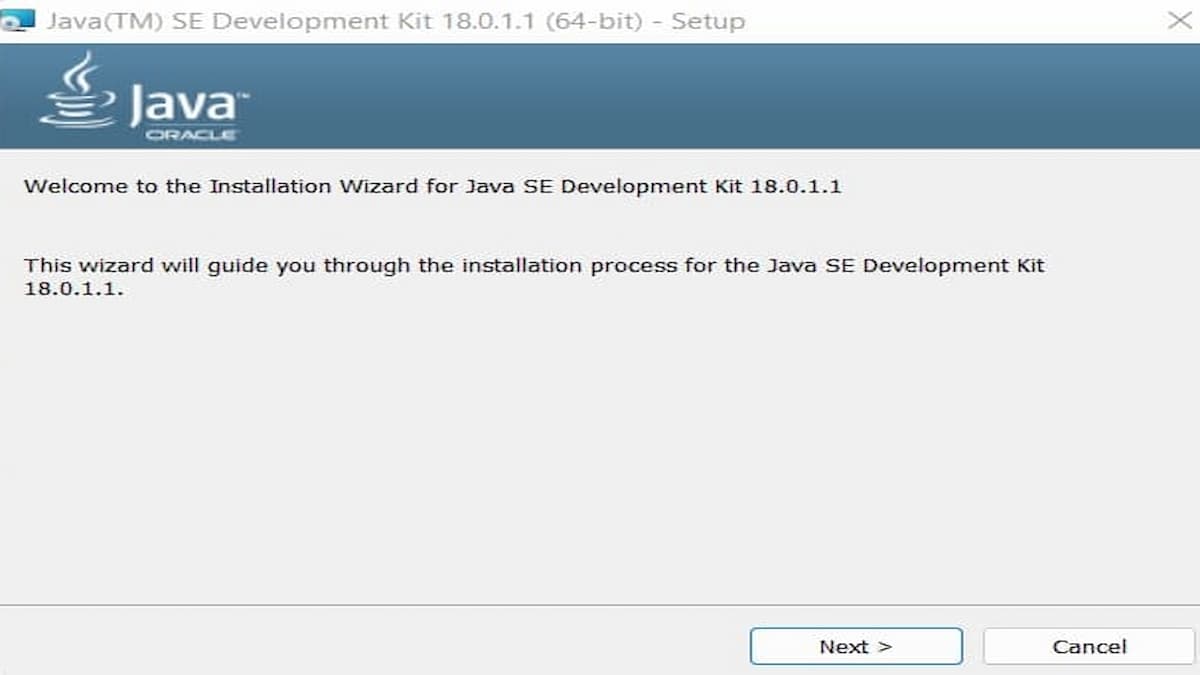
- Install Java.
Once you download the latest Java installer, continue to press the ‘Next’ buttons on the Installation Wizard.
- Launch Minecraft.
Now that you have successfully installed the latest Java version on your computer, it’s time to see if the problem still occurs. Open up Minecraft and check to see if the JNI error pops up.
- Open your Run dialog box.
If the JNI error window is still present, your path variable of Java may be corrupted or broken. For Window users, Open your Run dialog box by either searching for it on your Start menu or pressing the ‘Window’ and ‘R’ keys together.
Mac users will need to access their terminal by searching for it on the LaunchPad or the Search Icon on the top-right of the screen. - Type in ‘sysdm.cpl‘ and hit ‘Enter.’
This step will launch your System Properties to find the corrupted file.
- Go to the ‘Advanced’ tab and click the ‘Environment Variables.’
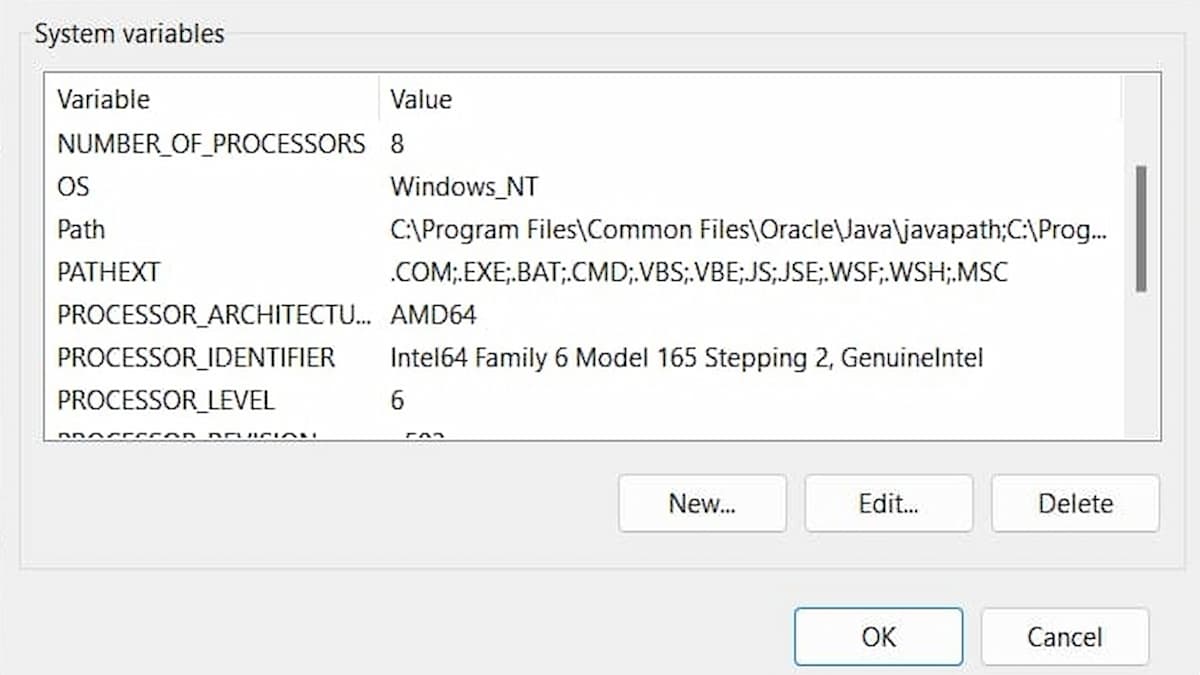
- Click and Edit ‘Path’ in the ‘System Variables’ section.
Search through the ‘System Variables’ section in the ‘Environment Variables’ tab and click on ‘Path.’ You’ll need to edit this to delete the broken file.
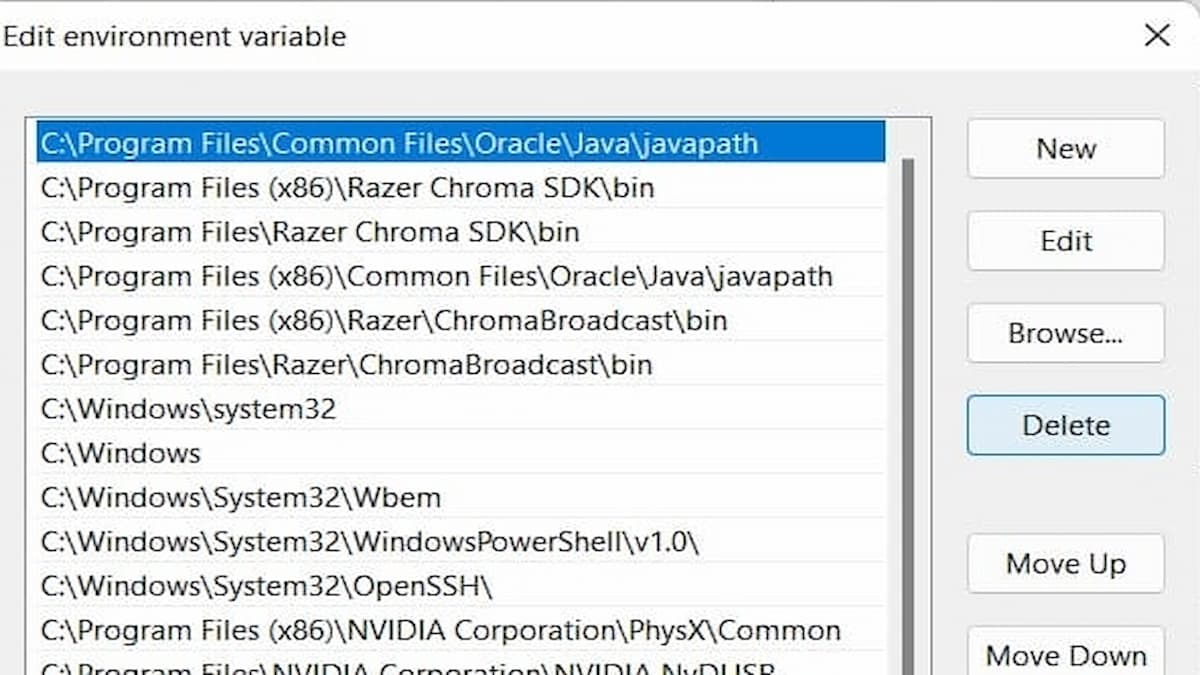
- Delete the Java file.
Find the Java file with the corrupted Oracle file and delete it.
- Restart your PC and Open Minecraft.
Now that the broken file is gone, restart your computer and open Minecraft to see if the issue persists.
If none of these methods work, you can check out Mojang Studios Bug trouble solution website. Or, you can also copy and paste the latest version file into the older one and see if that resolves the problem.
Now that you know how to fix the ‘JNI Error has occurred’ in Minecraft, hopefully, the issue is now resolved with this guide. If you need help with other Minecraft issues or want to explore more of its content, check out the relevant links below and keep up with the latest news and updates on Twinfinite.
- "
- access
- auto
- Box
- Cause
- computer
- content
- continue
- Development
- Enter
- Environment
- explore
- Fix
- game
- guide
- help
- How
- How To
- HTTPS
- ICON
- install
- IT
- Java
- keys
- kit
- latest
- launch
- links
- linux
- mac
- May
- Minecraft
- more
- official
- open
- opening
- oracle
- Other
- PC
- players
- possible
- present
- press
- Run
- s
- Screen
- Search
- solution
- start
- successfully
- system
- Terminal
- The
- Through
- time
- together
- users
- version
- Website
- windows
- Work