The beating heart of any PC is its central processing unit, or CPU.
No wonder a fast CPU is a point of pride for many enthusiasts. It’s also a must-have for anyone looking to get intensive work done. In recent years, upgrading to a bleeding-edge CPU has become less important in light of ever-faster graphics cards and the experience-altering goodness of SSDs. But with the recent introductions of 12th-gen Intel “Alder Lake” and AMD Ryzen 5000 processors, the CPU battles are heating up once again in both price and performance!
With so much on the line, you want to get it right. Swing over to our guide to the best CPUs for gaming for help with choosing your next processor, then follow these step-by-step instructions on how to install a CPU in your PC.
How to install an Intel CPU
First we’ll look at installing Intel’s CPUs, and then AMD’s chips.
Start with your motherboard outside of your PC’s case, on a flat surface. Release the small metal lever holding the CPU retention bracket to Intel’s LGA socket in the motherboard.
Thiago Trevisan/IDG
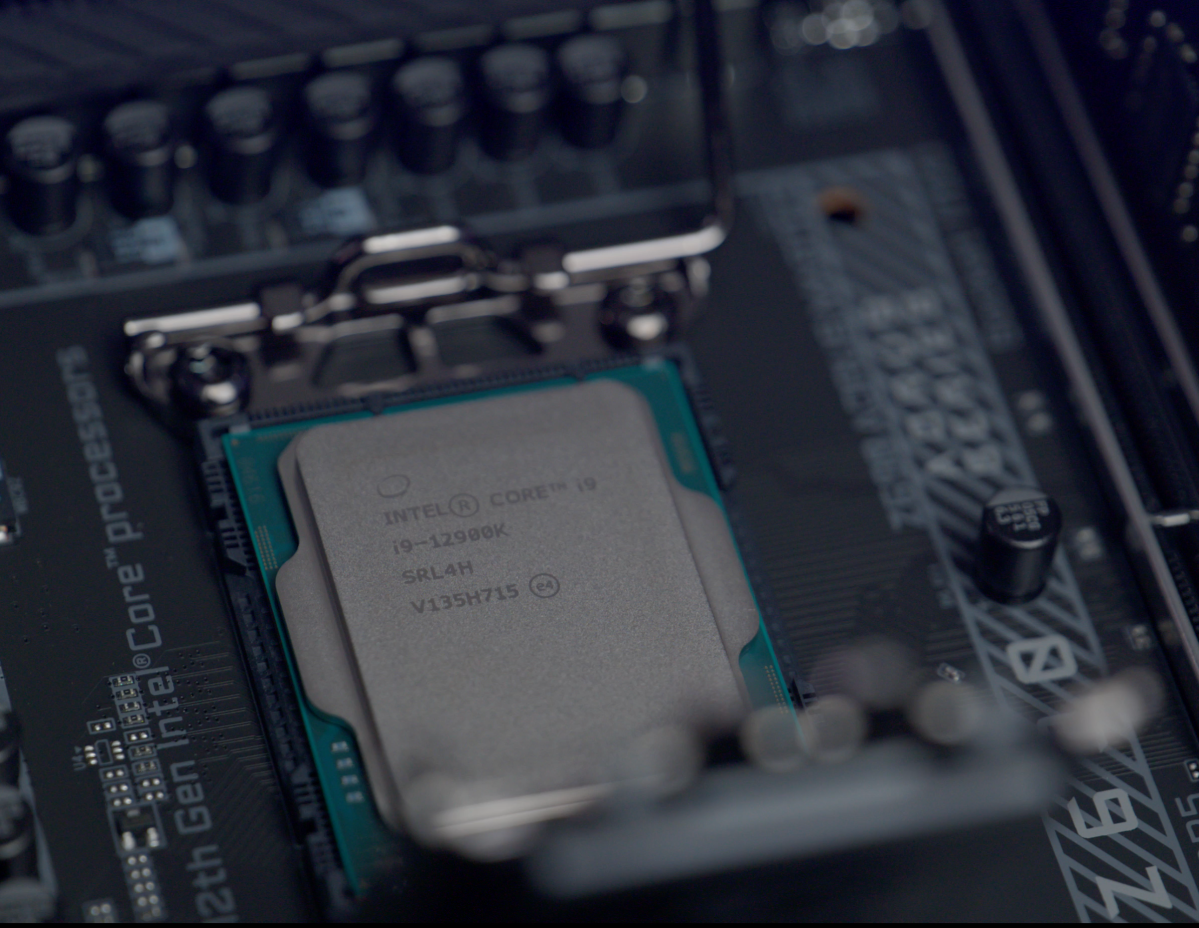
Now you can insert your chip. Make sure that you line up the two guiding notches on the socket with the notches along the edge of your chip. These notches are designed to prevent you from seating the CPU in the socket in an improper manner. The CPU will often have a small triangle or similar indication to line up with the socket, such as on the lower left. With the chip seated in the socket, you can lower the retention bracket back into place. Make sure that you slip the notch at the end of the bracket around the single screw at the base of the socket before you use the metal lever to lock the CPU into place.

When the CPU’s installed, it’s time to attach the cooler. If you’re using the stock Intel cooler there will already be thermal grease on the underside of the heatsink. If you’re using an aftermarket cooler, then you’ll need to apply a small rice-grain-sized dot of thermal grease—your cooler likely came with a small syringe of it—to the center of the CPU before you set the heatsink on top of it.
One of the nice things about Intel’s stock heatsink is that it uses push pins to attach itself to the motherboard. Simply place the cooler on top of your CPU and then press the push pins into the holes at each corner of the socket. Once the pins have been pushed through to the other side of the motherboard, press the black locking tab down into the mounting pin and twist it toward the center of the CPU, following the arrow engraved into the push pin, to lock the heatsink into place.

The final step is to connect the fan header wire leading from your CPU to the CPU fan header on your motherboard.

Don’t forget to connect the cooler’s fan to your motherboard!
For aftermarket coolers this process can be more complex and potentially involve custom heatsink retention brackets and mounting solutions. It’s best to follow the manufacturer’s instructions and refer to the relevant YouTube videos for guidance with those products.
How to install an AMD CPU
AMD’s chips have both a different kind of socket (called AM4) and a different method of mounting heatsinks compared to Intel’s system. One key difference is that you’ll find the pins on the CPU itself instead of the motherboard, so take extra care while handling these.
Side note: When removing an AMD cooler, go slowly and carefully, as some coolers have been known to rip out the CPU from the socket with sticky thermal paste. The AMD retention bracket is not as strong as the one used by Intel.
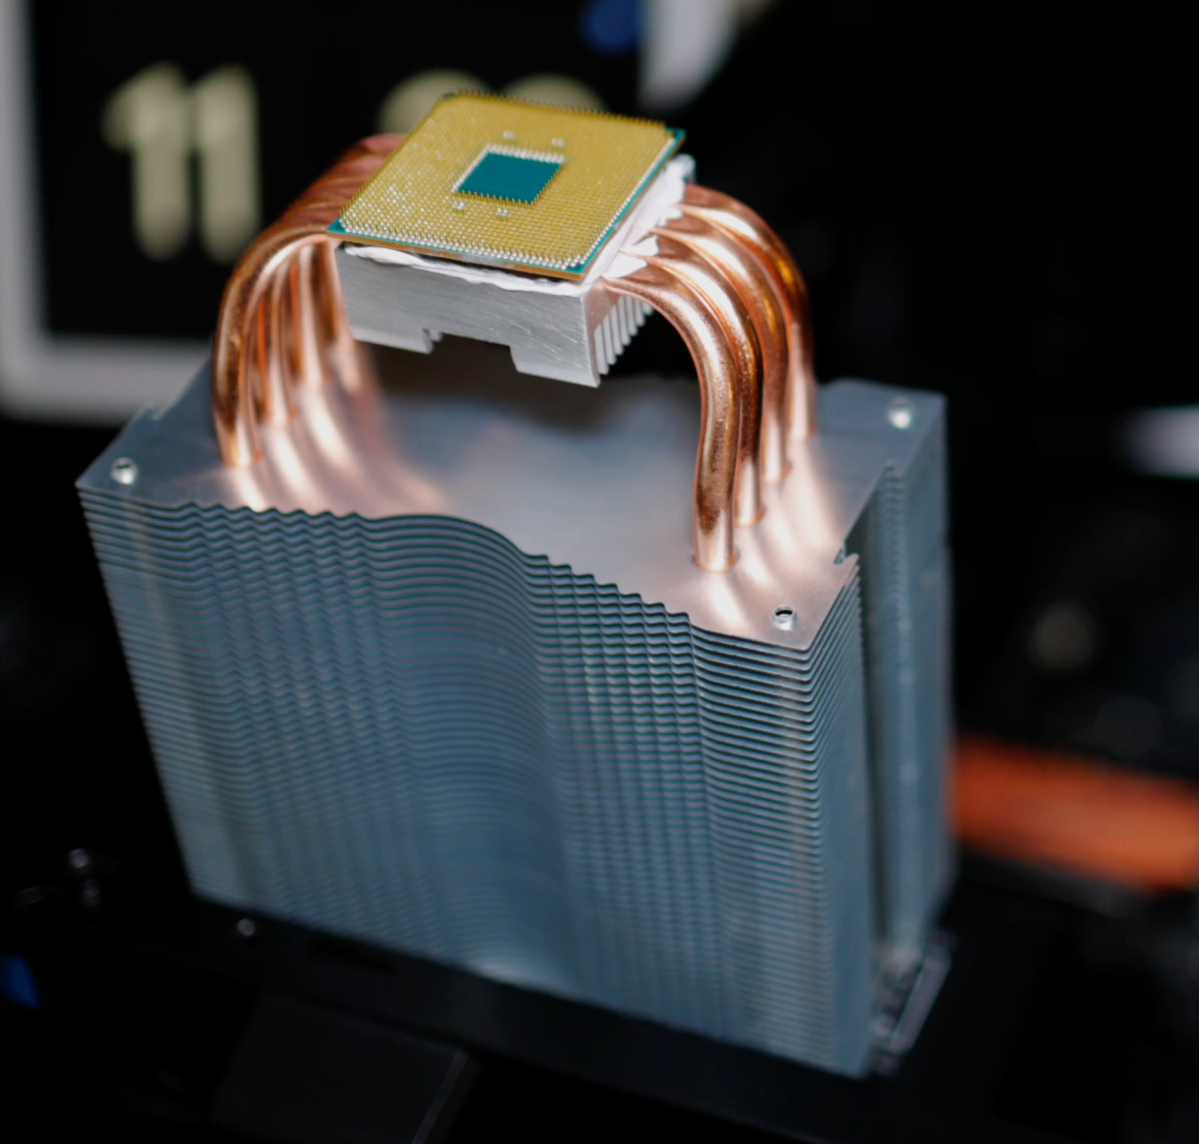
Don’t let this happen to you when you’re removing an AMD Ryzen processor.
Thiago Trevisan/IDG
To install an AMD Ryzen CPU in your computer, start by flipping the CPU locking lever up from the socket. Then you can place your AMD CPU in the socket in such a way that the gold triangle on the corner of your chip matches up with the engraved triangle on the corner of the CPU socket. A light press should then seat your CPU firmly in the socket. Lower the retention lever on the side of the socket to lock your chip into place.
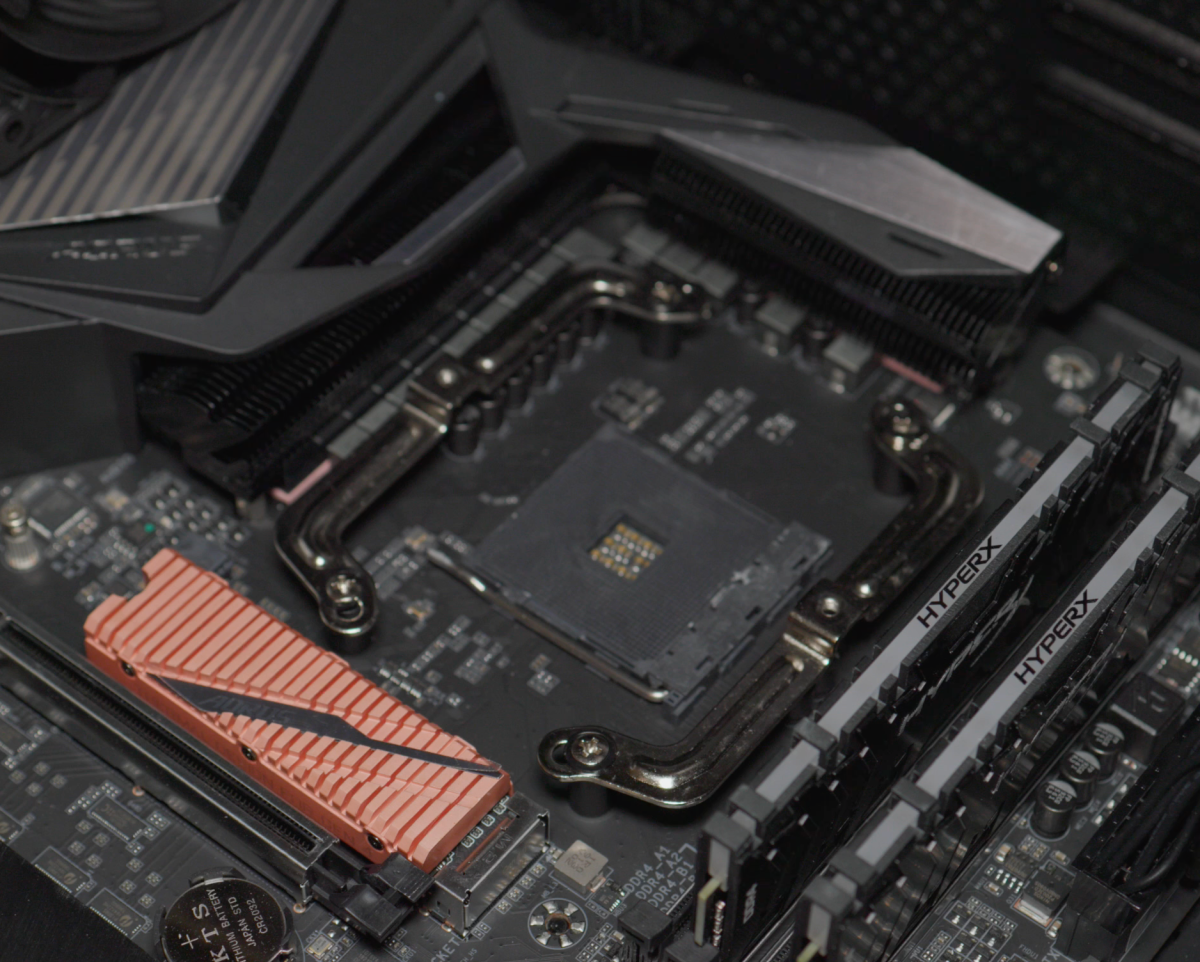
AMD X570 AM4 Socket
Thiago Trevisan/IDG
As with Intel’s stock cooler, AMD’s cooler will also come with thermal material on its underside from the factory. The big difference between Intel’s and AMD’s stock cooling solutions is that while Intel’s mounts with push-pins, AMD’s mounts with a more traditional notch-and-lever combination.
Start by hooking the mounting bracket on the cooler on to the plastic notch at the top end of the CPU socket. Then hook the bracket onto the notch at the opposite end of the socket. From here you can toggle the locking lever to press the heatsink up against the CPU and hold the heatsink firmly to the motherboard. Hooking both of the plastic notches with the heatsink mounting bracket is the most difficult part of this installation process.

You have to hook the cooler’s bracket over the plastic notches on the cooler mounts at either side of the processor’s socket on the motherboard.
Now you’ve successfully picked out the right CPU for your PC build and you’ve correctly installed it into your motherboard. Your computer’s not done yet, but you’ve taken a big step on the road to computing nirvana.
If you’re planning to do water cooling, water blocks typically will have their own mounting hardware for both AMD and Intel, with backplates and special thumbscrew hardware. The same is true of third-party air coolers and all-in-one liquid coolers as well; following the instructions that came with your cooler should yield good results.
Editor’s note: Thomas Ryan also contributed significantly to this article.
- About
- AMD
- around
- article
- BEST
- Black
- build
- care
- case
- chip
- Chips
- computer
- computing
- contributed
- different
- down
- Edge
- factory
- FAST
- follow
- Gold
- good
- graphics
- guide
- Handling
- Hardware
- here
- hold
- How
- How To
- HTML
- HTTPS
- important
- Intel
- IT
- Key
- large
- leading
- light
- Line
- Liquid
- metal
- more
- Other
- PC
- planning
- plastic
- press
- price
- Process
- Products
- release
- Results
- road
- SEAT
- set
- small
- So
- Solutions
- start
- stock
- Surface
- system
- The
- thermal
- Through
- time
- top
- traditional
- twist
- Videos
- Water
- Wire
- Work
- years
- Yield
- youtube
- zoom