Completing missions in Armored Core 6: Fires of Rubicon is the bread and butter for every mercenary. But some of them hide special encounters, enemies carrying Combat Logs, and hunting them adds a layer of difficulty to the assignment. If you’re up to the challenge, then you should try to collect all Combat Logs and increase your Hunter Class rank.
Hunting these special targets is not only a matter of honor and testing your skills as a pilot. Some good rewards await you as well. To assist you in completing the Loghunt missions and collecting all the Combat Logs, we cover in this article the locations of all the Combat Log enemies.
How Loghunts work in in Armored Core 6
The Loghunt Program is one part of the side content in Armored Core 6, consisting of hunting for collectibles called Combat Logs. These are obtained by defeating certain targets that can be found during missions. They are marked with the sign of a Combat Log when you aim at them, which looks like this:
To check which missions have enemies with Combat Logs, you can look at the Replay Mission menu.
There are four types of Combat Logs — Bronze, Silver, Gold, and Platinum — and each increases your rank by a certain amount. While collecting Combat Logs is not mandatory, you should consider doing it, because as you collect them, your Hunter Class ranks up, rewarding you with parts for your mech that are only obtainable through the Loghunt program.
It’s important to keep in mind that the Combat Logs are only registered and used to rank you up if you destroy the target and finish the mission. You can’t simply start the mission, look for the target, defeat it, and then quit out. As with all things Armored Core 6, you’re in it for the long haul.
Chapter 1 – Destroy the Transport Helicopters
Target: Tetrapod
Location: The tetrapod unit that can be found in the last section of the mission.
After destroying the second Helicopter, you need to go to a higher section of the map and fight the remaining enemies that are close to the third and last helicopter. This is where you find the tetrapod. It has a few gap-closer moves and a cannon. Both attacks can be avoided by remaining airborne — and constantly staying on the move.
Chapter 1 – Destroy the Tester AC
Target: Enemy Armored Core.
Location: Main area of the map.
You can’t miss this target because the mission’s objective is to destroy it. It can be easily found in the area you start at. This is a faster enemy than the previous target, so you might want to try a close-range dual-weapon build to cause a lot of stress to it and stagger it more easily.
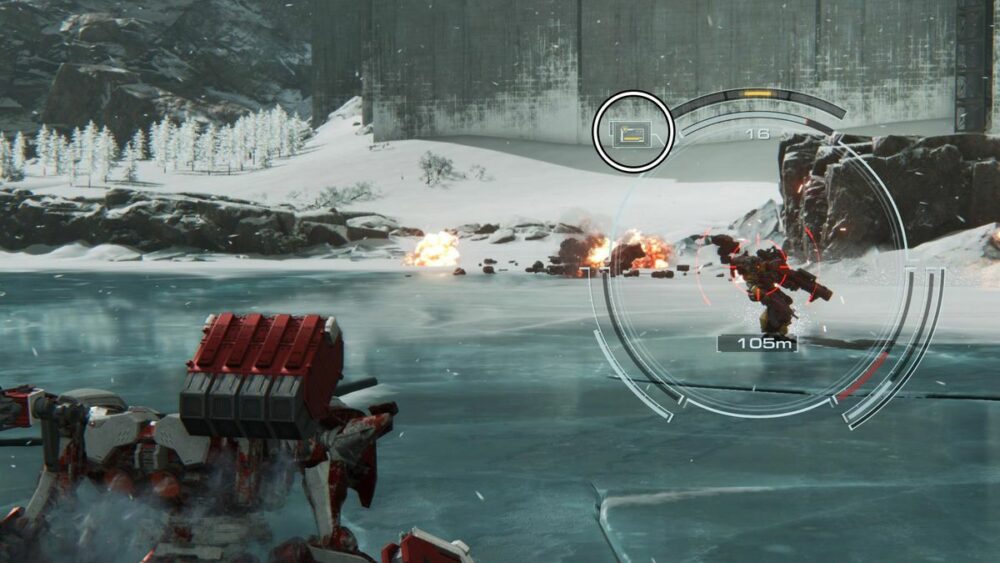
Chapter 1 – Attack the Dam Complex
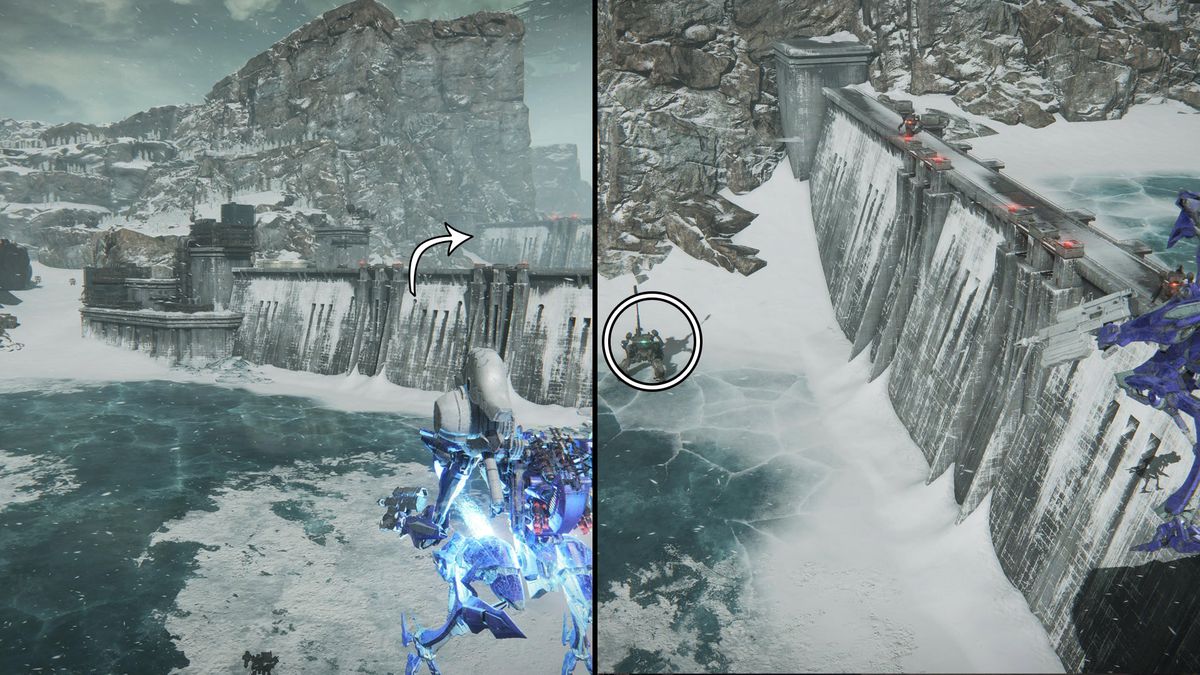
Target: Tetrapod
Location: The unit is in an area right from the second generator.
This unit uses a cannon to hit you, a small gun to shoot you, or it might jump and attack with its pulse blade. The strategy to fight it is similar to the one employed with the previous tetrapod unit. Keep moving and take advantage of the fact that this unit can’t fly. Before starting the fight it’s important to kill the two mechs at the top of the wall.
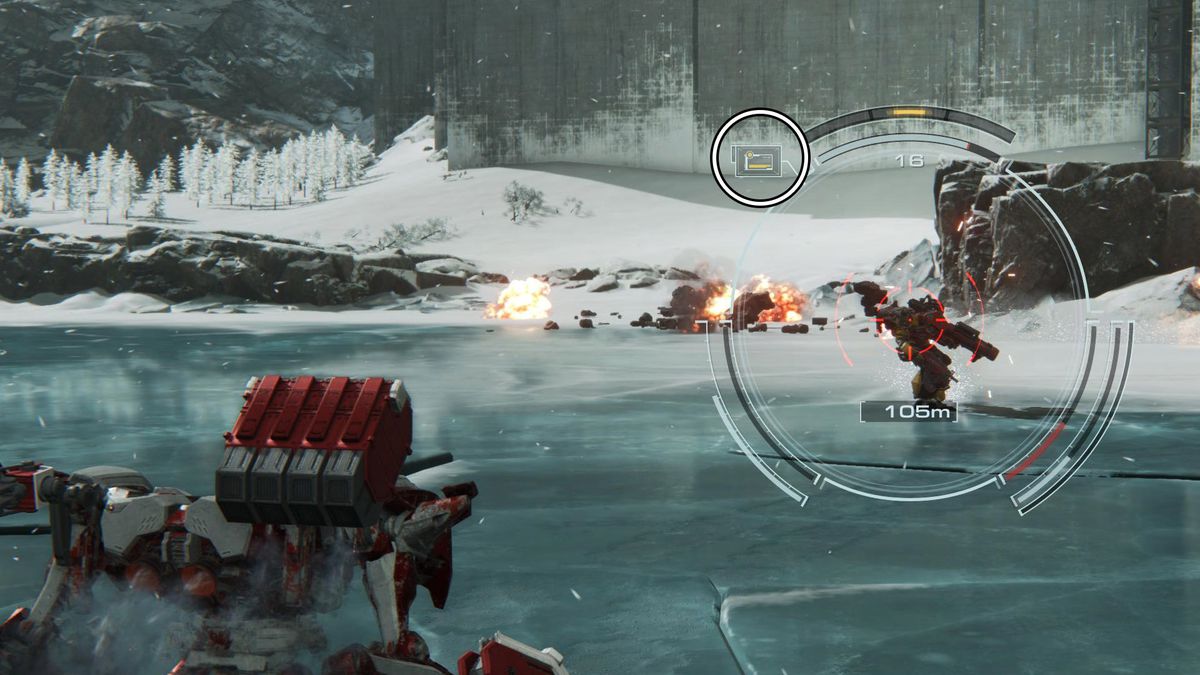
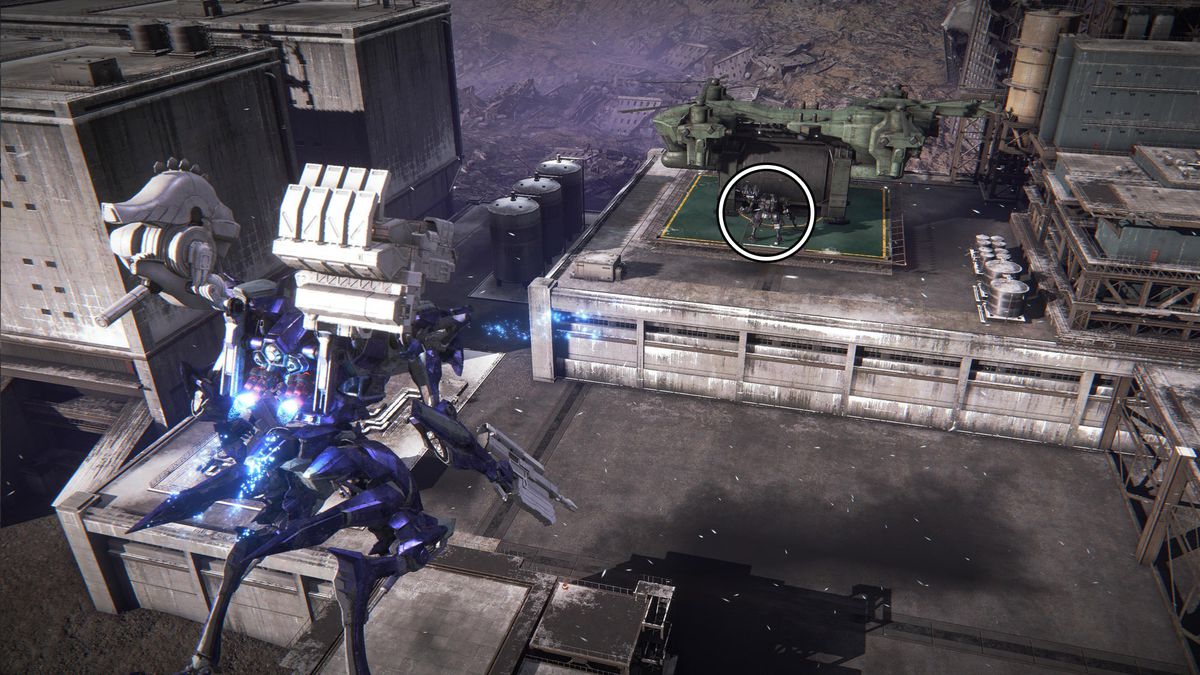
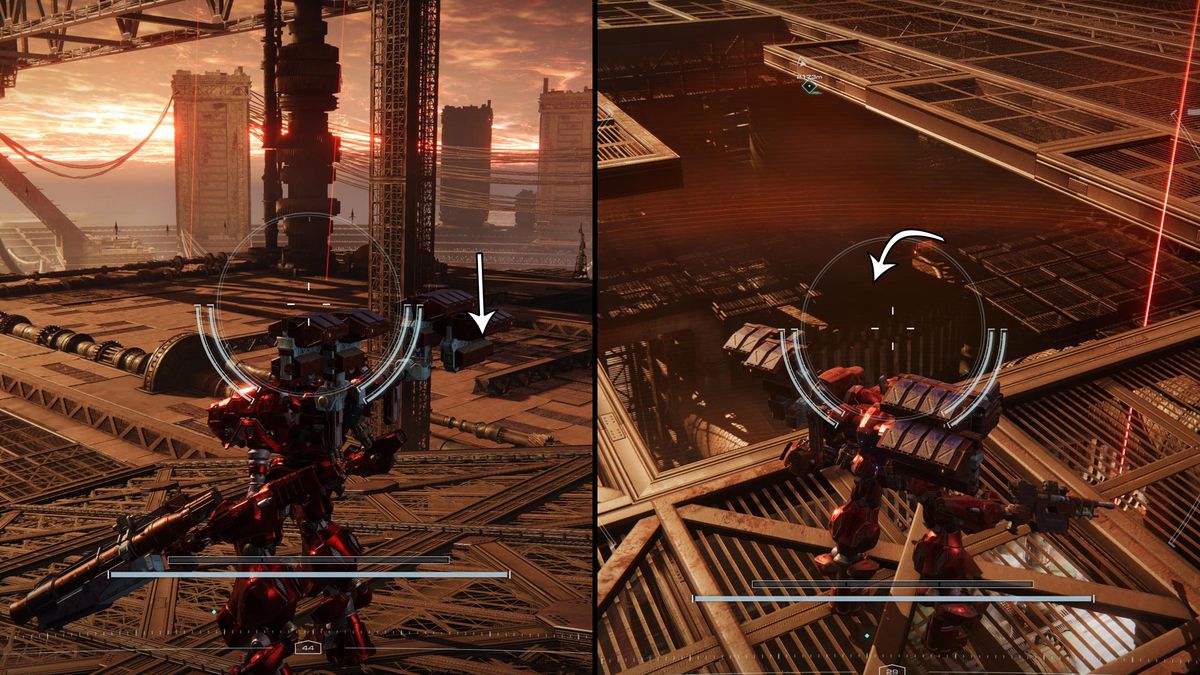
Chapter 1 – Operation Wallclimber
-

Image: FromSoftware/Bandai Namco via Polygon -
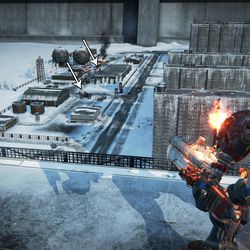
Image: FromSoftware/Bandai Namco via Polygon


Target: Three Enemy Mechs
Location: Left section of the initial area, before infiltrating into the wall.
There are two ways to reach the area where you’ll find these three units. The first one is through following the steps to complete the objective of destroying the gatling cannons and clearing most of the area. Or you can try your luck and fly over the left side of the wall. This last one is the most dangerous strategy since there are a lot of cannons in the area that can hit you from afar.
Chapter 1 – Retrieve Combat Logs
-
Image: FromSoftware/Bandai Namco via Polygon -
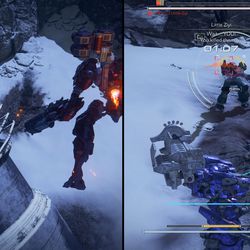
Image: FromSoftware/Bandai Namco via Polygon


Target: Yue Yu/ Little Ziyi
Location: They can be found in the lower part of the map.
When the mission begins, if you just go straightforward, you come upon an open area with huge debris. By jumping into it, you can find where Little Ziyi is. Fighting this unit is not complicated, but you need to keep up with their pacing and try to stagger them. However, your main challenge is to finish them quickly so you have time to complete the mission’s objective of retrieving logs spread on the map before the time runs out.
Chapter 1 – Attack the Watchpoint
Target: Sulla
Location: Sulla is the miniboss you have to face in order to progress through the mission.
Sulla has a pretty fast AC unit and, depending on the build you’re running, it can be a problem. Focus on causing constant damage with either missiles or close-range weapons. Slower builds might have a hard time facing this enemy.
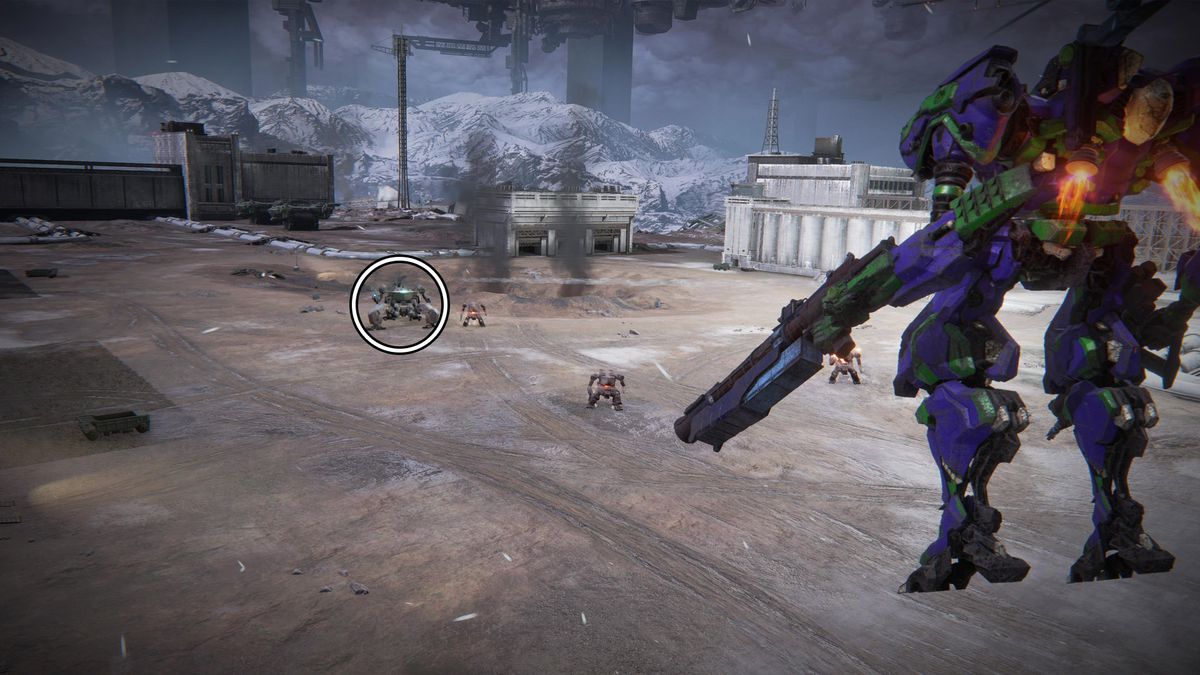
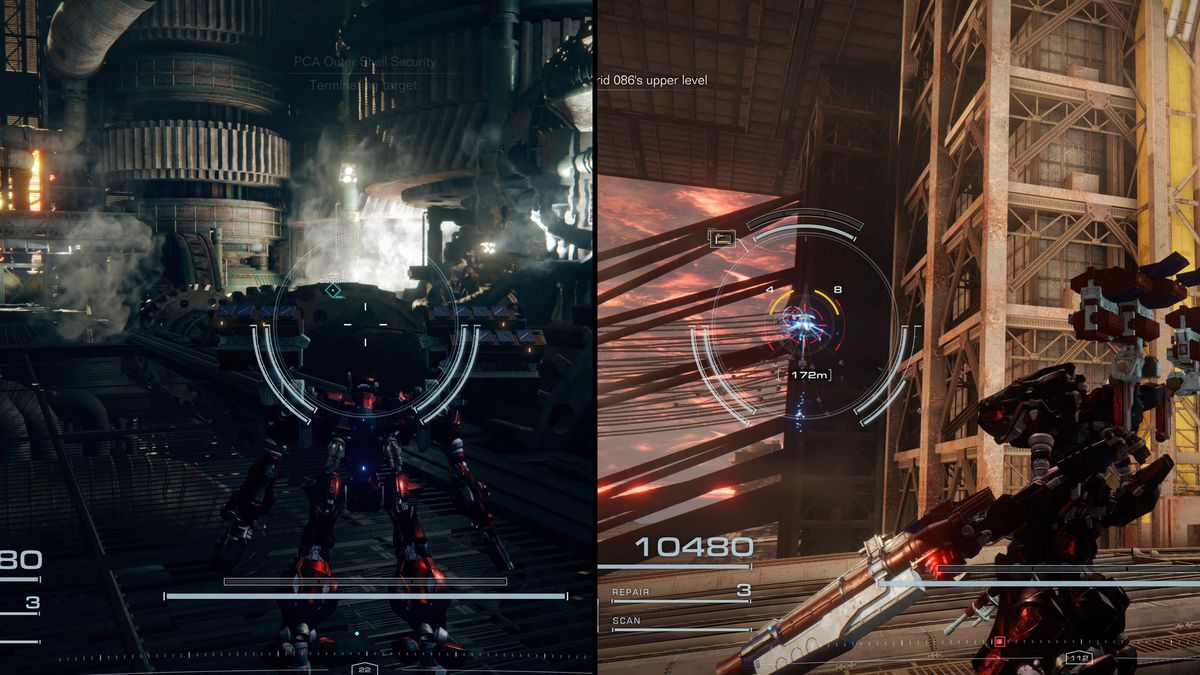
Chapter 2 – Infiltrate Grid 086
Target: “Invencible” Rummy
Location: You end up meeting him in the initial sections of the mission.
Facing Rummy is quite easy if you learn to use his attacks against him. When Rummy uses his melee attack, he becomes motionless for a brief period. The best strategy is to bait him into using this attack by staying considerably close to Rummy. Then, wait for his attacks to shoot your missiles or heavy weapons.
-
Image: FromSoftware/Bandai Namco via Polygon -

Image: FromSoftware/Bandai Namco via Polygon


Target: Three Light MT Units
Location: The right side before reaching the center of Grid 086’s lower level.
When you get around 500 meters from the place the mission is sending you, in front of a gate with a yellow sign, turn right, and go to the lower part of the platform. There, you find the Light MT units you need to beat up. These units are similar to some you have already fought during this mission. Avoid getting too close to them, and you should be good.
Chapter 2 – Ocean Crossing
Target: 4x Flying Units
Location: Two are on the right side before leaving the first part of the initial area, while the other two at the end of the path you find after the first duo.
Once the mission begins and you’re out of the elevator, jump straight into a hole on the lower level. This is a short corridor with only one exit. Destroy the targets on your way.
When you get to the exit of the corridor, turn right. There, you find the two flying units on the wall.

Jump over the edge and follow the path to the right. There is a short corridor. Follow it and you will find the other two units on the left.
Chapter 3 – Steal the Survey Data
Target: Heavy MT Unit
Location: In the middle section of the mission
From the starting point of the mission, follow the road on the right. Destroy the first group of units you meet in your way. In the next part of this area, you can find the Heavy armor unit with the Combat Log.
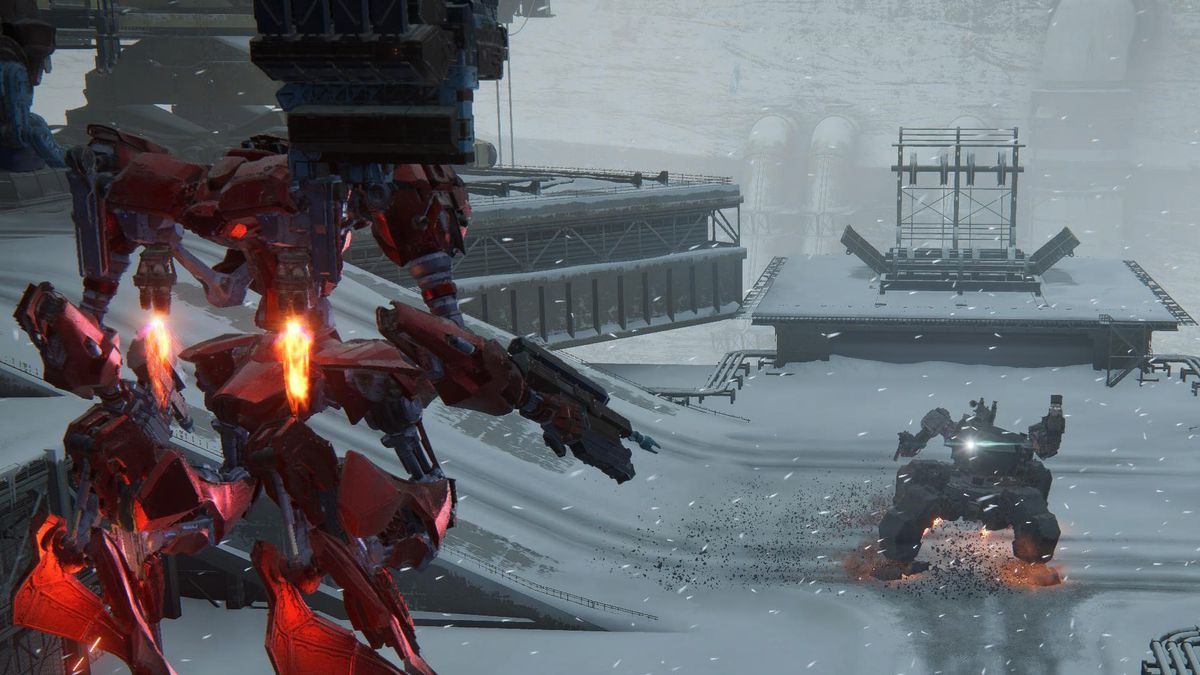
Chapter 3 – Attack the Refueling Base
Target: LC Unit
Location: Under a bridge that you find during the middle section of the mission.
After completing the first section of the mission, where you fight some units and destroy a few tanks, you end up on a long bridge. By jumping over the left side of it, you can find some units under the bridge. The one with the Combat Log is an LC Unit that is targeting you with a plasma gun.
Chapter 3 – Eliminate V. VII
-

Image: FromSoftware/Bandai Namco via Polygon -
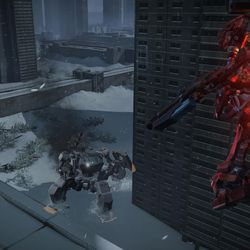
Image: FromSoftware/Bandai Namco via Polygon


Target: 1x Heavy MT Unit and V. VII Swinburne
Location: The Heavy MT unit in one of the streets near to where is the first checkpoint in the mission.
When the mission begins and you make your way to the first checkpoints, follow the wall on the right side. Once you get close to the checkpoint, you can find the target hidden next to some buildings. The challenge in fighting it is to avoid getting caught by the other units, so try to clear the area first.
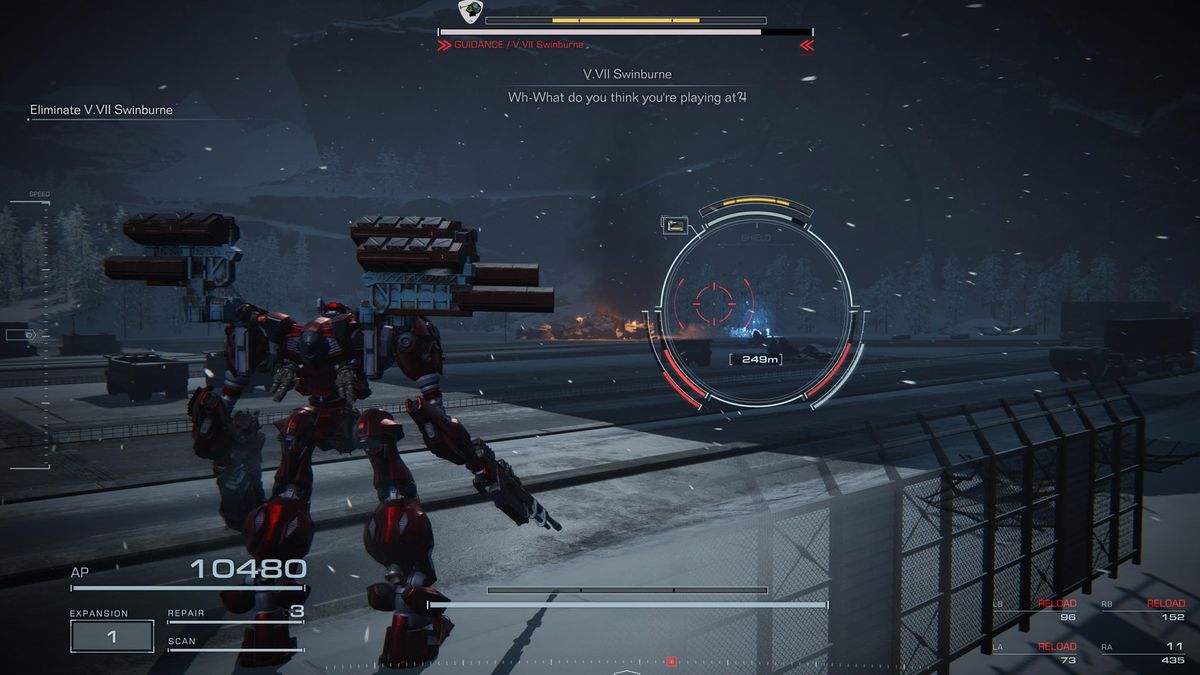
Target: V. VII Swinburne
Location: V. VII Swinburne is the final encounter of the mission.
V. VII Swinburne is impossible to miss since you have to fight him to complete the mission. This is not a complicated encounter, but it’s important to keep a safe distance from him. If not, you might be hit by his melee attacks.
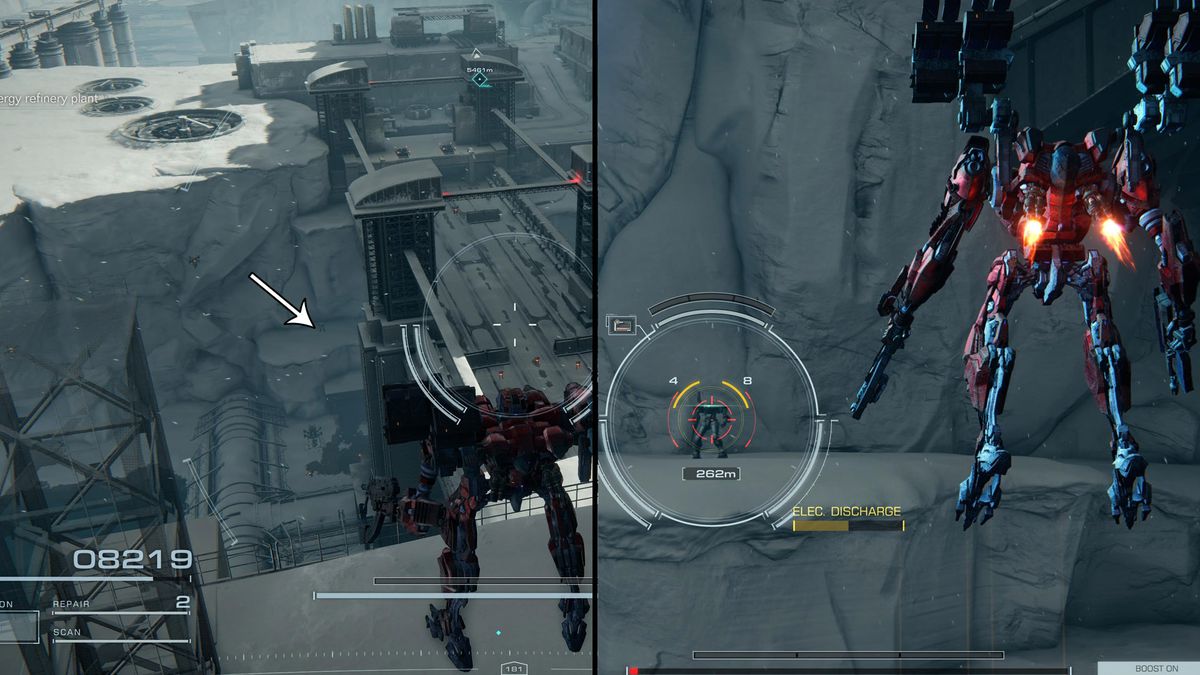
Chapter 3 – Tunnel Sabotage
-
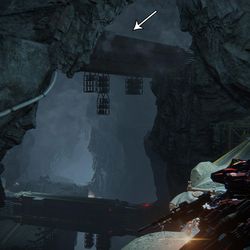
Image: FromSoftware/Bandai Namco via Polygon -

Image: FromSoftware/Bandai Namco via Polygon


Target: 1x LC Unit
Location: In the upper area accessed through one of the enormous beams you jump on to traverse the initial area.
To progress through the first part of the mission, you jump on large beams of metal. The target is inside a small cave that you access through a beam that is higher than the others. You can find a path on the right side of the area after you pass where this specific beam is. There, you can find platforms which you can use to reach the beam. Cross it to find the target.
Chapter 3 – Survey the Uninhabited Floating City
-
Image: FromSoftware/Bandai Namco via Polygon -
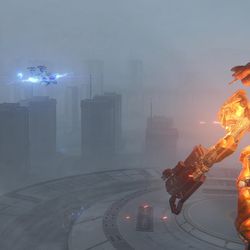
Image: FromSoftware/Bandai Namco via Polygon


Target: Flying Unit
Location: Closer to where you find the destroyed drone during the mission.
By progressing through the mission, you find the drone that left the beacons you have been following so far. Facing the wrecked drone, turn left and follow the path until you find a circular building. Go to the top of this build and the target will start to attack you.
Chapter 3 – Eliminate the Enforcement Squads
-
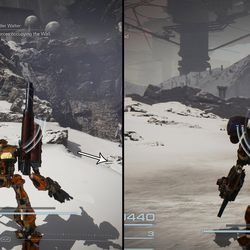
Image: FromSoftware/Bandai Namco via Polygon -
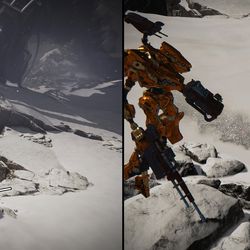
Image: FromSoftware/Bandai Namco via Polygon


Target: Ring Freddie
Location: Right from where you start the mission, down the hill.
From the starting point, turn right and follow the path until it turns into a slope. Right at the bottom of it, you can find Ring Freddie hidden behind a rock. His unit is pretty fast, so prepare your build accordingly.
- SEO Powered Content & PR Distribution. Get Amplified Today.
- PlatoData.Network Vertical Generative Ai. Empower Yourself. Access Here.
- PlatoAiStream. Web3 Intelligence. Knowledge Amplified. Access Here.
- PlatoESG. Automotive / EVs, Carbon, CleanTech, Energy, Environment, Solar, Waste Management. Access Here.
- PlatoHealth. Biotech and Clinical Trials Intelligence. Access Here.
- ChartPrime. Elevate your Trading Game with ChartPrime. Access Here.
- BlockOffsets. Modernizing Environmental Offset Ownership. Access Here.
- Source: https://www.polygon.com/guides/23844949/armored-core-6-combat-logs-enemies-loghunts-locations
- 1
- 500
- a
- access
- accessed
- accordingly
- adds
- ADvantage
- after
- Against
- aim
- aims
- All
- already
- amount
- an
- and
- Another
- ARE
- AREA
- Armored Core
- armored core 6
- around
- article
- as
- At
- attacks
- avoid
- base
- BE
- Beam
- because
- becomes
- been
- before
- behind
- BEST
- Blade
- both
- bottom
- Bread
- BRIDGE
- build
- Building
- builds
- but
- button
- by
- called
- CAN
- carrying
- caught
- Cause
- causing
- Cave
- Center
- certain
- challenge
- check
- class
- clear
- clearing
- close
- collect
- collectibles
- Collecting
- combat
- come
- complete
- completing
- complex
- complicated
- Consider
- constant
- constantly
- content
- Core
- cover
- cross
- damage
- dangerous
- depending
- destroy
- destroyed
- difficulty
- distance
- doing
- down
- Drone
- During
- each
- easily
- easy
- Edge
- either
- Eliminate
- employed
- end
- enforcement
- enormous
- Every
- Exit
- Face
- facing
- fact
- false
- far
- FAST
- faster
- few
- fight
- Fighting
- fights
- Final
- find
- finds
- finish
- fires
- First
- Fly
- flying
- Focus
- follow
- Following
- For
- four
- from
- front
- Gaming
- Generator
- Get
- getting
- giant
- go
- good
- Grid
- Ground
- Grounded
- Group
- gun
- Hard
- has
- Have
- he
- heavy
- Helicopter
- hidden
- Hide
- higher
- him
- his
- HIT
- hole
- however
- HTTPS
- huge
- hunter
- if
- image
- important
- impossible
- in
- Increase
- increases
- industrial
- initial
- INSIDE
- into
- Is
- IT
- ITS
- jpg
- jump
- just
- keep
- landscape
- large
- last
- layer
- LEARN
- leaving
- left
- Level
- light
- like
- Little
- locations
- log
- Long
- Look
- looking
- looks
- lot
- Luck
- main
- make
- mandatory
- map
- marked
- matter
- meet
- Meeting
- Melee
- metal
- Middle
- might
- mind
- missiles
- Mission
- missions
- more
- most
- move
- moving
- MT
- Near
- need
- Next
- not
- objective
- obtained
- ocean
- of
- off
- on
- once
- One
- only
- open
- operation
- or
- order
- Other
- Others
- out
- over
- part
- parts
- pass
- path
- period
- pilot
- place
- Plasma
- platform
- Platforms
- plato
- plato data intelligence
- platodata
- platogaming
- Point
- Polygon
- prepare
- pretty
- previous
- Problem
- Program
- Progress
- progressing
- pulse
- quickly
- quite
- rank
- Ranks
- reach
- reaching
- red
- Refueling
- registered
- remaining
- rewarding
- Rewards
- right
- Ring
- road
- Rock
- running
- runs
- safe
- second
- section
- Short
- should
- side
- sign
- similar
- Simply
- since
- skills
- small
- smaller
- So
- so Far
- some
- special
- specific
- spread
- standing
- start
- Starting
- Steps
- straight
- straightforward
- Strategy
- stress
- structure
- Sunset
- Survey
- Take
- tank
- Target
- targeting
- targets
- Testing
- than
- that
- The
- their
- Them
- then
- there
- These
- they
- things
- third
- this
- three
- Through
- time
- to
- too
- top
- transport
- try
- tunnel
- turn
- turns
- two
- types
- under
- unit
- until
- up
- upon
- upper
- use
- used
- uses
- using
- via
- wait
- Wall
- want
- way
- ways
- we
- weapons
- well
- when
- where
- while
- will
- with
- Work
- you
- your
- zephyrnet