There are a lot of items to find in Final Fantasy 7 Rebirth. Some might be lost at sea, though there’s a way for you to still acquire them. Here’s our guide on how to get the Pirate King’s Treasure in Final Fantasy 7 Rebirth. Likewise, please be reminded that this guide contains minor spoilers.
How to get the Pirate King’s Treasure in Final Fantasy 7 Rebirth
The Pirate King’s Treasure discovery becomes available at the start of Chapter 12: A Golden Key. This is when the Tiny Bronco crash lands, becoming a naval vessel instead.
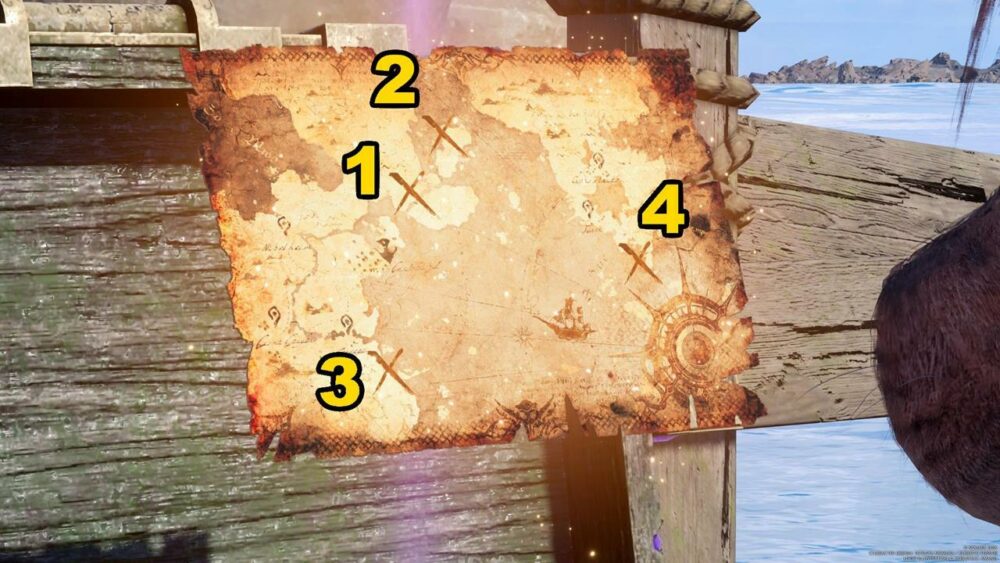
You can start the activity at Costa del Sol. Simply head to the pier where the Tiny Bronco is docked and open the chest that has ethereal purple crossed swords. A treasure map will appear to show you the locations of four Pirate’s Grottoes. You can visit these in any order, though we’ve numbered them based on how close they are to Costa del Sol:

How to navigate the Meridian Ocean while looking for Pirate’s Relics
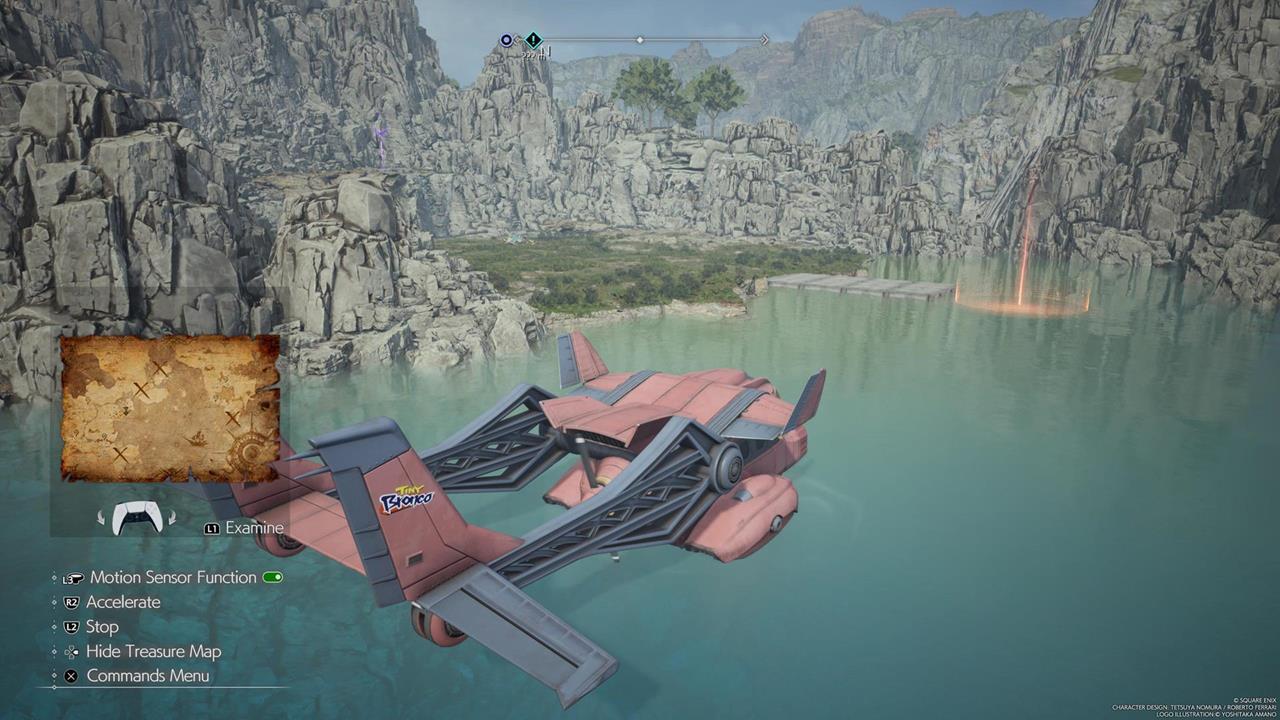
The search for the Pirate King’s Treasure in Final Fantasy 7 Rebirth will take you to small areas with Pirate’s Grottoes. To get there, you have to “sail” using the Tiny Bronco:
- Press left on the D-pad to show the treasure map.
- Hold the L1 button to enlarge it, making the “X” marks more visible.
- You can also press right on the D-pad to hide the treasure map if you don’t want it to clutter your screen.
- Each Pirate Grotto has a special monster that you need to defeat. Once you’ve vanquished your foe, open the treasure chest to obtain a Pirate’s Relic.
Pirate’s Grotto #1: Hueyacoatl
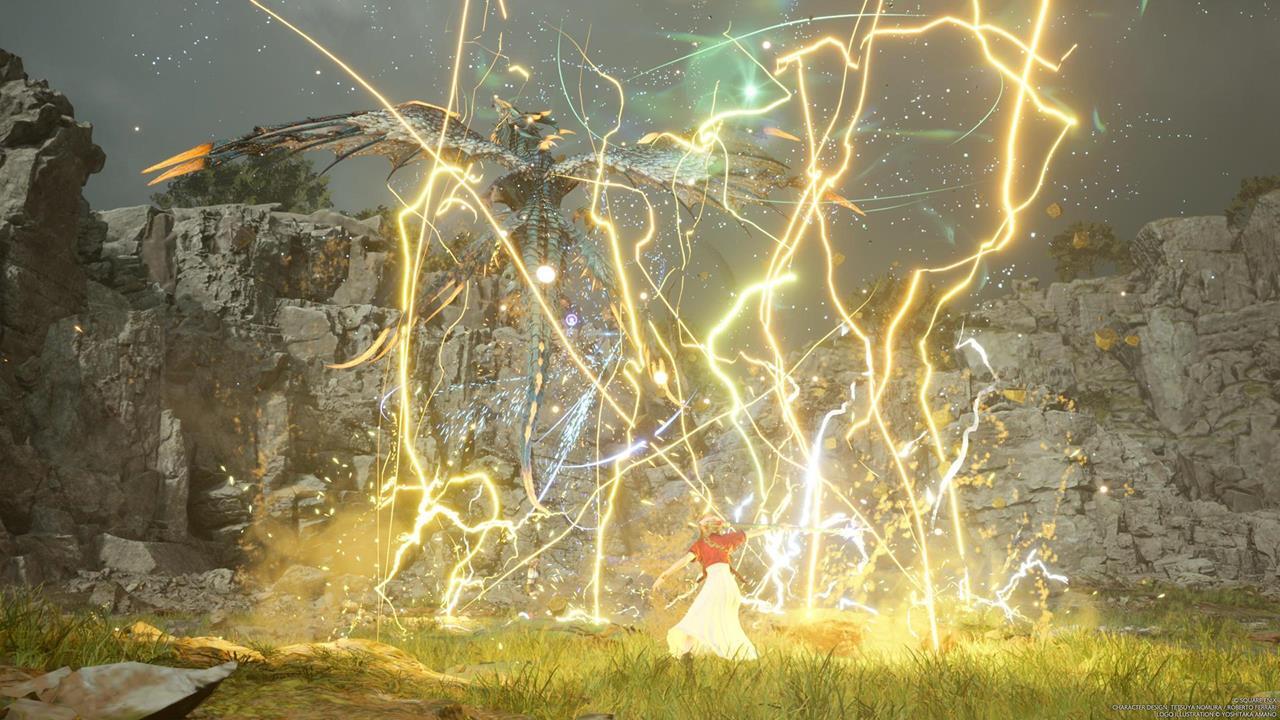
From Costa del Sol, head northeast until you see a narrow inlet between the continent and a small island. The monster here, the Hueyacoatl, is weak against wind element attacks and spells. Likewise, it has a Supercharged state where it constantly bombards the area with lightning strikes, though hitting it at this state will also pressure it.
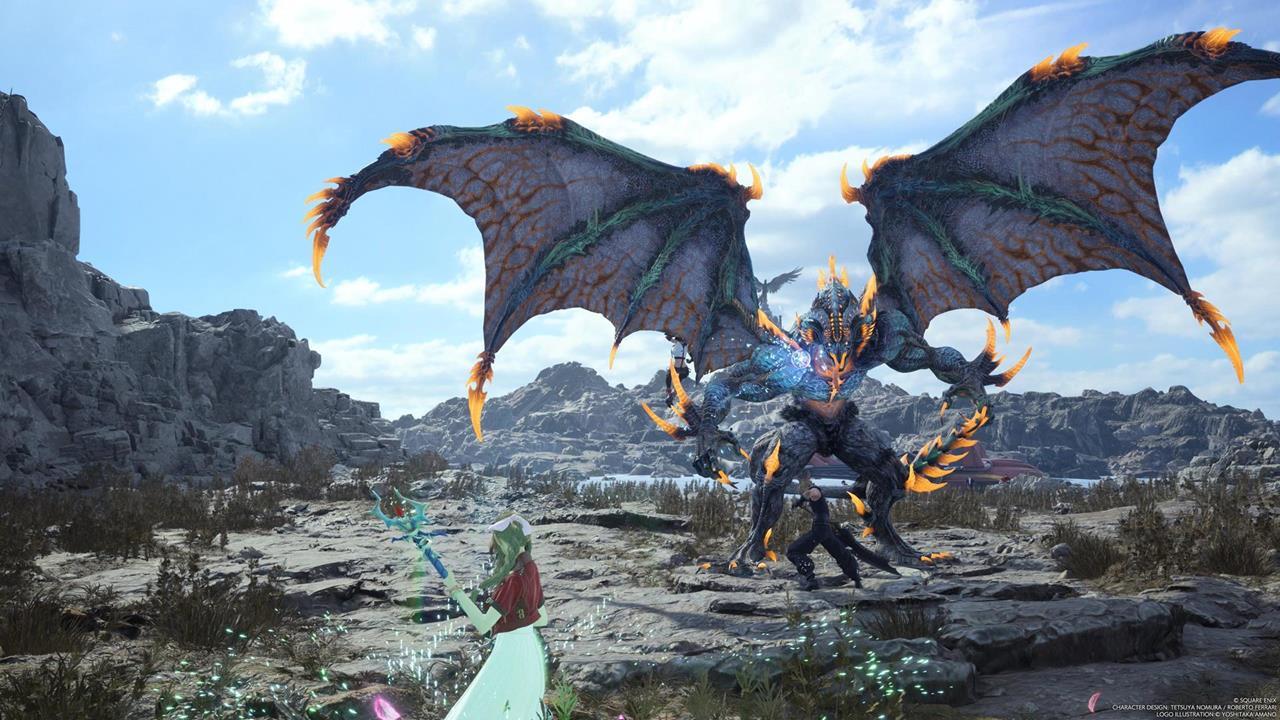
Pirate’s Grotto #2: Sea Dragon
You can reach the Pirate’s Grotto with the Sea Dragon by continuing northeast past where you fought the Hueyacoatl. There’s another island where the Tiny Bronco should be able to dock. As for the Sea Dragon itself, you want to take note of the following mechanics:
- Casting Bio will poison and pressure this enemy.
- You can then cast lightning spells to continue filling the stagger meter.
- If it uses Galvanizing Flames, it will counter all attacks you do. As such, it’s better to just focus on actions that can stagger it to make it helpless.

Pirate’s Grotto #3: Ogre Raider
To reach this Pirate’s Grotto, use the Gongaga Port fast travel point and follow the coast to the east. Alternatively, you can just sail southwest from Costa del Sol.
This monster is weak against the ice element, making it very easy to stagger. It does roar from time to time to strengthen its own attacks.
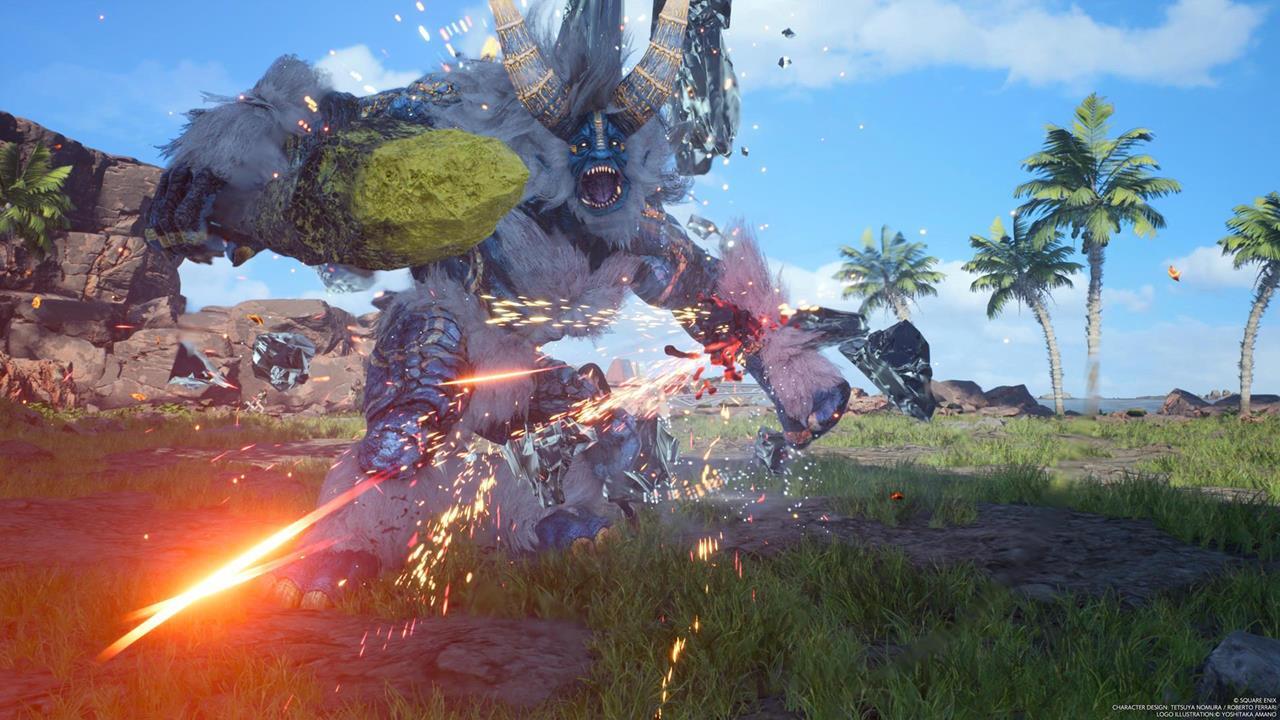
Pirate’s Grotto #4: Brineborn Demon
The Brineborn Demon is located south of Crow’s Nest in the Junon region. To get there, you have to use the Under Junon Port fast travel point, then continue sailing south.
As for the monster itself, it will activate its Counterstance, which is followed by a devastating Graviga spell later on. The goal is to use fire element attacks and spells to pressure and stagger it, which will also prevent it from using Graviga.
What to do with the Pirate’s Relics
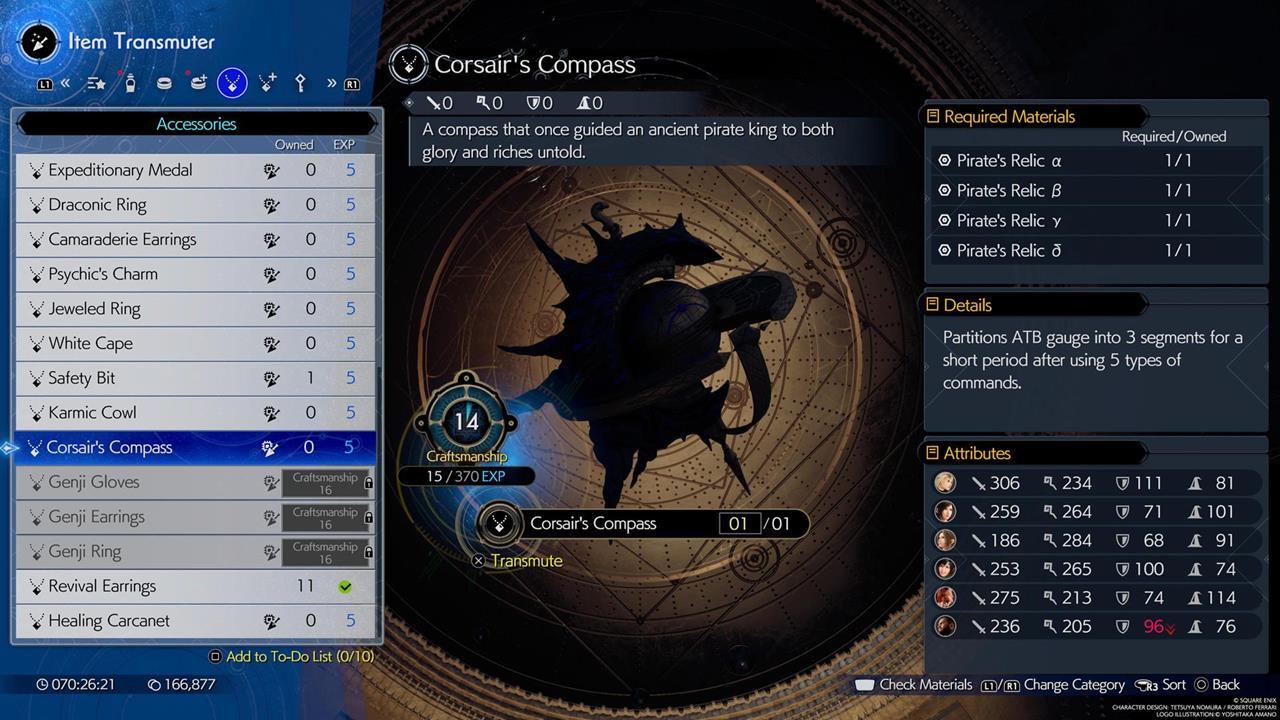
You’ve almost got the Pirate King’s Treasure in Final Fantasy 7 Rebirth. All that’s left now is to craft the Corsair’s Compass. To do this, simply open the Item Transmuter menu and go to the Accessories tab. You should see the Corsair’s Compass blueprint, which can be crafted by using all four Pirate’s Relics that you’ve found.
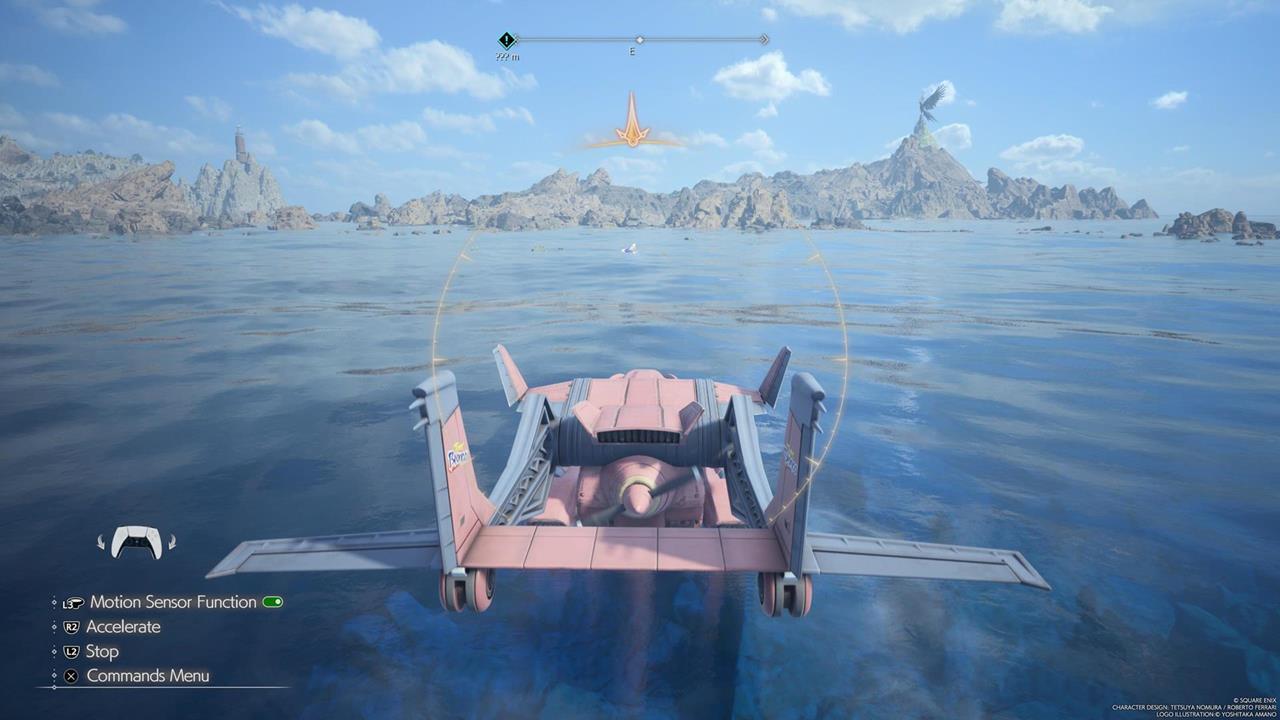
How to use the Corsair’s Compass
Now that you have the Corsair’s Compass, it’s time to put it to good use. Whenever you’re exploring the Meridian Ocean on the Tiny Bronco, you will periodically see a golden reticle with an arrow. Follow the direction where this arrow is pointing, as it leads to purple containers. These tend to have Pirate’s Jetsam, as well as other rare materials.
That’s it: that’s how you complete the Pirate King’s Treasure in Final Fantasy 7 Rebirth. If you’re keen on more late-game discoveries and unlocks, you can take a look at our Gilgamesh summon guide.
A grand adventure awaits you in Final Fantasy 7 Rebirth. We’ve got all the tips and strategies for you in our FF7 Rebirth guides hub.
- SEO Powered Content & PR Distribution. Get Amplified Today.
- PlatoData.Network Vertical Generative Ai. Empower Yourself. Access Here.
- PlatoAiStream. Web3 Intelligence. Knowledge Amplified. Access Here.
- PlatoESG. Carbon, CleanTech, Energy, Environment, Solar, Waste Management. Access Here.
- PlatoHealth. Biotech and Clinical Trials Intelligence. Access Here.
- Source: https://www.gamespot.com/articles/final-fantasy-7-rebirth-pirate-kings-treasure-guide/1100-6521550/?ftag=CAD-01-10abi2f
- 12
- 7
- a
- able
- accessories
- Acquire
- actions
- activate
- activity
- Adventure
- Against
- All
- almost
- also
- an
- and
- Another
- any
- ARE
- AREA
- areas
- Arrow
- as
- At
- attack
- attacks
- available
- avoid
- based
- BE
- beat
- becomes
- becoming
- before
- Better
- between
- bio
- blueprint
- bronco
- button
- by
- CAN
- Center
- chapter
- check
- close
- clutter
- Compass
- complete
- constantly
- Containers
- contains
- continent
- continue
- continuing
- costa
- counter
- craft
- crafted
- Crash
- del
- devastating
- direction
- discovery
- do
- does
- don
- down
- Dragon
- East
- easy
- element
- empowers
- enlarge
- ethereal
- Exploring
- FANTASY
- FAST
- FF7
- field
- filling
- Final
- Final Fantasy
- Final Fantasy 7 Rebirth
- find
- Fire
- Focus
- follow
- followed
- Following
- For
- found
- four
- from
- fully
- Gamespot
- Gaming
- Get
- go
- goal
- golden
- good
- got
- grand
- guide
- has
- Have
- head
- help
- here
- Hide
- hitting
- How
- How To
- HTTPS
- ICE
- if
- image
- in
- instant
- instead
- Is
- Island
- IT
- items
- ITS
- itself
- jpg
- just
- keen
- Key
- King
- lands
- large
- later
- leads
- left
- lightning
- located
- locations
- Look
- looking
- lost
- lot
- make
- Making
- map
- marks
- materials
- Mechanics
- might
- more
- narrow
- navigate
- need
- Nest
- note
- now
- numbered
- obtain
- ocean
- of
- on
- once
- open
- order
- Other
- our
- out
- own
- Past
- pirate
- plato
- plato data intelligence
- platodata
- platogaming
- please
- Point
- poison
- press
- pressure
- prevent
- put
- Rare
- RE
- reach
- region
- right
- s
- Screen
- SEA
- Search
- see
- should
- show
- showing
- Simply
- small
- SOL
- some
- South
- Southwest
- special
- spell
- staggering
- start
- State
- still
- Strategies
- strengthen
- Strikes
- such
- TAB
- Take
- tend
- that
- The
- Them
- then
- there
- These
- they
- this
- though
- time
- tips
- to
- travel
- under
- unlocks
- until
- use
- uses
- using
- ve
- very
- Visit
- want
- way
- we
- well
- when
- whenever
- where
- while
- will
- wind
- with
- X
- you
- your
- zephyrnet