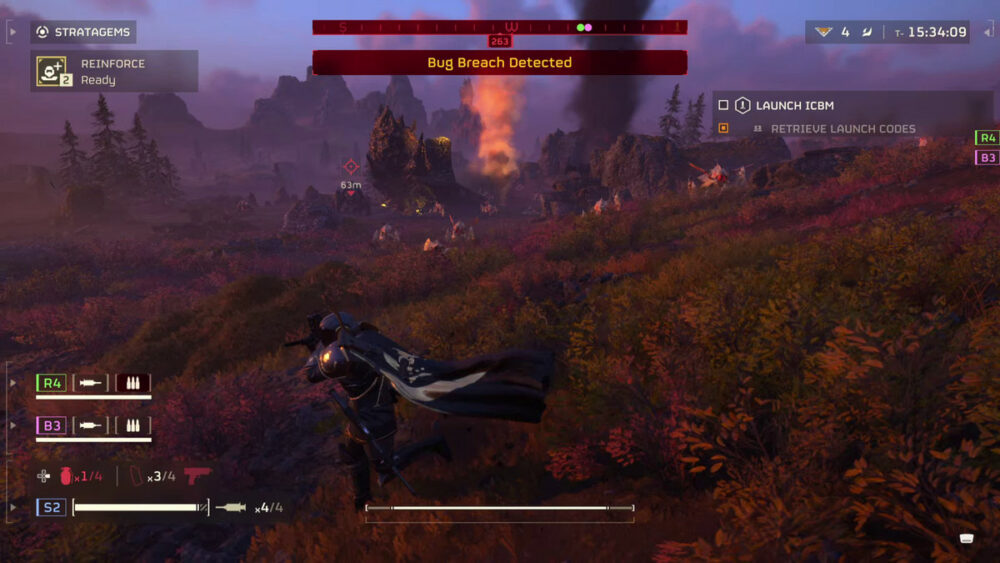
Chargers are big, nasty bugs in Helldivers 2, and you’ll need to take out multiple of them if you want to complete some Personal Orders (as of this writing, it’s “Strain Culling”) and pick up extra Medals.
In this Helldivers 2 guide, we’ll tell you where to find Chargers and give you some bonus tips on how to deal with them.
Where to find Chargers in Helldivers 2

Image: Arrowhead Game Studios
Chargers aren’t the first “mini-boss” style enemy you’ll encounter in Helldivers 2, but they’re the first that should really scare you. They have loads of armor, are very fast once they charge, and even their weak spot can take a ton of punishment. But we’ll get to how to kill them later; first, you need to actually find a Charger.
Chargers only seem to appear in missions that are rated Medium difficulty or above (meaning you’ll have to work your way up through the difficulties by clearing easier missions first). However, even on Medium you’ll only really find Chargers in missions that ask you to specifically kill Chargers. And while that can be useful, none of the Chargers I killed on the Medium difficulty counted for “Strain Culling.” That could have something to do with the server issues at the time of this writing, but your best bet regardless is to play on the difficulty above Medium: Challenging.
Starting on Challenging difficulty, Chargers will just show up in nests or when you’re trying to complete an objective. They seem to spawn more frequently when you’re in a group (which can be difficult given the aforementioned server issues). Just keep playing missions on Challenging and hunting down nests. You should find all the Chargers you need in just a handful of missions.
How to kill a Charger in Helldivers 2
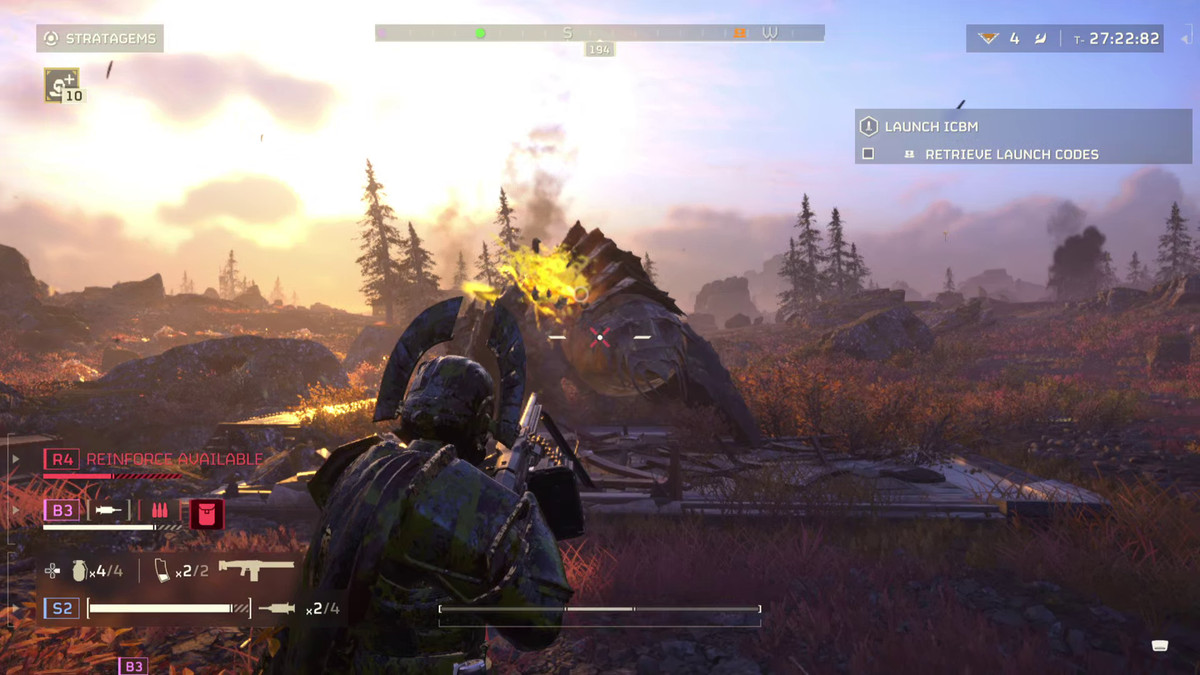
Image: Arrowhead Game Studios
So, you’ve found some Chargers, but now you have to actually deal with them. I won’t lie to you, until you and your squad have a handle on how Helldivers 2 really works, a Charger is probably going to kill one or two of you unless you’re very well-equipped or extremely careful.
But that actually leads us to one of our first big tips for Chargers or any big enemies: Drop directly on them. Yes, that’s right, you can drop your respawn pod on top of a bug and they’ll explode. It’s not worth the revive if you can kill the Charger another way, but if you’re already pulling in a reinforcement, do your best to squish the Charger on your way in. It’s a pretty fast way to end any fight.
Now you’re not going to squish a Charger every time you kill one, so it’s important to have other tactics. First, you can just shoot it in its big, glowing ass. The Charger is heavily armored at the front, but its back is exposed. Shred it with a turret or your own personal heavy machine gun. You can, of course, just use your primary assault rifle or pistol, but on Challenging and above, it’s going to take a long time if you do that.
You can also destroy the Charger’s armor with something like the Recoilless Rifle. Now this is a great option if you can consistently get two to three shots onto the same spot on the bug, as the Recoilless Rifle and other armor-piercing weapons seem to be better at punching a hole through armor and finishing the job that way than raw damage against already exposed weak points.
Your best bet for Chargers, however, is to simply blow them to hell with Stratagems before they even get the chance to see you. They’re big — big enough that you can spot them in their nest before they spot you. And, until they’re threatened, they move pretty slow. You and your group can use this to your advantage by dropping Orbital Strikes, Eagle Strafing Runs, and all other kinds of Stratagems on top of the Charger. If you can score a direct hit, you’ll probably kill it before it even gets the chance to chase you.
- SEO Powered Content & PR Distribution. Get Amplified Today.
- PlatoData.Network Vertical Generative Ai. Empower Yourself. Access Here.
- PlatoAiStream. Web3 Intelligence. Knowledge Amplified. Access Here.
- PlatoESG. Carbon, CleanTech, Energy, Environment, Solar, Waste Management. Access Here.
- PlatoHealth. Biotech and Clinical Trials Intelligence. Access Here.
- Source: https://www.polygon.com/guides/24072123/helldivers-2-charges-where-to-find-how-to-kill
- a
- above
- actually
- ADvantage
- aforementioned
- Against
- All
- already
- also
- an
- and
- Another
- any
- ARE
- as
- ask
- assault
- At
- back
- BE
- before
- BEST
- bet
- Better
- BIG
- blow
- bonus
- Bug
- bugs
- but
- by
- CAN
- careful
- challenging
- chance
- charge
- chargers
- chase
- clearing
- complete
- consistently
- could
- course
- damage
- deal
- difficult
- difficulties
- difficulty
- direct
- directly
- do
- down
- Drop
- dropping
- eagle
- easier
- encounter
- end
- enough
- even
- Every
- exposed
- extra
- extremely
- FAST
- fight
- find
- First
- For
- found
- frequently
- front
- game
- Gaming
- Get
- gets
- give
- given
- going
- great
- Group
- guide
- gun
- handle
- Have
- heavily
- heavy
- Helldivers
- Helldivers 2
- HIT
- hole
- How
- How To
- however
- HTTPS
- i
- if
- important
- in
- Is
- issues
- IT
- ITS
- Job
- just
- keep
- kill
- Kills
- kinds
- later
- leads
- lie
- like
- loads
- Long
- machine
- marks
- meaning
- medium
- missions
- more
- move
- multiple
- need
- Nest
- None
- not
- now
- objective
- of
- on
- once
- One
- only
- onto
- Option
- or
- orbital
- orders
- Other
- our
- out
- own
- personal
- pick
- plato
- plato data intelligence
- platodata
- platogaming
- play
- Playing
- Points
- Polygon
- pretty
- primary
- probably
- pulling
- punishment
- rated
- Raw
- really
- regardless
- Respawn
- revive
- right
- runs
- same
- score
- see
- seem
- server
- shots
- should
- show
- Simply
- slow
- So
- some
- something
- Spawn
- specifically
- Spot
- Squish
- Strikes
- style
- tactics
- Take
- tell
- than
- that
- The
- their
- Them
- they
- this
- three
- Through
- time
- tips
- to
- Ton
- top
- trying
- two
- unless
- until
- up
- us
- use
- useful
- very
- want
- way
- weapons
- when
- where
- while
- will
- with
- Work
- works
- worth
- writing
- yes
- you
- your
- zephyrnet
