In Bayonetta 3, finding Broken Moon Pearls will upgrade your magic. Once you’ve collected four of them, they’ll automatically turn into a full Moon Pearl, which you can use in the Skills menu for both Bayonetta and Viola throughout the story. While Rodin’s shop has a few of them up for purchase, most are scattered throughout the levels. Here’s where to find them.
Keep in mind that this guide is in progress; right now, we’ve covered up through chapter 7, which should be give you plenty of magic to work with for both Bayonetta and Viola.
Chapter 1
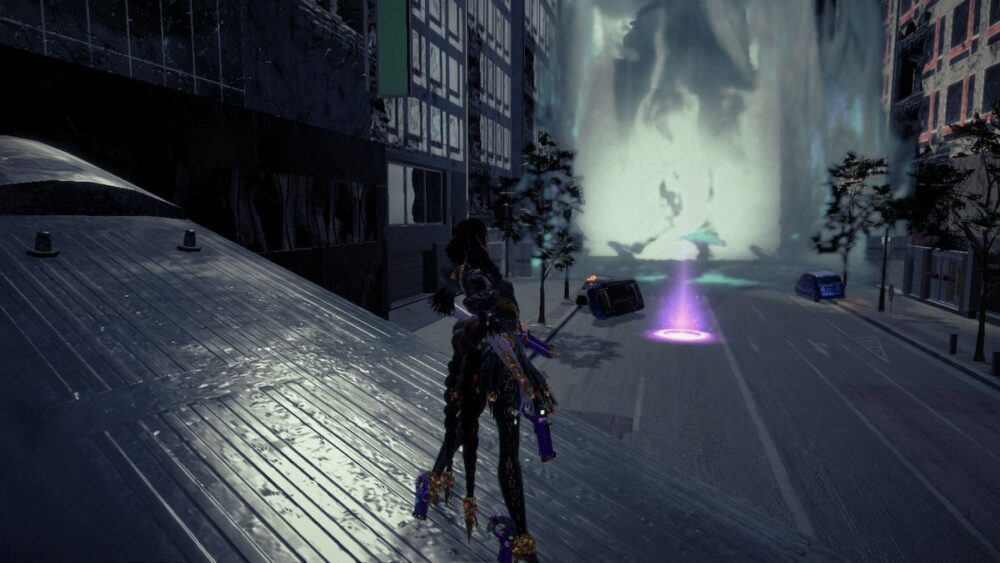
In Shibuya, take one of the side streets (the one where you can see a broken bus and some soldiers on the ground) to find the “Blow kisses to them!” trial. Approach the enemies and wait until they attack you. Dodge right before they hit Bayonetta to activate Witch Time. During Witch Time, summon your demon with LZ and press R to blow a kiss. In my experience, the demon blew two kisses, affecting both, and while they were still stunned, she sent another one that finished the challenge. The reward is a Broken Moon Pearl.
Image: Platinum/Nintendo via Polygon
Chapter 2
After Verse 1, look to the buildings on the left side — one of them has a sign that says DFH (you’ll unlock a Betwitchment for staring at it for a few seconds). There’s a billboard right next to it. Head over to that spot using the Spider and go underneath to the rooftop there to find a trial. This one is pretty straightforward. There’s a spot that replenishes your magic. Stand on that, then summon the Spider and start spamming bombs. Once you have a few crawling toward enemies, web them all (by pressing R). You’ll have to repeat this a total of eight times to complete the trial. You can also do it in reverse, but this order will save you some time. Once done, you’ll get a Broken Moon Pearl.
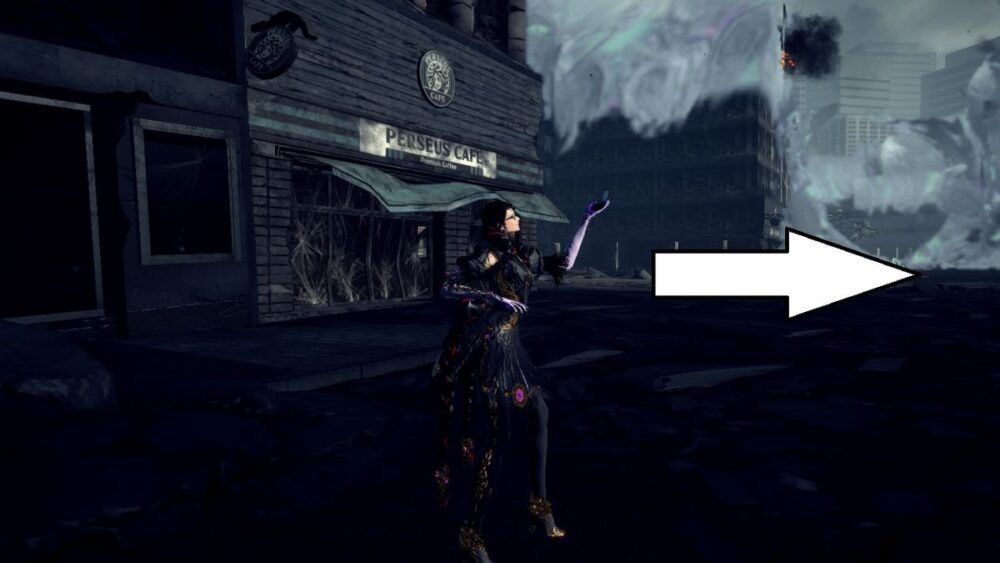
Image: Platinum/Nintendo via Polygon
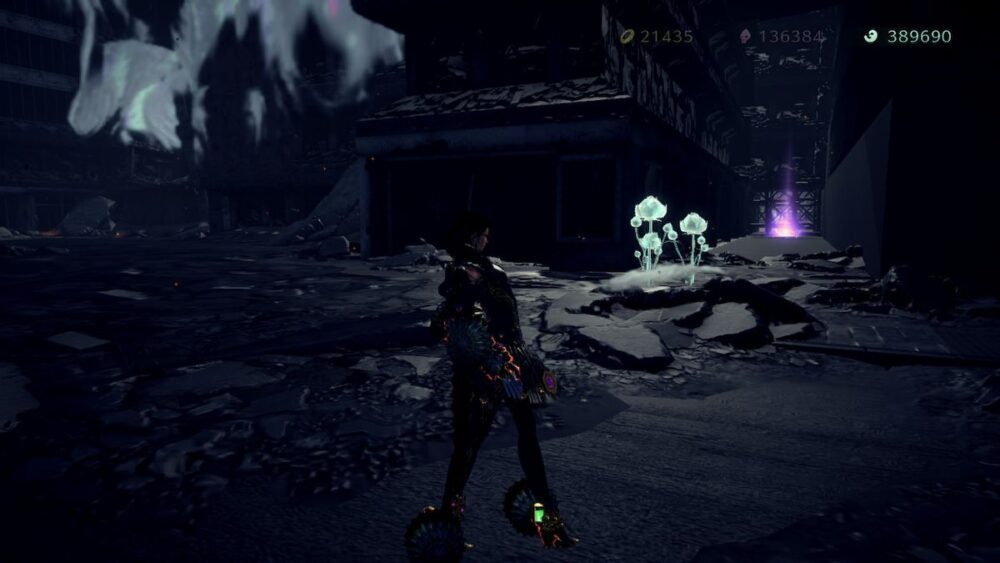
Image: Platinum/Nintendo via Polygon
Chapter 3
As you make your way through the wreckage in the starting area, you’ll see a floating chest flying in circles. You can either use your summon, do air attacks, or just shoot at it until it’s destroyed. You’ll find a Broken Moon Pearl inside.
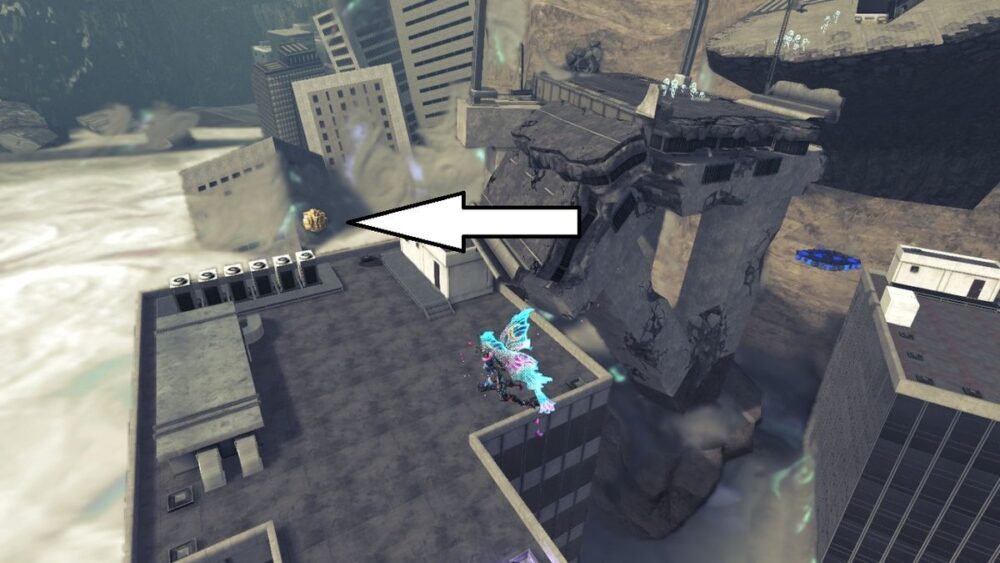
Image: Platinum/Nintendo via Polygon
For the second one in this chapter, you’ll have to complete a trial encounter. You can find it on top of the rooftop to the left of the torii gate entrance you encounter after climbing up. The trick here is to rank up combo points. Hitting the requisite 5,000 is tough, but I recommend summoning a demon, making as much damage as possible with doing different attacks, and when you run out of magic, switch back to Bayonetta and shoot with her pistols. Make sure to not get hit; Witch Time is in your favor here, and you can use the demon as soon as you’re able to in order to keep up with the combo. Once you’re done, the Broken Moon Pearl will be yours.
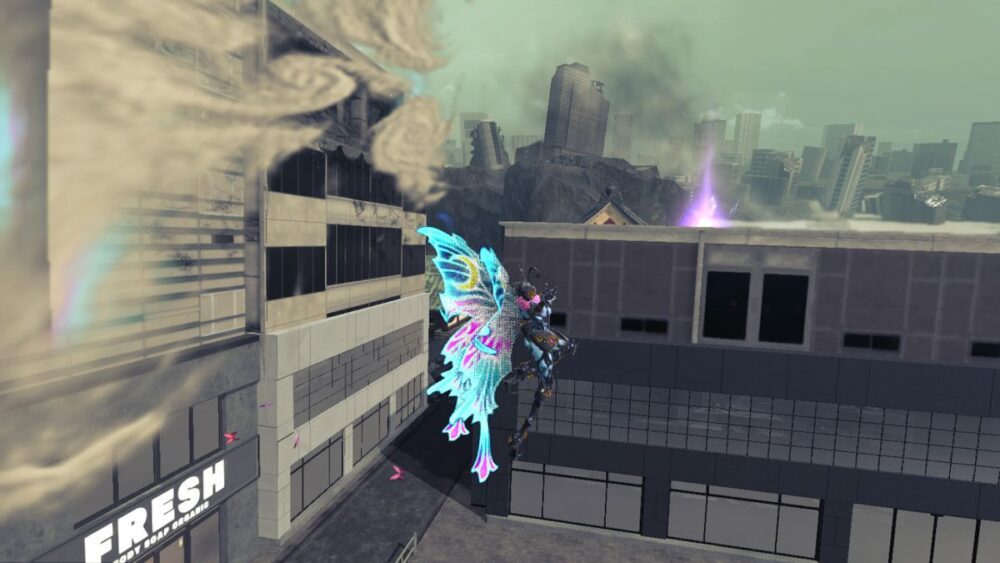
Image: Platinum/Nintendo via Polygon
Chapter 4
After finishing Verse 1 and heading over to the second island, right before you stumble upon the big locked door, you’ll see a checkpoint altar to the right and a waterfall behind it. Follow the path to the right and turn around the corner to find the key. From there, head down to the waterfall and you’ll find the door in the inner cave. There’s a chest inside.
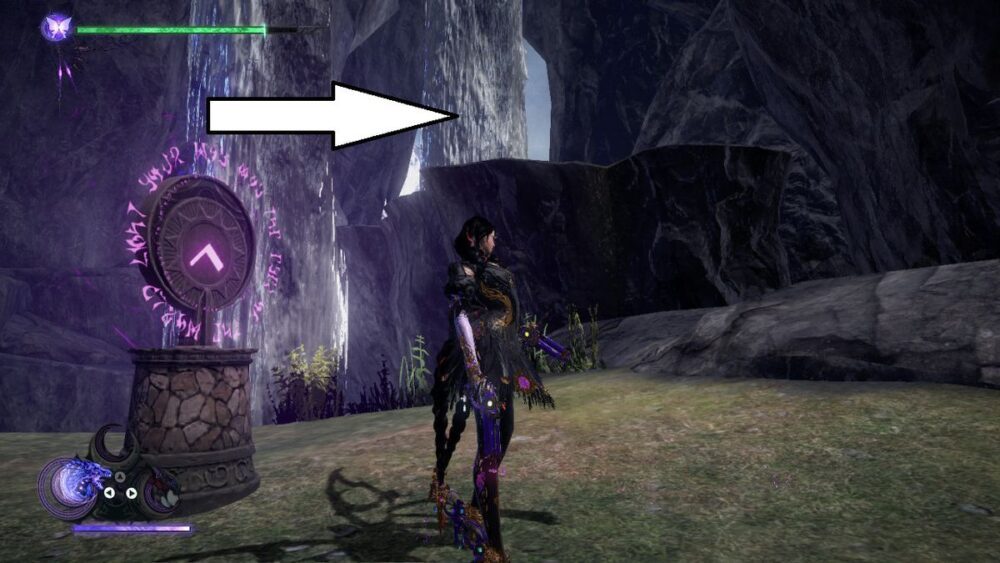
Image: Platinum/Nintendo via Polygon
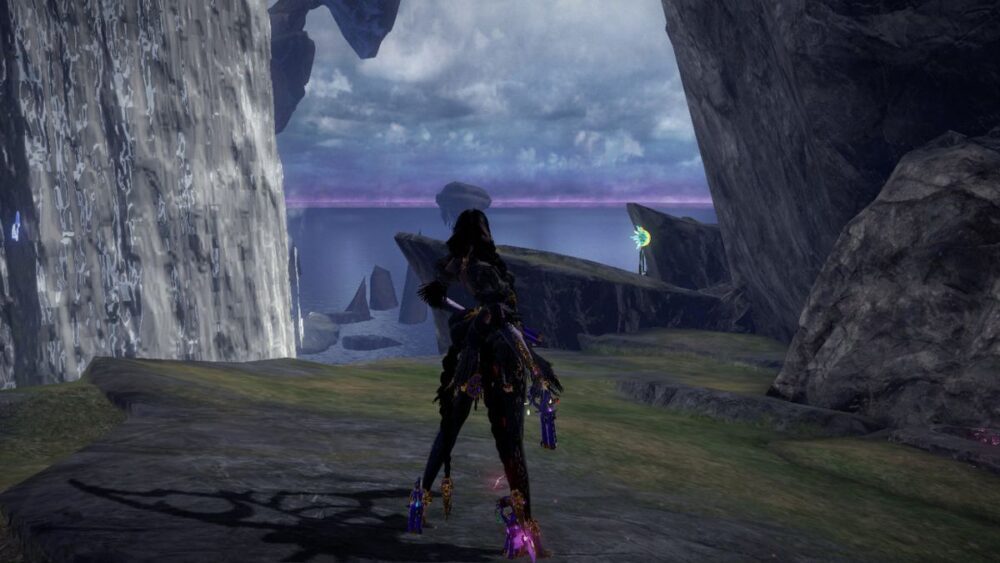
Image: Platinum/Nintendo via Polygon
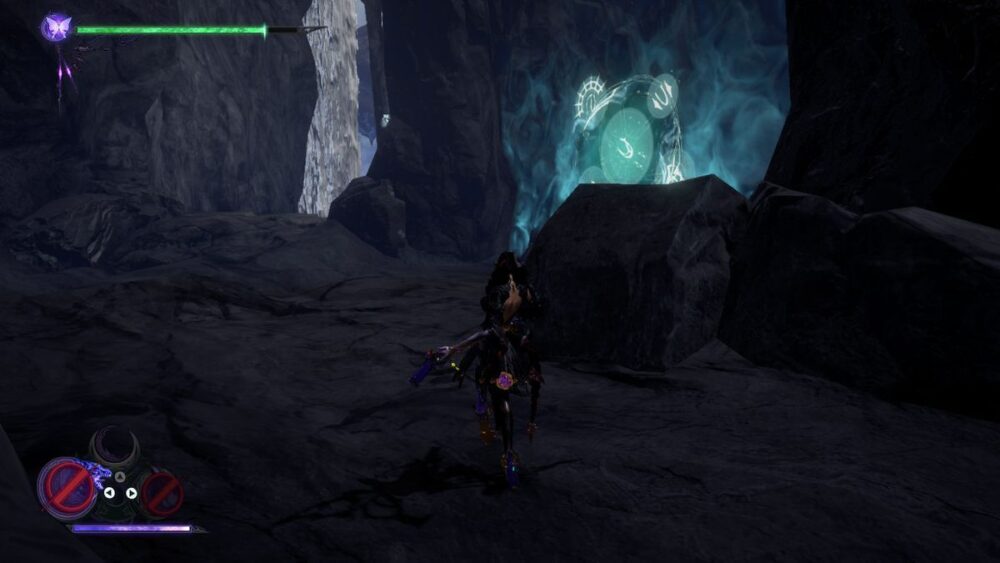
Image: Platinum/Nintendo via Polygon
After Verse 2, before you enter the inner chamber, take a detour to the left side using the platforms around the corner to get to the far end, then hop on the structure above. You’ll stumble upon a chest that’ll activate a time-based puzzle. This one is fairly easy: Just use the Spider to crawl around the wall and grab all five orbs.
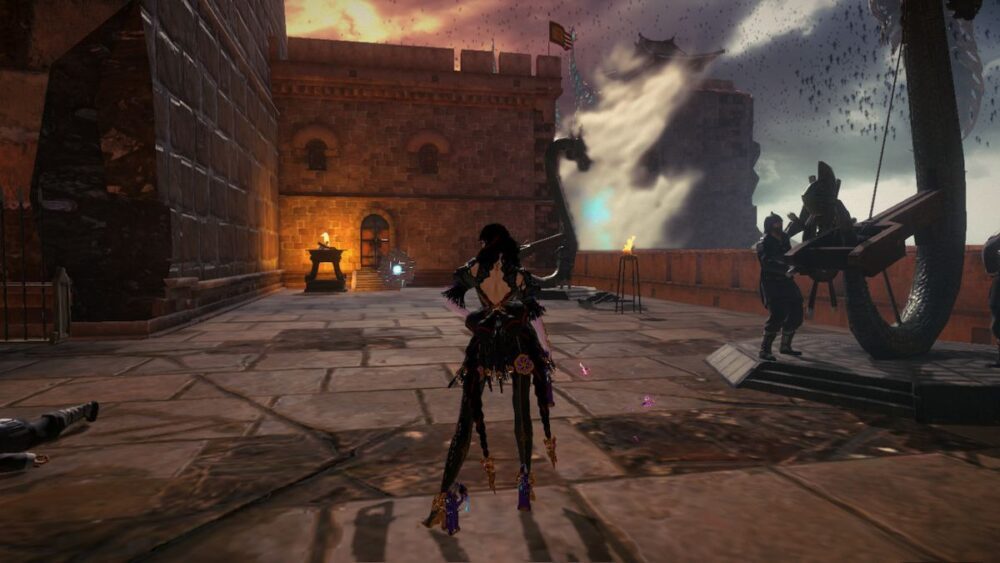
Image: Platinum/Nintendo via Polygon
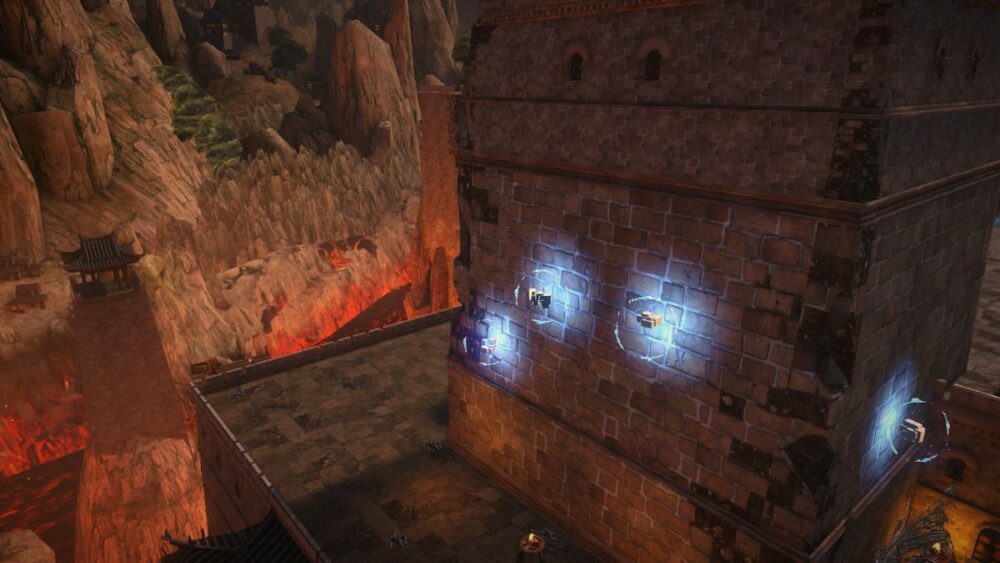
Image: Platinum/Nintendo via Polygon
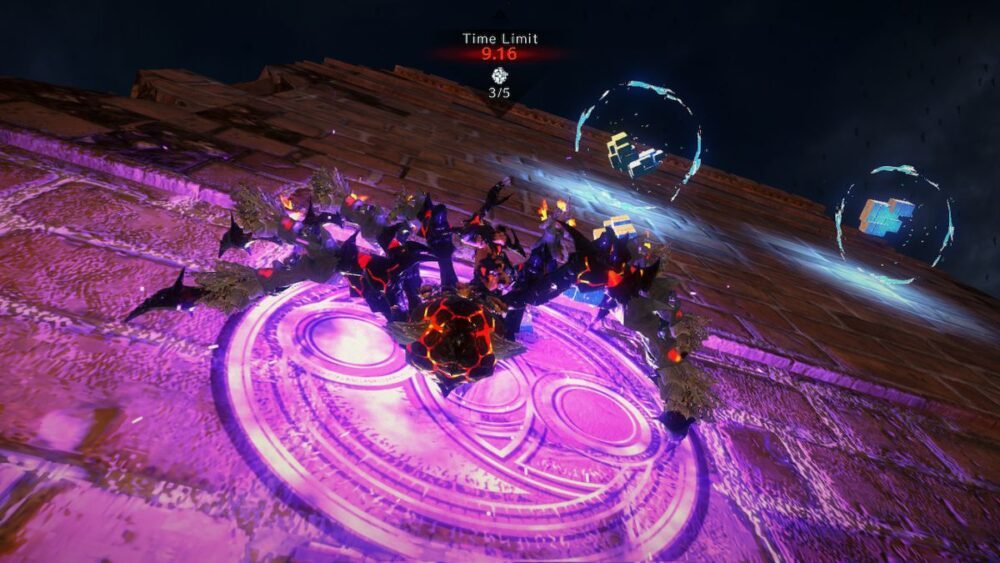
Image: Platinum/Nintendo via Polygon
After Verse 4, as you make your way through the bridge where the soldiers are cheering you, head over to the first building on the left that you see (there’s one on the right first, and then a second on the left). Head over to the rooftop on the other end and destroy the chest to activate a timed event. Honestly, 30 seconds is a ton of time for this one, so I used the spider form to swing around and grab all five pieces without much issue. Once you’re done, you’ll net another Broken Moon Pearl for yourself.
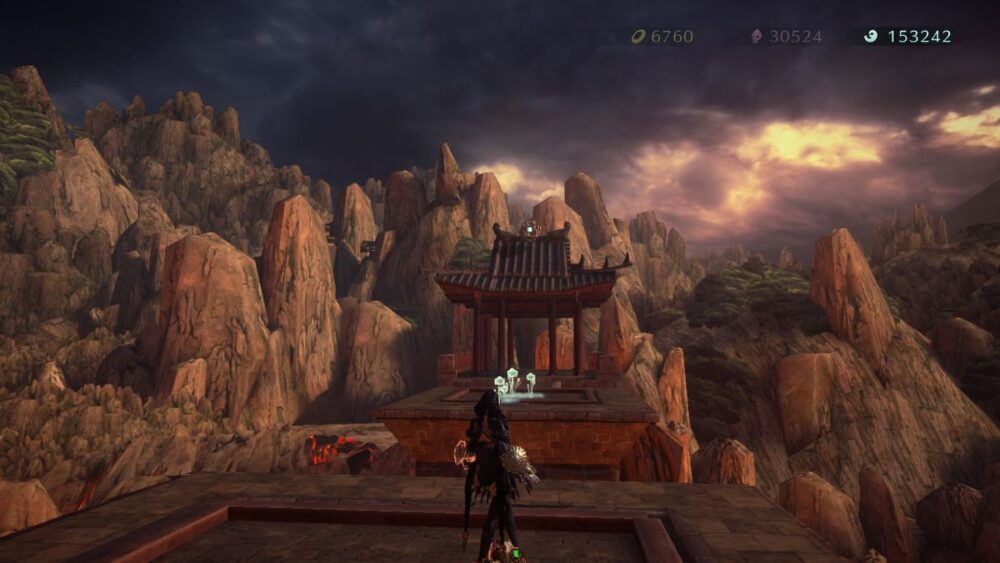
Image: Platinum/Nintendo via Polygon
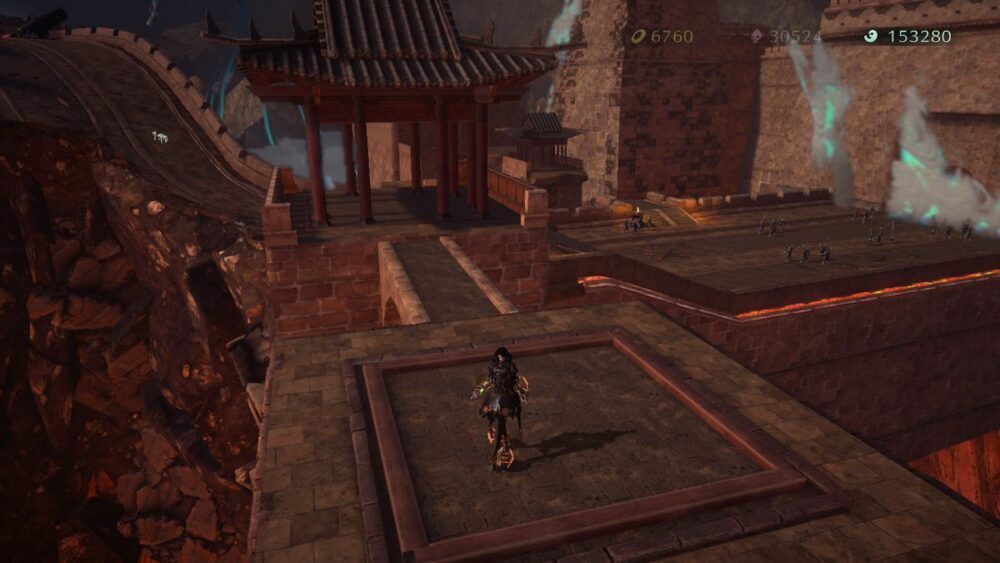
Image: Platinum/Nintendo via Polygon
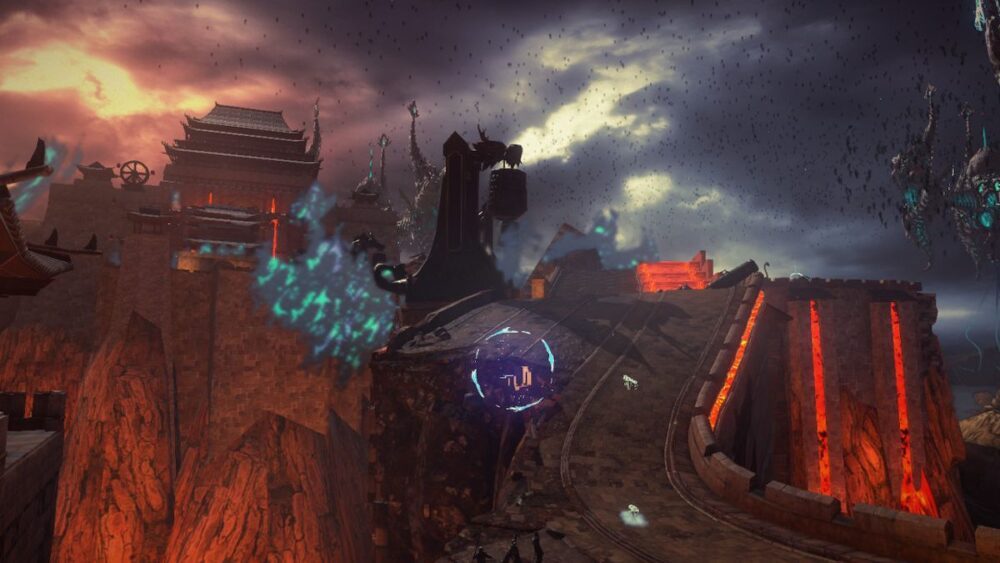
Image: Platinum/Nintendo via Polygon
Chapter 5
After Verse 1, in that same area, head over to the right to find a trial. You have to defeat a couple enemies here that can only be hurt during Witch Time. So, yeah, get ready to parry. I recommend parrying right before you’re about to get attacked to get the prolonged Witch Time. Either go ham with combos or summon Cheshire — up to you. Once you’re done, the Broken Moon Pearl will be all yours.
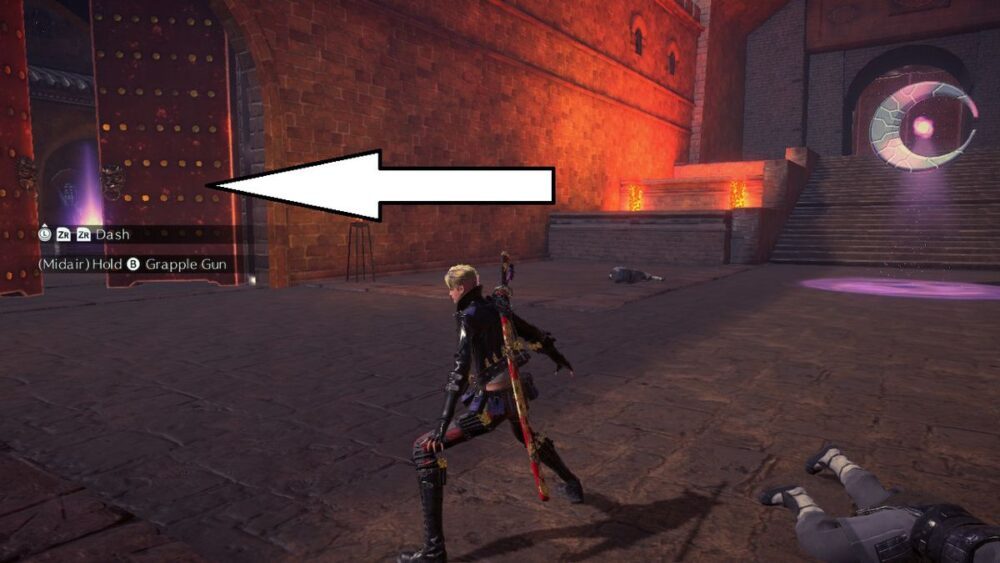
Image: Platinum/Nintendo via Polygon
After Verse 8, you’re going to find a chest to the opposite side of Rodin’s shop station. Destroy it to activate a timed event. This one is straightforward; just make sure to use the double jump and your grappling hook to move faster towards the building. You’ll get a Broken Moon Pearl for your troubles.
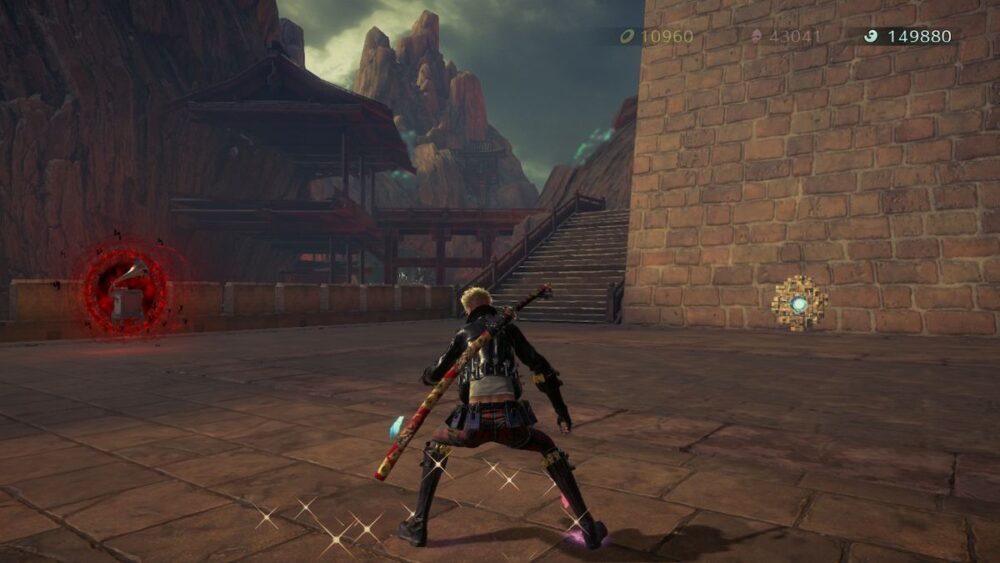
Image: Platinum/Nintendo via Polygon
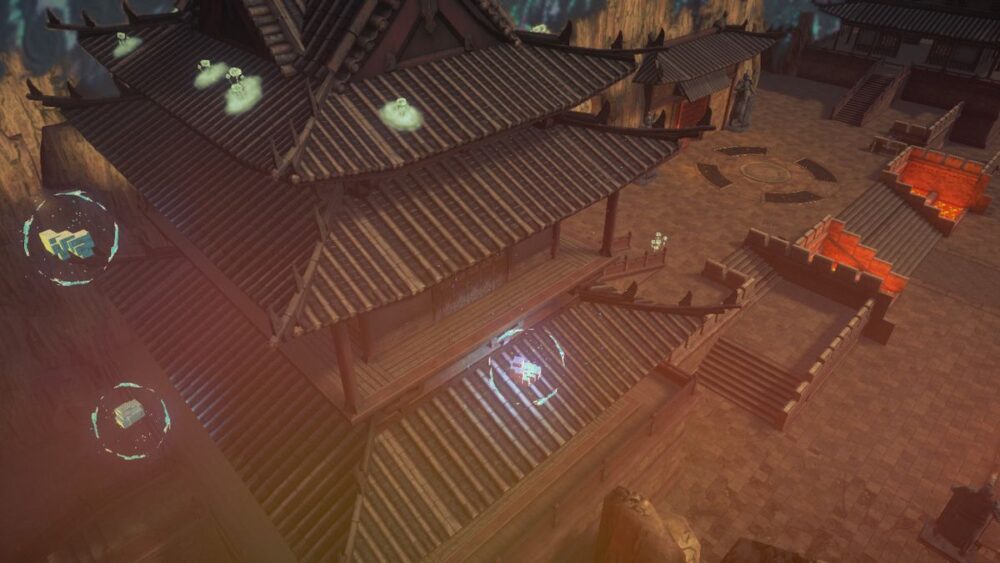
Image: Platinum/Nintendo via Polygon
Chapter 6
After Verse 4, you’ll stumble upon Rodin’s shop in a long pathway. Using that as reference, head all the way back and turn to the side to find a staircase – there is a trial waiting for you there. The key here is to continue the combo, so it shouldn’t be too hard. Use summons and keep an eye on any upcoming attacks so you can dodge on time. Once you’re done, the Broken Moon Pearl will be yours.
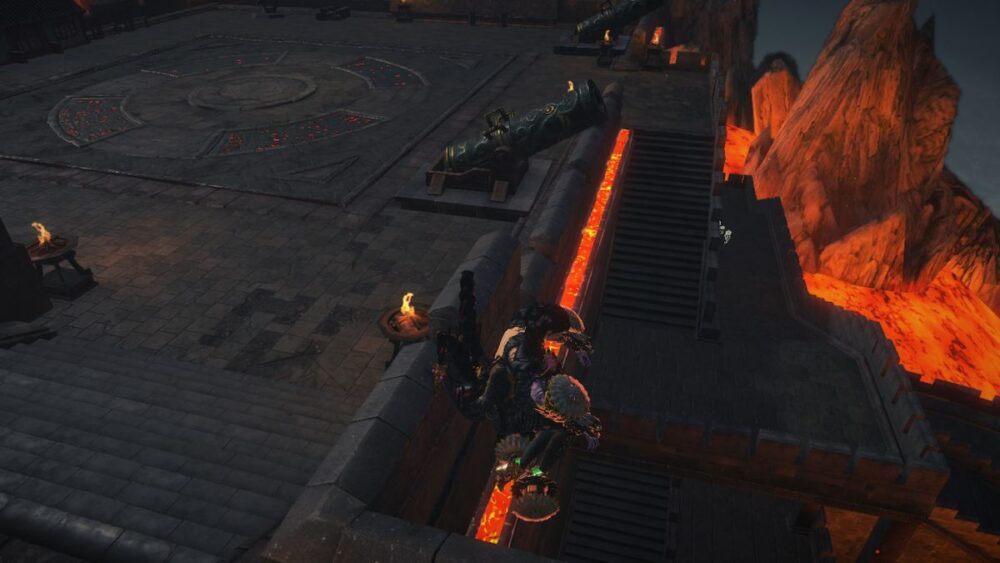
Image: Platinum/Nintendo via Polygon
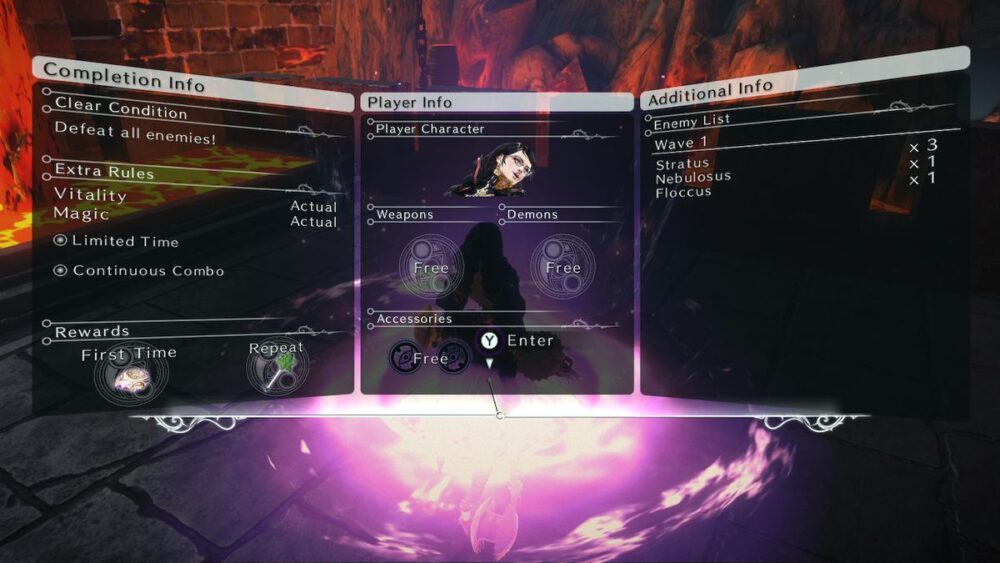
Image: Platinum/Nintendo via Polygon
Don’t leave the area just yet! There is another pathway next to the one you’re standing on with two chests. The first one, which is shaped as a triangle on the ground, gives you unlimited energy while standing there. Summon any of your demons and destroy the floating chest from that spot. This will grant you another Broken Moon Pearl for a full Moon Pearl.
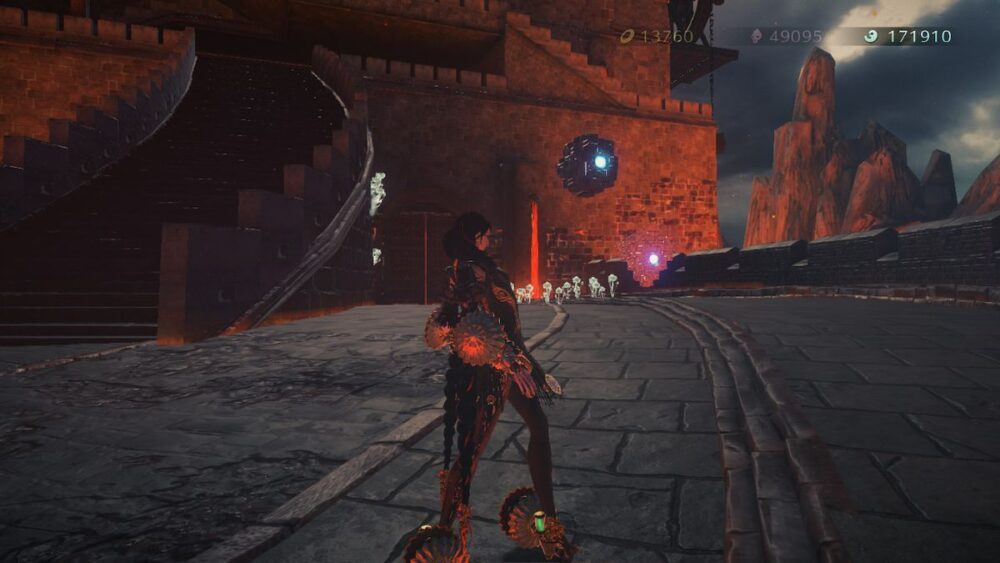
Image: Platinum/Nintendo via Polygon
Chapter 7
Time for a trial. After Verse 1, as you continue making your way to the level, you’ll find a trial on top of a plateau and right before a waterfall with a locked door. The challenge here tasks you to rack up 5,000 combo points against a single enemy. It’s a bit tough, but here’s what worked for me: Use Ranged attacks when the enemy is far away. As soon as it charges against Viola, prepare to parry. This will give you the chance to summon Cheshire, who can deal a ton of damage and help you with the score. Repeat this a few times and, whenever you have the chance, get up close and personal with a few melee attacks. Just be mindful of not getting hit so the counter doesn’t drop to zero. And again, when in doubt, use ranged attacks. Your reward will be a Broken Moon Pearl.
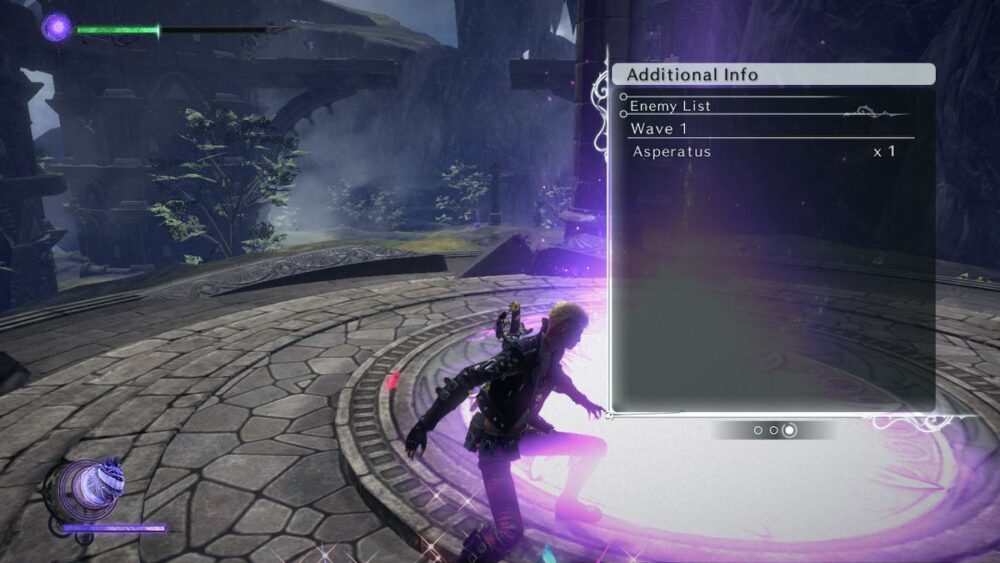
Image: Platinum/Nintendo via Polygon
There’s another Broken Moon Pearl if you follow the path behind the waterfalls in the desert section that has the huge sand river. Before heading there, take a short detour to the right side and go behind the waterfalls. After you’re past the first one, keep on moving to the other end and hop all the way up to the path that leads to a trial on the left corner – you’ll know it’s the right spot cause an enemy is gonna emerge from the sand. From there, look at the opposite side: See that tower? Make a run for the ledge, do a jump and hold it until it turns into the grappling hook, swing yourself, and then do another jump to land on the rooftop. Destroy the chest to obtain the second Broken Moon Pearl.
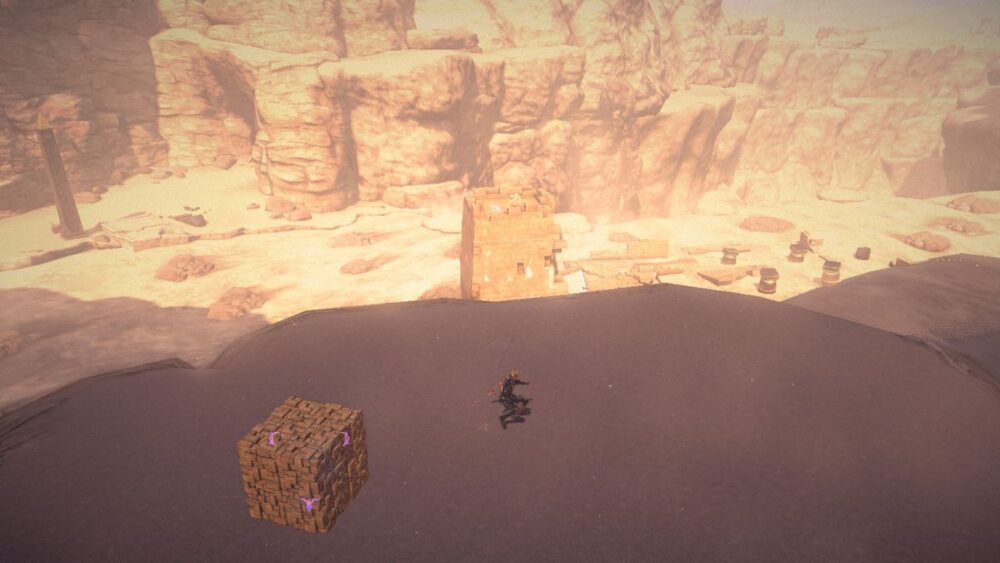
Image: Platinum/Nintendo via Polygon
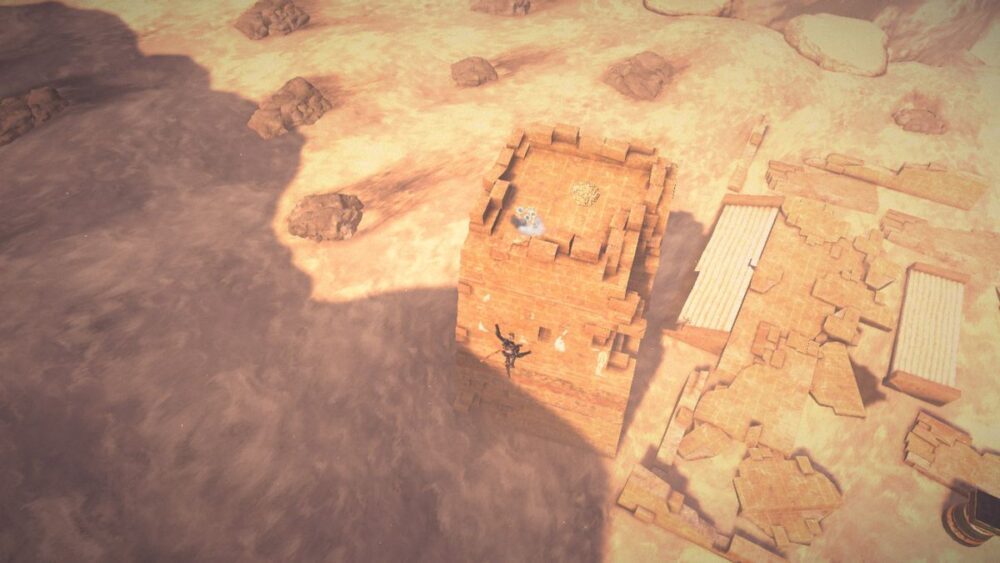
Image: Platinum/Nintendo via Polygon
After you’ve made it through the quicksand, when you cross paths with the two pillars with a staircase in between, take a detour to left side towards that lone tower. If you use the ledges against the mountain, just go ahead and make a double jump/swing towards the other end to find a chest with a Broken Moon Pearl inside.
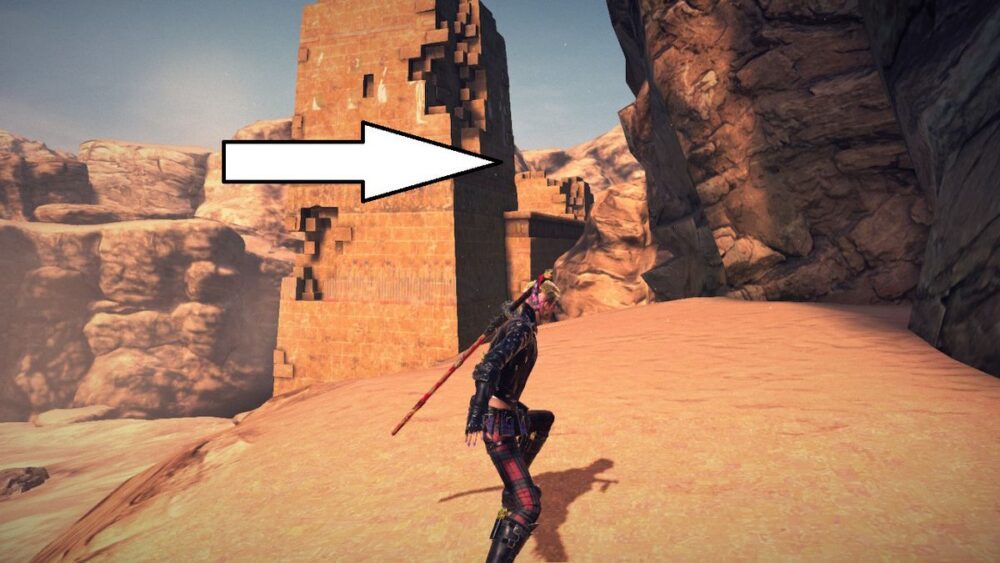
Image: Platinum/Nintendo via Polygon
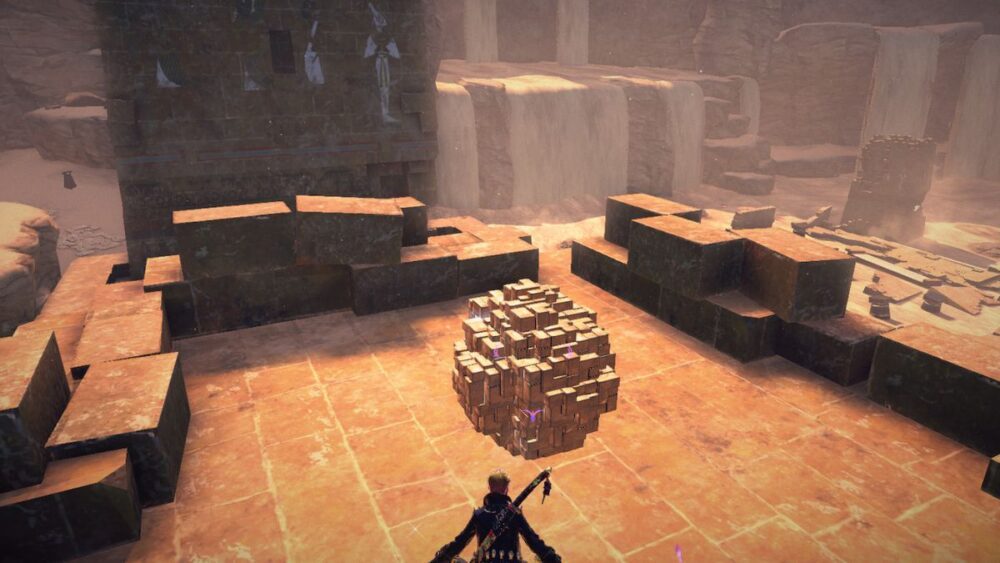
Image: Platinum/Nintendo via Polygon
