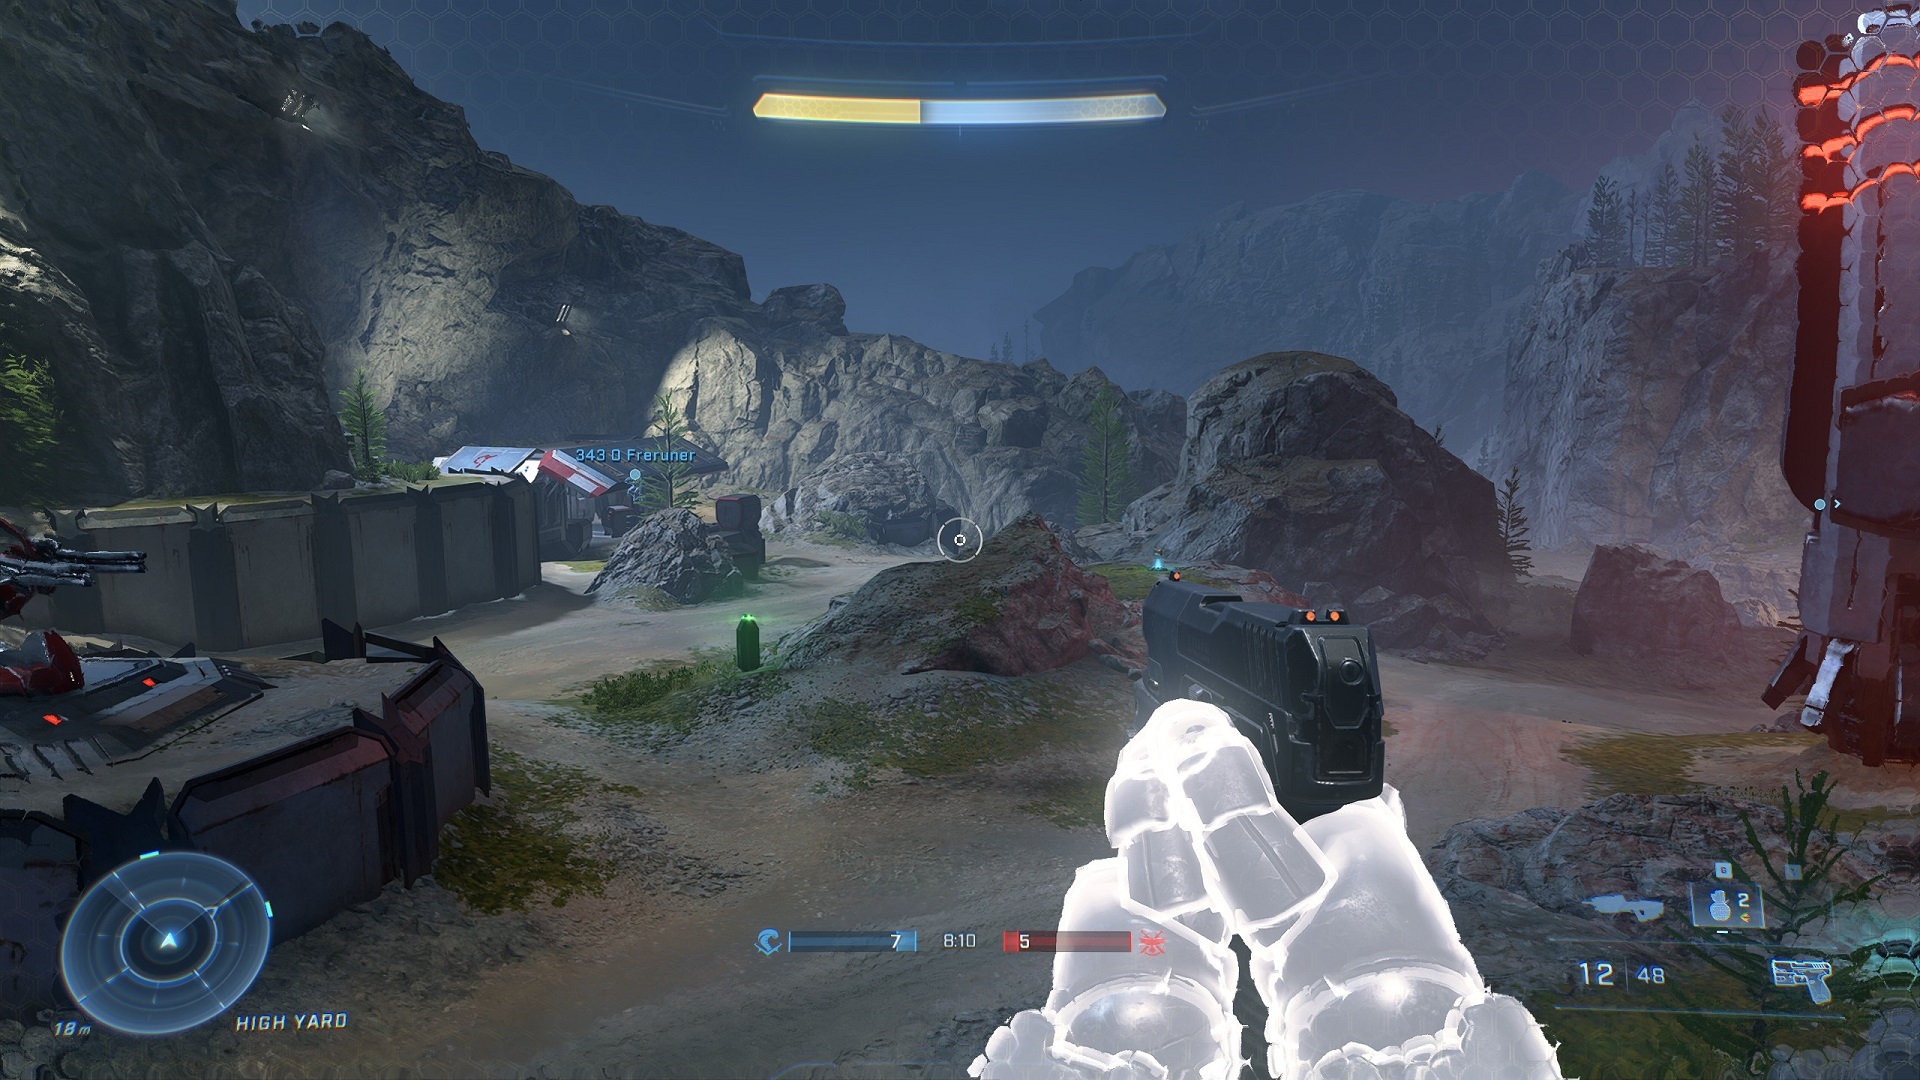
Where past Halo games had Armor Abilities, Halo Infinite includes “equipment”–equippable devices you can use in battle that give you some limited special abilities. The uses of your equipment are sometimes pretty obvious, as with the grappling hook-firing Grappleshot, and sometimes a bit tougher to immediately understand, as with the Repulsor. Used correctly, though, equipment abilities can make you devastating in the right circumstances, allowing you to go toe-to-toe with that vehicle that’s primed to run you over, or allowing you to sneak into enemy strongholds and wreak havoc.
We’ve got a complete rundown of all of Halo Infinite’s equipment, what it does, and how it’s best applied. For more useful Halo info, check out our Halo Infinite Beginner’s Guide, our Halo Infinite Weapons Guide, and our rundown of how and where to find loot caves.
Grappleshot

The Grappleshot is low-key the coolest item in Halo Infinite. It’s a grapple hook that zips you toward whatever you hit with it. The Grappleshot is most readily useful for climbing to high locations that you couldn’t otherwise reach, making Halo Infinite much more vertical than it would be otherwise. You can also use the control sticks or movement keys to direct yourself as you grapple, allowing you to shoot things like towers or walls and fling yourself forward for some speedy movement.
The Grappleshot has a lot of other uses besides traversal, though. Shoot a weapon or item and the Grappleshot will bring it to you, which can help you restock ammo, snag power weapons before other players get to them, or change weapons without exposing yourself to gunfire. You can also grapple other players, which will rocket you toward them and perform an automatic melee strike when you reach them. Grapple an open vehicle and you’ll fly to it and then automatically board it–grapple a vehicle an enemy is using, and you’ll automatically hijack it. Use the Grappleshot to get to places people don’t expect, and to attack them from angles they don’t see coming.
Grapples per pickup: 5
Repulsor
The usefulness of the Repulsor isn’t necessarily apparent immediately, but it might be the best defensive item in Halo Infinite, apart from the Overshield. The trick is, it requires careful timing to use. The device allows you to bounce away things that are in front of you, whether they be enemies, vehicles, or incoming projectiles. Yup, that’s right: the Repulsor can reflect rockets.
Use the Repulsor when you’re staring down a charging energy sword-bearer or Gravity Hammer, or when a Ghost or Warthog is barreling toward you. If you activate it at the right time, the Repulsor will stop any of those things dead, reflecting them a bit and giving you time to react. Deployed against vehicles, the Repulsor can confuse and seriously mess up the plans of drivers, giving you and your squad time to take them down. The Repulsor will also send grenades and other explosive projectiles away from you, so it’s a useful piece of equipment to carry around if you feel like you’re getting blown up a lot in a particular match.
Repulsor uses per pickup: 3
Thruster
The Thruster is one of the simpler devices: When you use it, it boosts you a short distance in a certain direction at high speed. The upshot of the Thruster is that you can use it moving in any direction, including sideways and backwards, which can allow you to dodge incoming melee strikes, projectiles, and vehicles. Use it in tight quarters to zip past or away from enemy Spartans to completely throw them off their game. It also seems like you might be able to extend your jump distance with the Thruster, although we’ve had trouble actually making that work in practice, so take that suggestion with a grain of salt. Generally, though, the Thruster’s additional agility is great for close-quarters fights when fancy footwork can give you an advantage. Just be aware that the ability has a short cooldown between uses, so you can’t just spam dashes.
Dashes per pickup: 3
Threat Sensor
With the Threat Sensor, you can grab vital intelligence about your opponents right as you’re about to fight them, and share it with teammates. The device fires the aforementioned sensor a short distance, sticking to walls, objects, and even people. Once it lands, it briefly sends out a sonar-like ping that’s similar to the AI Scan you can do to find available weapons and vehicles, but the Threat Sensor also highlights enemy players–even through walls. The Threat Sensor lasts for six seconds and you can put it just about anywhere, giving you a very good look at enemy movements and locations. Use it to plan your attack as you assault a base, or even just to get a cleaner look at the fray as you approach a larger fight. One last note: The Threat Sensor won’t highlight enemies using Active Camo, so be careful.
Sensor shots per pickup: 2
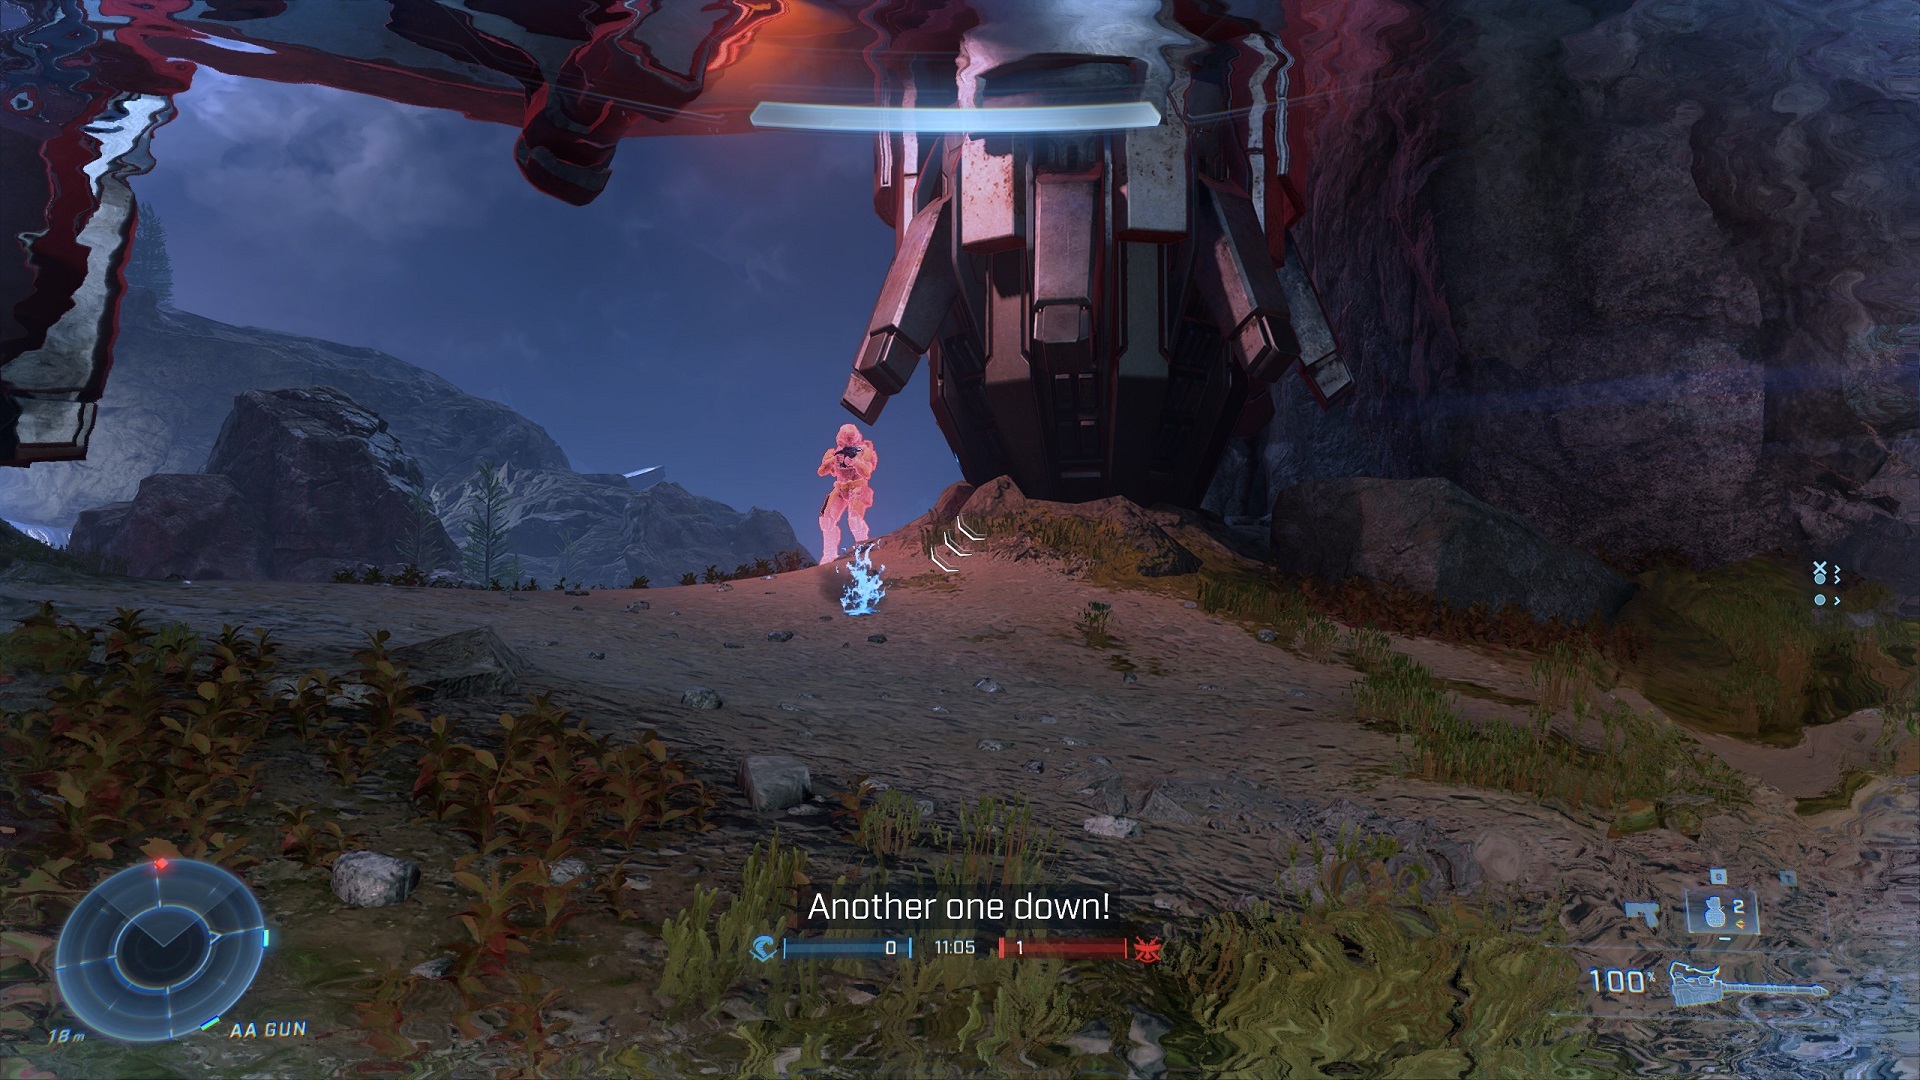
Drop Wall

When you don’t have any cover in a firefight, the Drop Wall can make you some. The name says it all: use the device and you’ll drop a wall in front of you, which can absorb incoming shots. The wall is divided into several small sections, and when each section takes too much damage–roughly two or three shots, but in any event, not a lot–it gets destroyed, opening a hole in the wall. Crucially, though, the rest of the wall remains, so while the Drop Wall isn’t going to deflect a ton of incoming bullets, it can give you a bit of an edge against incoming fire. Additionally, while the Drop Wall won’t survive, you can use it to completely stop something like a rocket, which can be enough to save your life and win a fight.
The Drop Wall acts as useful cover for defense, but its main benefit is that you can shoot through it from the back, while incoming fire is absorbed. Your own shots won’t damage the wall, effectively allowing you to unload on enemies while taking no damage yourself, at least until the wall is busted. That makes it great for defending fixed locations or for use when you’re lying in wait for enemies, like when trying to snipe.
Drop walls per pickup: 2
Overshield
One of the two top-tier pieces of equipment is the Overshield, the best defensive option in the game. The device essentially doubles your shield capacity, allowing you to take drastically more damage before you’re killed. You’re not unstoppable, by any means, but the Overshield is definitely enough of a boon to win a duel against another player, and often will boost you enough to take down two or three opponents in the right circumstances. You shouldn’t treat it like invincibility, but it’s a major advantage, especially because you can hold onto it and deploy it whenever you want to use it. Unlike other equipment, the Overshield appears on maps in the same way as power weapons, and will be marked with a yellow icon with a timer on it to let you know when it’ll spawn next.
Smartly deploying the Overshield when you’re ready for a fight or already taking damage is essential to using it well, because the shield itself decays over time. The Overshield slowly bleeds power once you use it, which you’ll see indicated by your shield bar turning green and the green meter slowly emptying. After 40 seconds, the shield runs out completely, so you don’t want to activate it until you’re ready to fight. Note also that while popping your Overshield at the right moment might save you from incoming fire, it takes about a second for your character to actually activate the shield after you press the button, so try to time it so that you don’t die before getting it turned on.
Active Camo
The other top-tier equipment device is the Active Camo. Like the Overshield, it’s a Halo mainstay–activate it, and you’ll become all but invisible, while also not appearing on radar or being highlighted by the Threat Sensor. The effect lasts about 30 seconds and will also spread to things like the flag if you’re carrying it in CTF–which can be absolutely huge in allowing you to sneak off and score a point.
You should know that firing your gun, sprinting, throwing a grenade, or meleeing an enemy will briefly break your Active Camo, so don’t engage an opponent unless you’re ready to fully engage–and confident the element of surprise will help you win. If you’ve still got time on your camo duration, it’ll reactivate shortly after you break it. You should also know that you’re not completely invisible when using Active Camo, although the effect is pretty close. Eagle-eyed players will notice the ripple of motion when an Active Camo player moves in front of them, making it possible to spot and kill a camouflaged player. So just know when using Active Camo that it’s not perfect.
GameSpot may get a commission from retail offers.
- "
- active
- Additional
- ADvantage
- aforementioned
- AI
- All
- Allowing
- around
- automatic
- automatically
- Battle
- beginner
- BEST
- Bit
- board
- body
- Busted
- Capacity
- carrying
- change
- charging
- coming
- commission
- damage
- dead
- Defense
- destroyed
- Devices
- distance
- Dodge
- Drop
- Edge
- energy
- engage
- equipment
- essential
- Event
- fights
- Fire
- fires
- Forward
- game
- Games
- Ghost
- Giving
- good
- grab
- great
- Green
- guide
- High
- Highlight
- Highlighted
- hijack
- hold
- How
- How To
- HTTPS
- huge
- ICON
- image
- Including
- info
- Intelligence
- IT
- jump
- keys
- large
- Limited
- major
- Making
- Maps
- Match
- May
- move
- Offers
- open
- Option
- Other
- P
- People
- ping
- player
- players
- power
- press
- projectiles
- radar
- RE
- React
- requires
- REST
- retail
- Ripple
- Run
- s
- scan
- Share
- Short
- SIX
- small
- sneak
- So
- spam
- speed
- Spot
- spread
- Strikes
- surprise
- survive
- The
- time
- Ton
- treat
- vehicle
- Vehicles
- wait
- What
- win
- Work