In Cyberpunk 2077, there are many gigs and side jobs just waiting for you to tackle. With some repute and street cred behind you, however, and clients may come contact you about jobs directly, no fixer is needed. In one such case, a certain Elizabeth will be calling you, asking for your assistance in what Johnny calls a ‘classic whodunnit’. If you decide to help out this client, then you’ll find yourself in the middle of quite a case. Here’s how to complete I Fought The Law in Cyberpunk 2077.
I Fought The Law in Cyberpunk 2077
There are some choices to be made with this side job, but only really at the end. So just enjoy the case, and think about it later…
Getting acquainted with the job
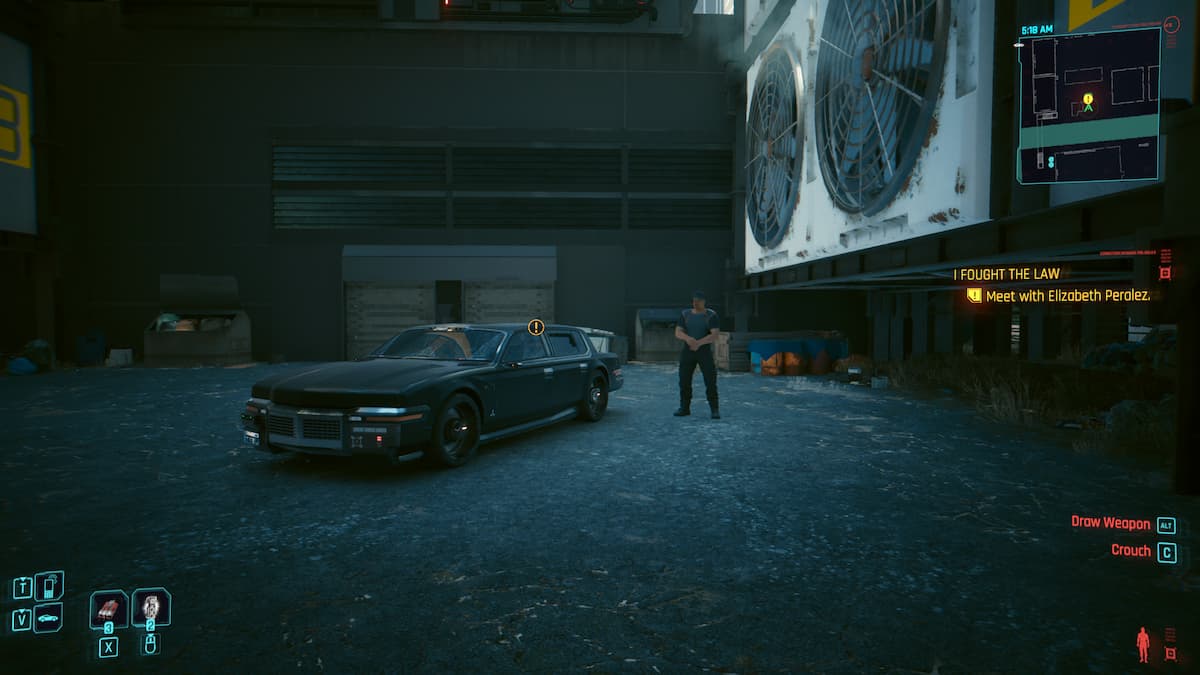
When you receive the call, and if you accept it, Elizabeth and her partner will be waiting for you in their car, marked on your map. Make your way over to the car and get in. You’ll get greeted by their driver.
Screenshot: PC Invasion
Greet the couple politely, and allow them to fill you in on their suspicions surrounding the Mayor’s, Lucious Rhyne’s, death. Thankfully, they have a brain dance they’ll want you to go through, to pick up on any leads or suspicious happenings.
In the braindance, I would advise you to simply sit back and watch it the first time around. This will mark all points of interest on the three bars. Then, you can restart the recording and switch between the layers and scan every single clue in the order they come up in. This is the easiest and most efficient way to go about dealing with a brain dance.

Screenshot: PC Invasion
There are two items of interest: the named location ‘Red Queen’s Race’, and the officer that walks through and shoots the attacker. One River Ward. That’s who you’ll be seeing next.
Once out of the brain dance, talk to Elizabeth and her husband. Afterward, you’ll be free to call River Ward and get that ball rolling.
On the call, it doesn’t really matter what you tell him, but I went with ‘I know you tried to warn Rhyne’, to which he will want to meet with you to find out what else you know.
Related: Cyberpunk 2077: Talent Academy guide (Should you accept Fiona’s offer?)
Meeting River Ward
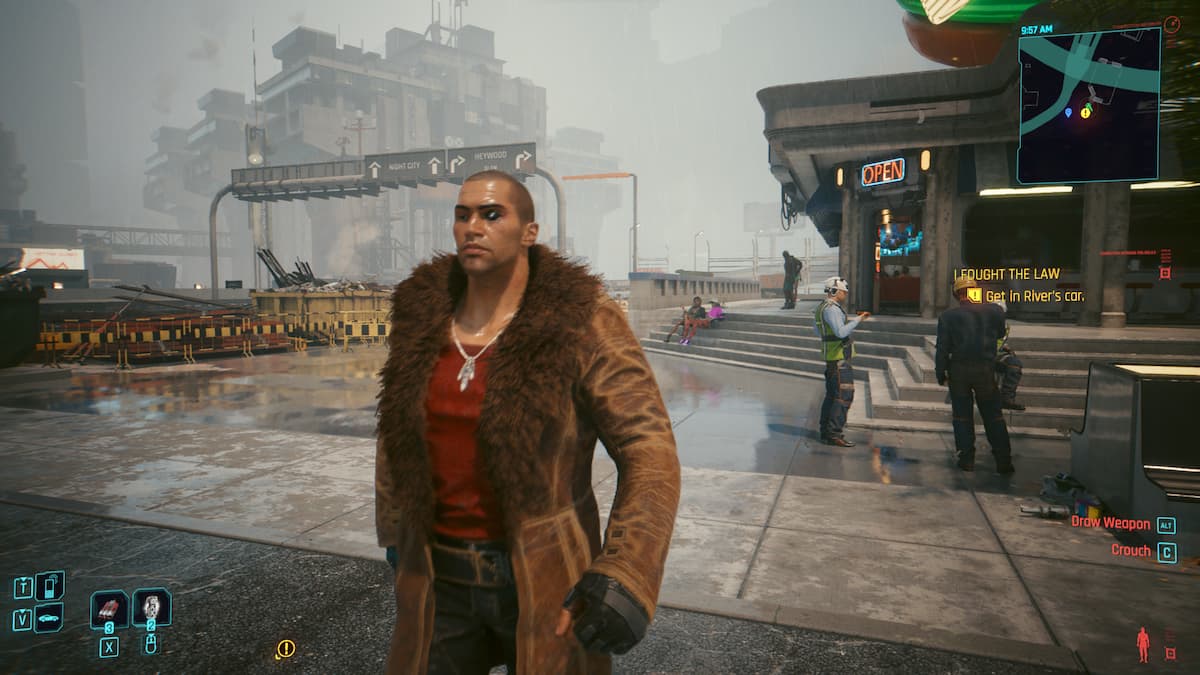
Your objective marker will show you to where River Ward wants to meet you. Meet him there, and you’ll find him with his partner, Detective Han. Thank him for agreeing to meet with you, and Han will leave. When sat down, I asked him what he wanted to ask Rhyne’s muscle, and let the rest of the conversation play out. You will both soon stand to get to his car.
Screenshot: PC Invasion
Two leads are established. You can either go to the market or see Ward’s CI. It doesn’t matter what order you do them in. If you’re in a hurry, you can simply see the CI and continue with the quest. But for the full experience, you can visit both in any order.
Seeing the CI
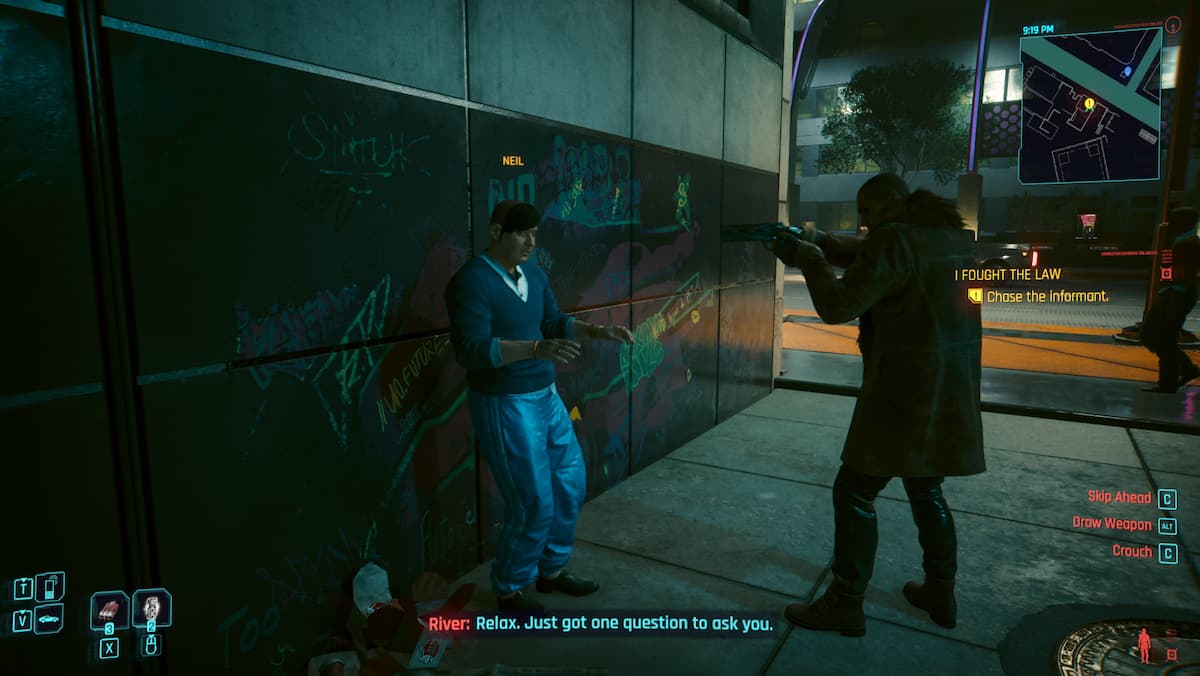
If you decide to see the CI, Neil, you will go with Ward to an adult toy store, where Neil is the clerk. Your interaction with the CI will be very short, as he’ll run away the moment you say the code phrase. If you have a 9 in body, you can open the door and give chase down the side alley. Alternatively, you can exit the store, as Ward corners Neil and holds him at gunpoint.
Screenshot: PC Invasion
Neil will let up the location of the Red Queen’s Race, but will also say how it was shut down closely after the mayor’s death. River will insist that you both go to the market for further information, but you can tell him to just go to the club next.
Going to the Market
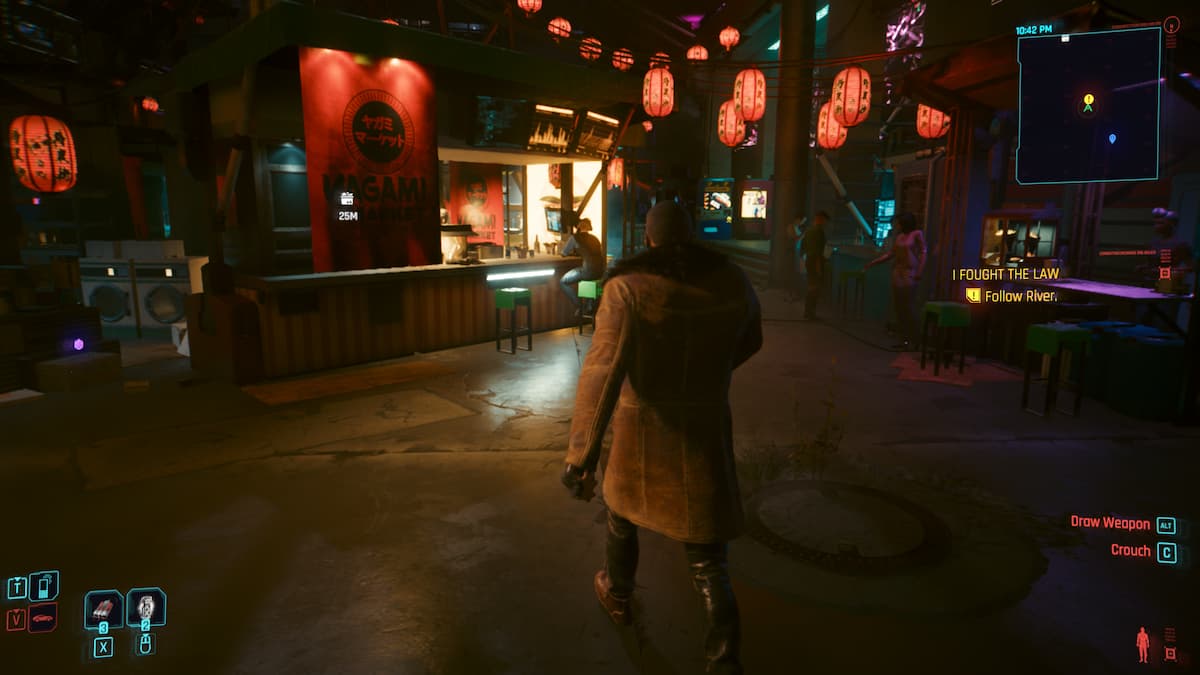
If you wanted to go to market, then your time here will be short. You’ll be looking for a woman called Christine Markov. River will ask you to talk to the vendors on the right to find out where Markov is, but if you wait a few moments, he’ll find her location.
Screenshot: PC Invasion
It doesn’t really matter what you ask of Markov here, she won’t provide anything useful aside from mentioning how crazy the attacker was. As you head to the car, a couple gangsters will impede you. Let River handle it, else you’ll enter a fight and he won’t be able to drive you over as he’ll have to write a report on the incident. You are free now to head to Red Queen’s Race.
Related: The best Walking Arsenal build in Cyberpunk 2077
Red Queen’s Race
Red Queen’s Race will be swarming with Tyger Claws, since it was abandoned. River won’t initially be with you as he doesn’t have a warrant, and believes in upholding the law. You must infiltrate the building and find the entrance to Red Queen’s Race. You can do this stealthily, but I prefered to dispatch all the Animals in my way. It was easier, and much more fun. Upon hearing the conflict, River Ward will come racing right in to help. Outside the club, be careful of two particularly nasty enemies with giant hammers. They’ll knock you on your backside before you know, giving the others opportunities to attack you. If you’re not exceptionally powerful, you might want to take care of them first.
Quick hacks are always useful when surrounded by many opponents. Blinding or paralysing them takes the pressure off you big time, and you can pick them off one by one despite there being a crowd.
Screenshot: PC Invasion
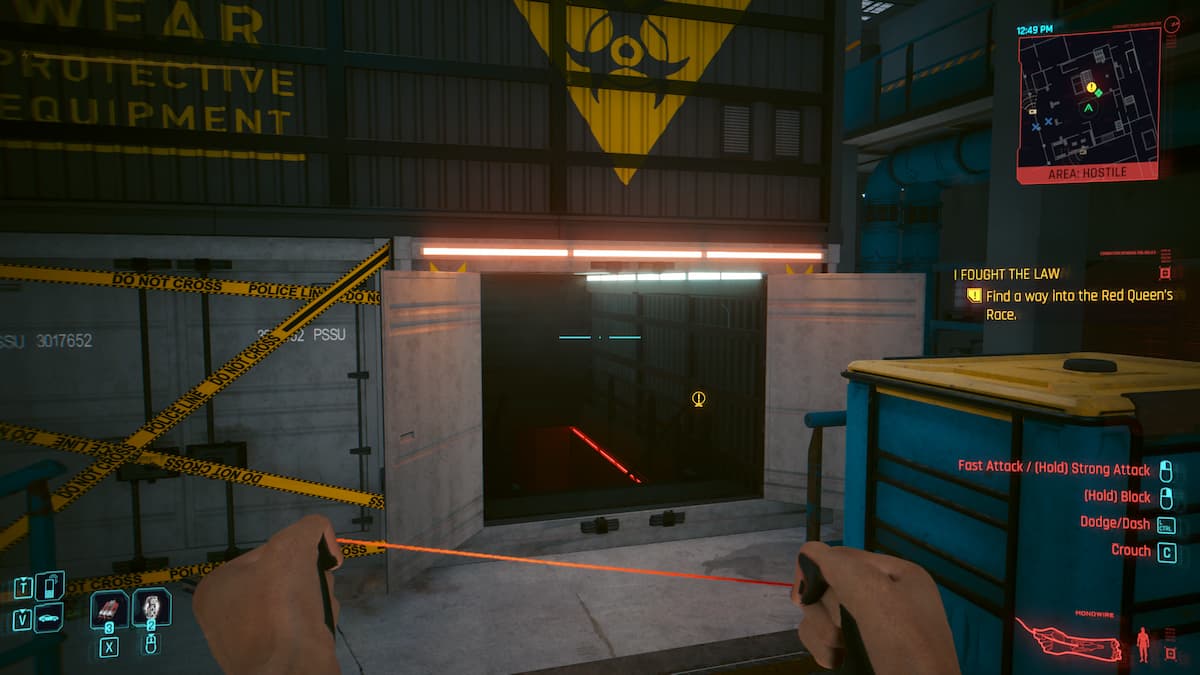
Once in the main building, drop to the ground floor and open the door of a large shipping container. It will lead you to an elevator that’ll drop you down to the club, where more enemies await, including the Animal Alpha. Kill them all, but be careful with the Animal Alpha, as you can talk to him to gain more information. Again, using quick hacks to take the pressure off is vital here, otherwise you’ll be drowning in bullets.
You can get the info you want from him without paying him, just sympathise with his situation a little, and he’ll provide some pretty damning information. If you’re struggling to find him, like I was, toggle your quest objective over to the optional one that directs you to talk to him. There’ll be a pointer right over his head.
You will now have to find the office, which is located up the stairs and at the back, behind the glass doors. But before you go there, walk into the room to the left of the office doors. There will be a brain dance. Wear it. It’s faulty and will hurt you, but is great evidence for the case.
Screenshot: PC Invasion
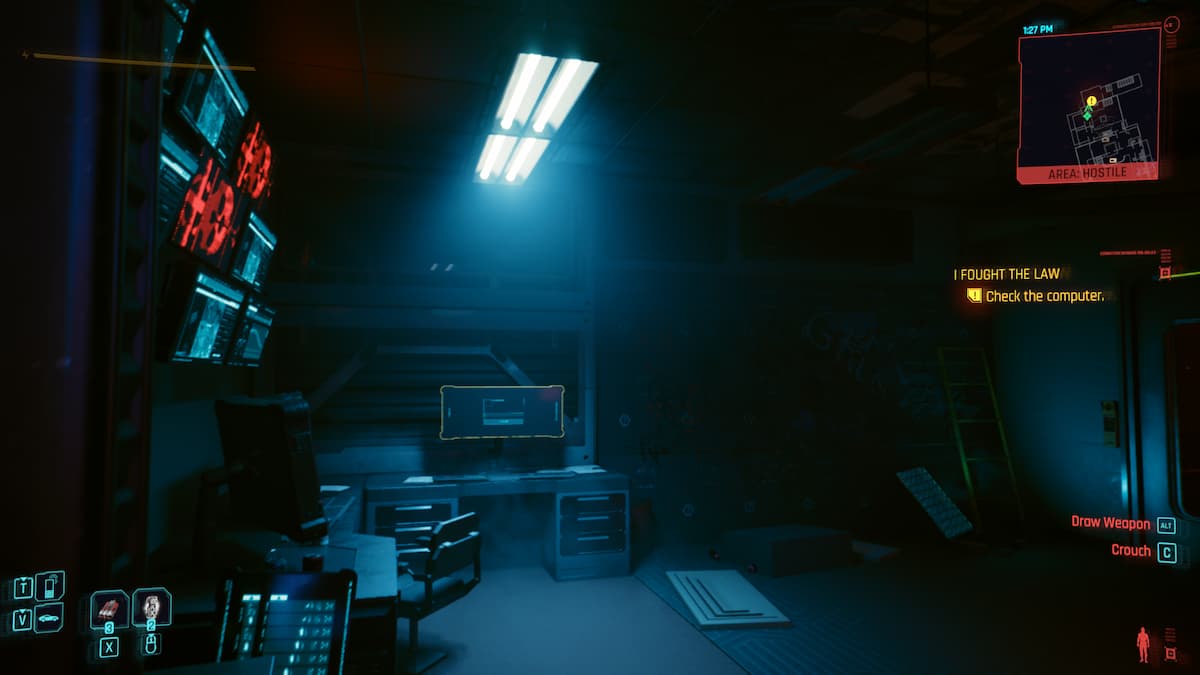
Walk into the office and go into the computer. Access the files and watch the security recording. You will watch a very damning security video of Detective Han talking to someone over the phone. It is very evident here that the mayor was killed using the faulty brain dance you found in the other room. How the plot thickens…
Case closed… right?
So, you’ve seen that Detective Han had a hand to play in the case afterall. Upon meeting with him, watch the situation play out and enter the conversation if you want. This is your V, afterall. However, you’ll get to a point where you can either encourage Ward to take the case to internal, or you can discourage him. It doesn’t matter what you say, he’ll report it anyway. Unless you’re a female character and want to court him, then it does matter indeed. But this isn’t his romance guide. But if you did want to romance him, then you can take a look at our ultimate romance guide.
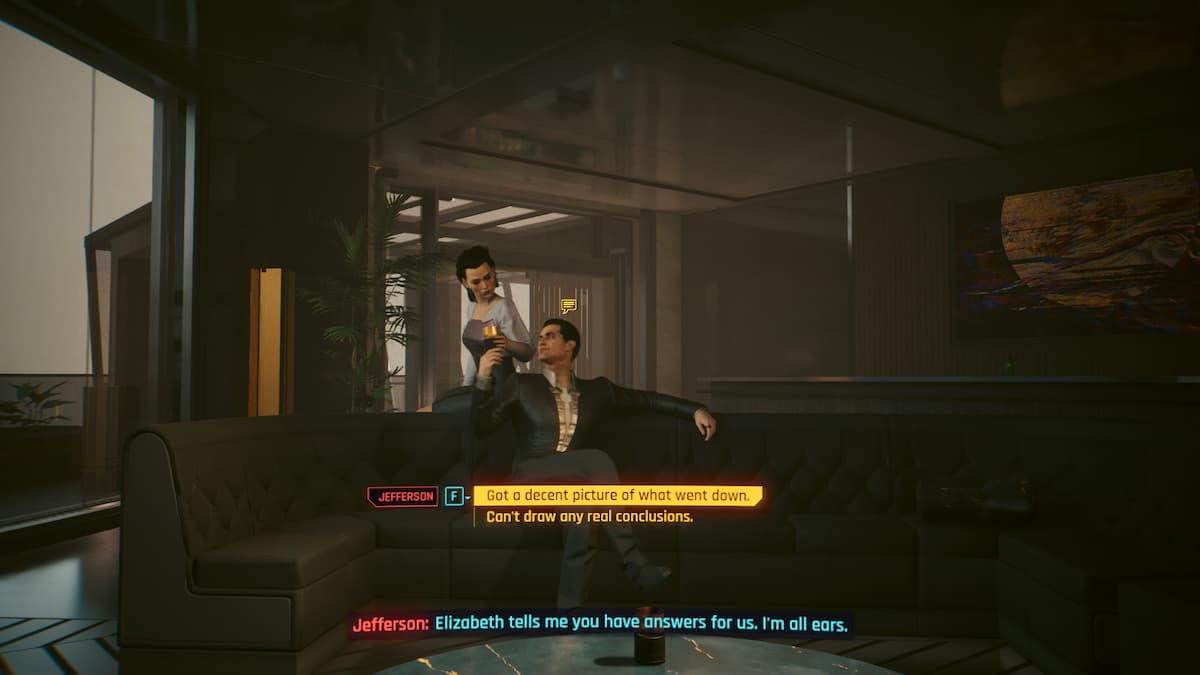
You should call Elizabeth, and she’ll tell you meet her in-person. Arriving in her penthouse will conclude the story, but only after you’ve given them a report on the situation. You can say what you want here, as it won’t affect the game much.
Screenshot: PC Invasion
You can tell them that Holt was behind it, in which Jefferson will get excited, and claim that he always suspected him. The couple will agree to increase security.
You can tell them that the police are covering it, at which they will seem at ease.
You can also tell them that you don’t really have a conclusive idea, in which they’ll agree to increase security and thank you.
In each scenario, you’ll get paid when you leave the penthouse.
This will not be the last time you’re involved in this case. You’ve opened a whole can of worms here.
I hope you enjoyed our guide for the I Fought The Law side job in Cyberpunk 2077. I hope you’re happy with your choices, also. If you want even more Cyberpunk 2077 help, then PC Invasion has you covered.
- SEO Powered Content & PR Distribution. Get Amplified Today.
- PlatoData.Network Vertical Generative Ai. Empower Yourself. Access Here.
- PlatoAiStream. Web3 Intelligence. Knowledge Amplified. Access Here.
- PlatoESG. Carbon, CleanTech, Energy, Environment, Solar, Waste Management. Access Here.
- PlatoHealth. Biotech and Clinical Trials Intelligence. Access Here.
- Source: https://www.pcinvasion.com/how-to-complete-the-i-fought-the-law-side-quest-in-cyberpunk-2077/
- 1
- 9
- a
- able
- About
- Academy
- accept
- access
- acquainted
- advise
- affect
- after
- afterward
- again
- agreeing
- All
- allow
- alpha
- also
- always
- an
- and
- animal
- animals
- any
- Anything
- ARE
- around
- Arsenal
- as
- aside
- ask
- asking
- assistance
- At
- away
- back
- ball
- bars
- BE
- before
- behind
- being
- believes
- BEST
- between
- BIG
- body
- both
- build
- Building
- but
- by
- call
- called
- calling
- calls
- CAN
- car
- care
- case
- Center
- certain
- character
- chase
- choices
- Christine
- claim
- client
- clients
- closely
- club
- code
- come
- complete
- computer
- conclude
- conflict
- contact
- Container
- continue
- Conversation
- corners
- Couple
- Court
- covered
- covering
- crazy
- Cred
- crowd
- Cyberpunk
- Cyberpunk 2077
- dealing
- death
- decide
- despite
- DID
- directly
- Dispatch
- do
- does
- door
- doors
- down
- drive
- driver
- Drop
- each
- ease
- easier
- efficient
- either
- else
- encourage
- end
- enjoy
- enjoyed
- Enter
- Entrance
- established
- even
- Every
- Evidence
- evident
- exceptionally
- excited
- Exit
- experience
- few
- fight
- find
- First
- first time
- floor
- For
- Free
- from
- full
- fun
- further
- gain
- game
- Get
- giant
- give
- given
- Giving
- Glass
- go
- great
- greeted
- Ground
- guide
- hacks
- had
- hand
- handle
- happy
- has
- Have
- he
- head
- hearing
- help
- her
- here
- him
- his
- holds
- hope
- How
- How To
- however
- HTTPS
- i
- idea
- if
- in
- incident
- Including
- Increase
- indeed
- info
- information
- initially
- interaction
- interest
- internal
- into
- involved
- Is
- IT
- items
- Job
- Jobs
- jpg
- just
- know
- large
- last
- Law
- layers
- lead
- leads
- leave
- left
- let
- like
- Little
- located
- location
- Look
- looking
- made
- main
- make
- many
- map
- mark
- marked
- Market
- matter
- May
- Mayor
- meet
- Meeting
- Middle
- might
- moment
- moments
- more
- most
- much
- muscle
- must
- my
- named
- needed
- Next
- no
- not
- now
- objective
- of
- off
- offer
- Office
- Officer
- on
- One
- only
- open
- opened
- opponents
- opportunities
- or
- order
- Other
- Others
- otherwise
- our
- out
- outside
- over
- paid
- particularly
- partner
- paying
- PC
- penthouse
- phone
- pick
- plato
- plato data intelligence
- platodata
- platogaming
- play
- Point
- Points
- Police
- powerful
- pressure
- pretty
- Provide
- quest
- quick
- quite
- Race
- racing
- really
- receive
- recording
- red
- report
- REST
- right
- Rolling
- Romance
- room
- Run
- s
- say
- scan
- scenario
- security
- see
- seeing
- seem
- seen
- she
- Shipping
- Short
- should
- show
- side
- Simply
- since
- single
- Sit
- situation
- So
- some
- someone
- Soon
- stand
- store
- Story
- street
- struggling
- such
- surrounding
- suspected
- suspicious
- Switch
- tackle
- Take
- takes
- Talent
- talk
- talking
- tell
- thank
- that
- The
- The Game
- their
- Them
- then
- there
- they
- think
- this
- three
- Through
- time
- to
- toy
- tried
- true
- two
- up
- upon
- using
- vendors
- very
- Video
- Visit
- vital
- wait
- waiting
- walk
- walking
- want
- wanted
- wants
- warrant
- was
- Watch
- way
- went
- What
- when
- where
- WHO
- whole
- will
- with
- without
- woman
- Worms
- would
- write
- you
- your
- yourself
- zephyrnet