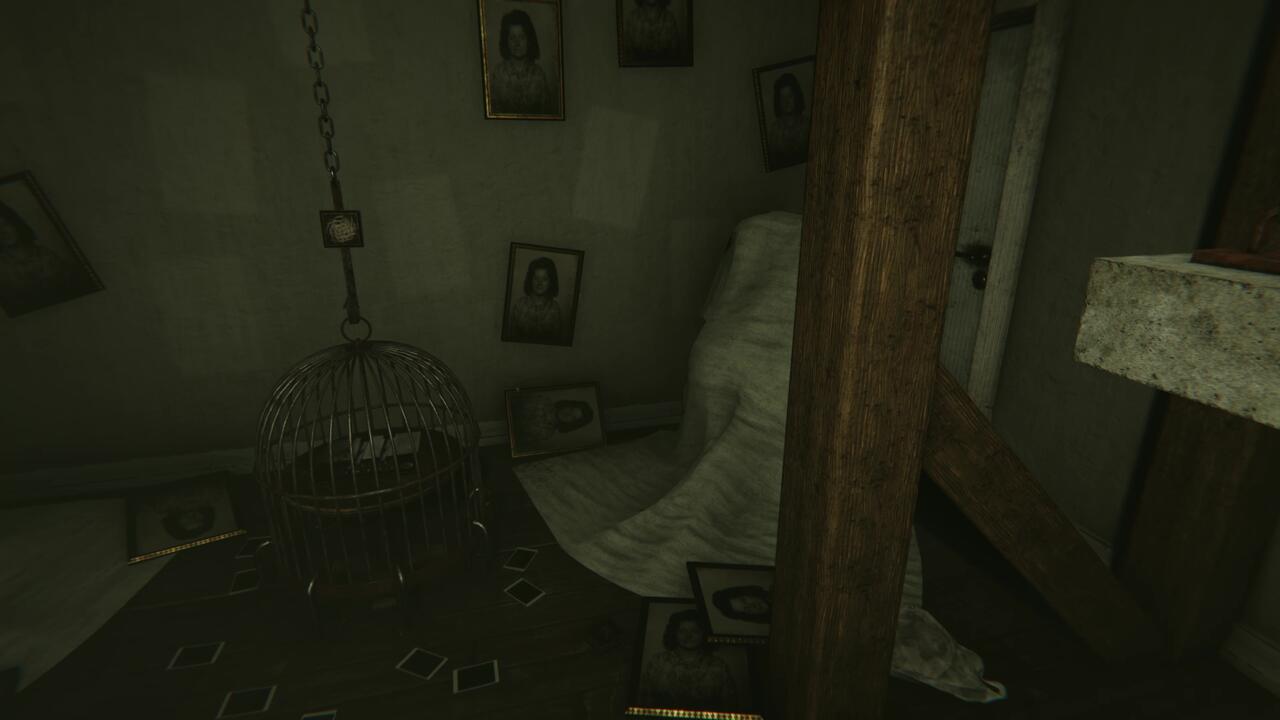
Wow, your father had some colorful decor in his childhood room. When you finally unlock the door to your dad, John’s, room in Madison, you find it primed for puzzles. That’s definitely not something unusual for the horror puzzler, but nor is it the most wholesome family environment. The puzzle here is deceptively simple, but there are some things you need to prepare and some small facets you might overlook. If you’re stumped, we’ve got you covered. Here’s how to solve the Madison concrete block puzzle in John’s room.
Note: Madison features changing puzzles for different playthroughs, so the specifics of solving this puzzle may change, but the method will be the same.
Finding The Weights
First, in order to enter dad’s room, you’re going to need the key. It’s found in the red safe in your grandfather’s office. You’re given the combination to it after solving the clock puzzle, but it takes a little interpretation itself. It seems self-explanatory, as you’re given directional arrows with notches in them, but only the notches colored red count, and that includes the arrow at the end. The combination is seven left, four right, and three left.
The puzzle in dad’s room features a series of weights that need to be placed on their proper hook. Two of the weights are already in the room; the biggest is hanging on a hook, while the second-largest is sitting on the floor. The other two are out in the wilds of the house, but there’s a good chance you’ve found them already.
One of them is the empty clock you receive as a reward for solving the clock puzzle. It takes the place of the lightest weight. The second is a concrete block you find locked in the toilet. What? Where do you keep your cinder blocks? You’ll need the bolt cutters to break the chains securing the lid down, then it’s yours to take. Remember to wash your hands after touching that thing.
Understanding The Puzzle
There are four hooks in the room, each marked with a different animal: rabbit, snake, rat, and shark. These are to hold the three concrete blocks and the clock. Of course, there’s an order to where the blocks go. This is spelled out in a hint on the wall.
“In order to save the bird, the rabbit jumped into the air, leaving all her friends behind. The snake below the rat remained while the shark in the depths this plan designed.”
The rhyme is about altitude and not weight, but think of it this way: A heavier weight will pull a hook down lower. This means that if you arrange the animals by height, the heaviest weight goes on the bottom, while the lightest goes on the top.
The Solution
If you’re not having any luck, here’s how the weights should be set: The clock goes on the rabbit’s hook, as it’s the lightest. The smallest concrete block gets hung on the hook with the rat. The second-largest cinder block gets set on the snake hook. After that, the shark gets the remaining heaviest block.

Once you do this, the cage at the back of the room will lift, but only slightly. This might give you the impression that you did things wrong, but it’s a trick. You then need to pull out your camera and snap a shot of the partially lifted cage, and the whole thing will blow apart. Once it’s gone, you finally get a chance to read the book that drove Grandma Elizabeth insane.
GameSpot may get a commission from retail offers.
The products discussed here were independently chosen by our editors.
GameSpot may get a share of the revenue if you buy anything featured on our site.


